Configurar tu Meta Quest 3 es una experiencia emocionante, especialmente si eres nuevo en la realidad virtual. El Meta Quest 3 está repleto de funciones que lo convierten en una opción excepcional tanto para principiantes como para usuarios experimentados. Esta guía te guiará en el proceso, asegurándote una configuración sencilla para que puedas empezar a disfrutar de la realidad virtual lo antes posible.
1. Desempaqueta y carga tu Meta Quest 3
Antes de empezar a usar tu Meta Quest 3, lo primero que debes hacer es desempaquetarlo y asegurarte de que esté completamente cargado. Al abrir la caja, encontrarás los auriculares, dos mandos, un adaptador de corriente y un cable de carga.
Desempaquetado
Saque con cuidado los auriculares y los mandos del embalaje. Asegúrese de retirar cualquier película protectora de las lentes y cualquier otra pieza que pueda tenerla. Esto garantiza una visión nítida y el dispositivo estará listo para funcionar correctamente.
Cargando
Antes del primer uso, es importante cargar completamente los auriculares. Conecte el cable de carga incluido al puerto USB-C ubicado en el lateral izquierdo de los auriculares y luego conecte el otro extremo al adaptador de corriente. Conéctelo a una toma de corriente y deje que los auriculares se carguen al 100 %. Esto puede tardar un par de horas, pero garantiza que no se quede sin batería durante la configuración inicial ni el uso.
2. Encienda y empareje sus controladores
Para encender tu Meta Quest 3, mantén presionado el botón de encendido en el lado izquierdo del auricular durante unos tres segundos. Deberías escuchar un sonido y ver aparecer el logotipo de Meta dentro del auricular, lo que indica que se está iniciando.
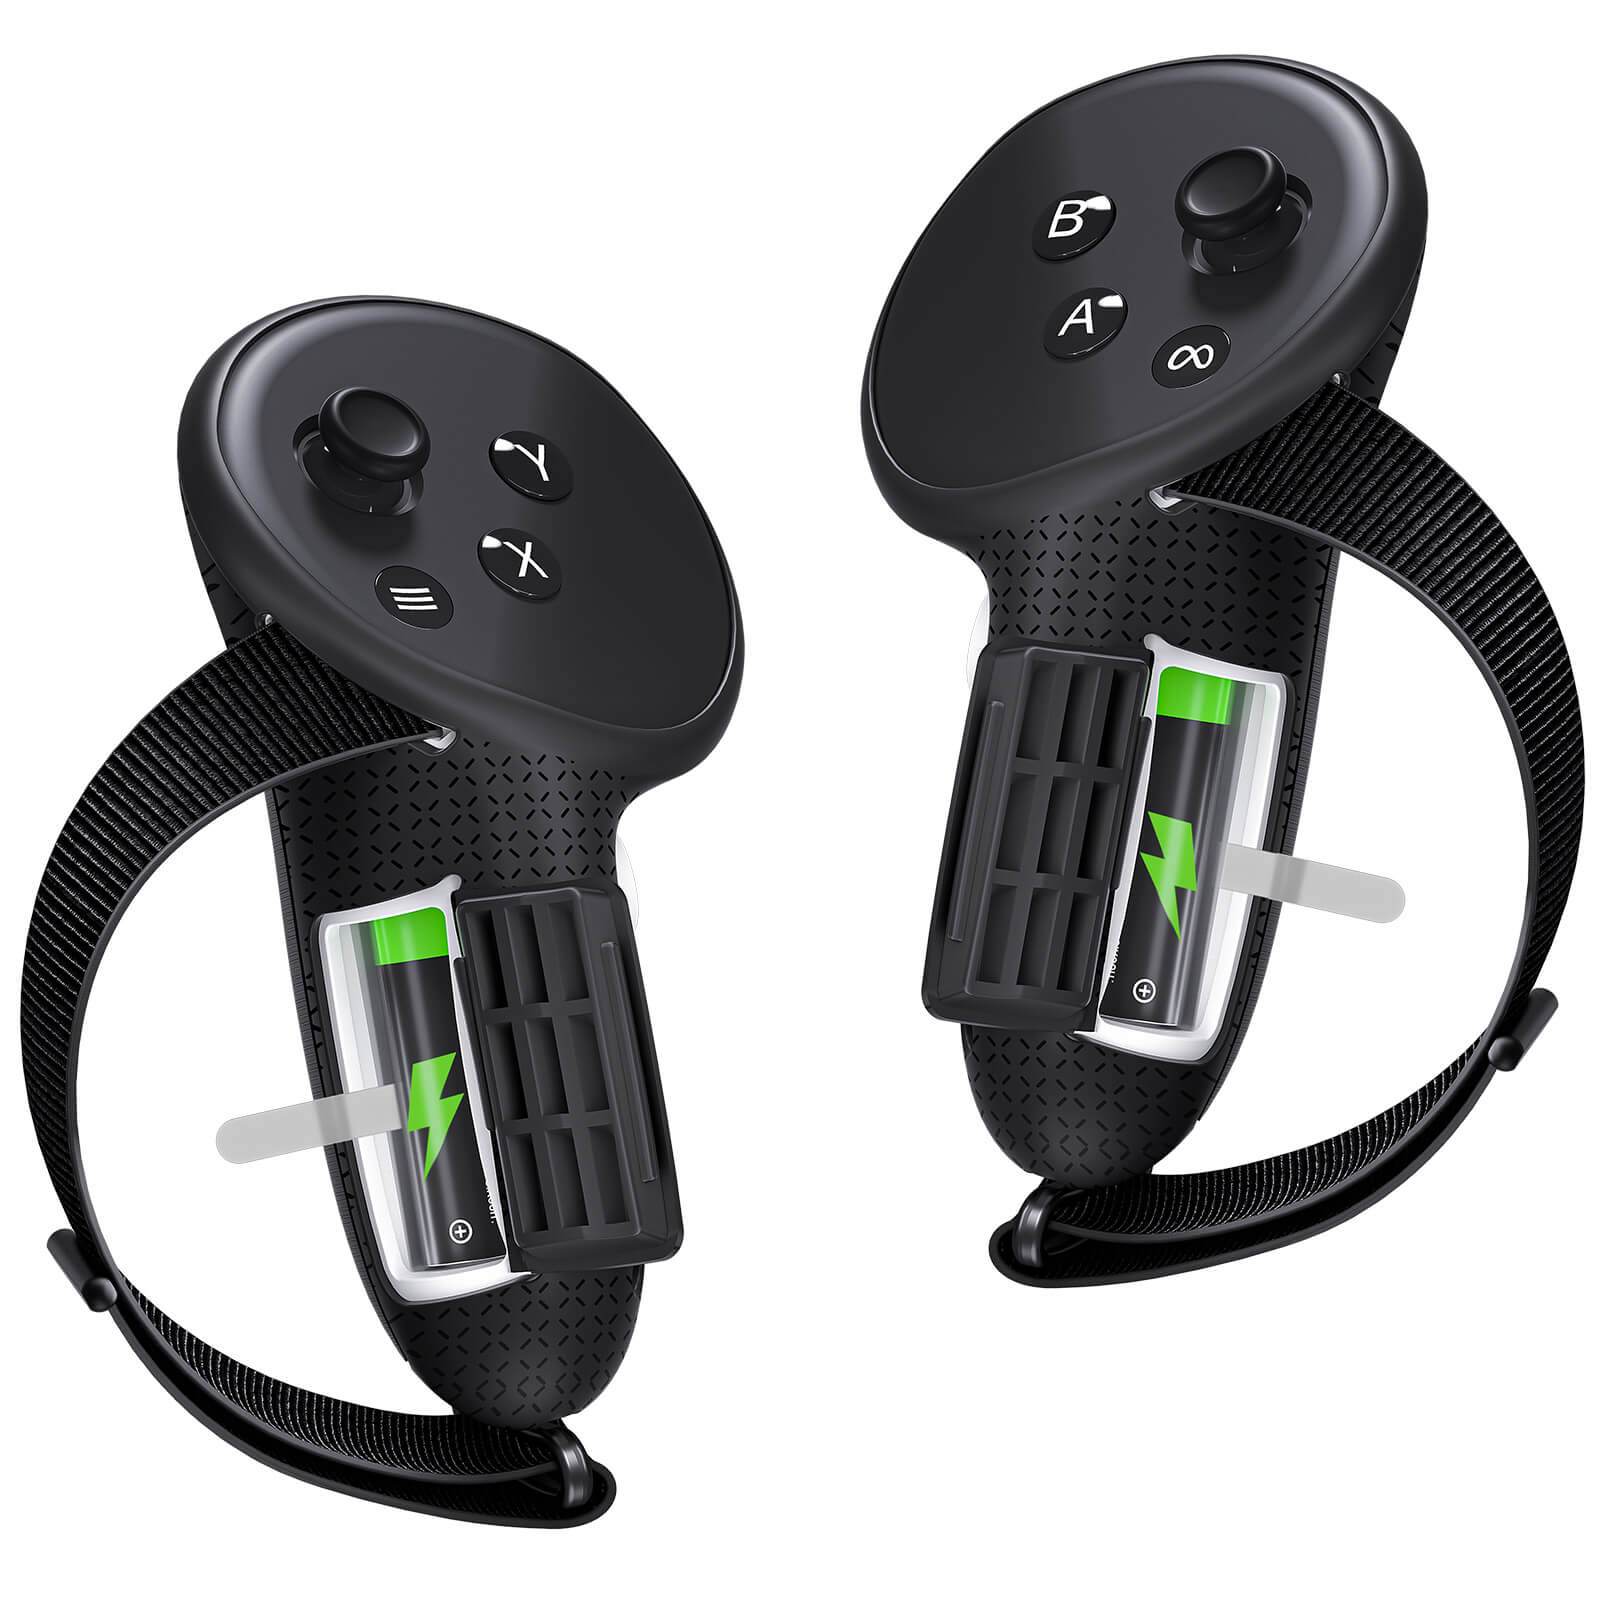
Cada mando tiene una pequeña pestaña o bloqueador de papel en el compartimento de las pilas. Tire suavemente de estas pestañas para activar las pilas. Una vez retiradas, los mandos se emparejarán automáticamente con los auriculares. De lo contrario, puede emparejarlos manualmente manteniendo pulsados los botones según las instrucciones.
3. Configura tu cuenta Meta
Tu cuenta Meta es esencial para acceder a contenido, aplicaciones y juegos en tu Meta Quest 3. Puedes configurarla a través de la aplicación Meta Quest, disponible tanto en iOS como en Android.
- Comience descargando la aplicación Meta Quest desde la App Store o Google Play Store.
- Una vez instalada, abra la aplicación e inicie sesión con su cuenta existente de Facebook o Instagram.
Si no tienes una cuenta, puedes crear una nueva cuenta Meta dentro de la aplicación.
Tras iniciar sesión, la aplicación te pedirá que emparejes un nuevo dispositivo. Sigue las instrucciones en pantalla para vincular tus auriculares Meta Quest 3 a tu cuenta. Normalmente, esto implica escanear con los auriculares un código QR que aparece en la pantalla de tu teléfono.
4. Configuración inicial y calibración
Una vez configurada su cuenta, es momento de realizar el proceso de configuración inicial en el auricular.
Selección de idioma
Lo primero que harás en los auriculares es elegir tu idioma preferido. Esto garantiza que todas las instrucciones, menús y ajustes se muestren en un idioma que entiendas.
Conexión Wi-Fi
Conectar tu Meta Quest 3 a una red Wi-Fi es importante, ya que te permite descargar actualizaciones, aplicaciones y juegos. Selecciona tu red Wi-Fi doméstica, introduce la contraseña y asegúrate de que la conexión sea estable.
Ajustando el ajuste
Para garantizar la comodidad y la mejor experiencia, ajuste el ajuste. Comience aflojando las correas traseras y coloque el auricular en la cara. Ajuste las correas para que el auricular se ajuste firmemente sin apretarlo demasiado. El objetivo es que el auricular quede bien sujeto sin causar molestias.
Ajuste de la lente
Las Meta Quest 3 cuentan con lentes ajustables que se adaptan a la distancia interpupilar (DPI). Usa la rueda en la parte inferior izquierda de las gafas para ajustar las lentes. Acércalas o sepáralas hasta que la imagen en las gafas sea nítida y clara.
5. Crea tu límite de realidad virtual
Para garantizar la seguridad mientras usas Meta Quest 3, necesitarás configurar un límite virtual conocido como el Guardián.
Configuración automática de límites
El visor cuenta con sensores que detectan automáticamente tu entorno y sugieren un límite. Simplemente sigue las indicaciones en VR y el visor marcará la zona segura donde podrás moverte libremente sin chocar con objetos.
Configuración manual de límites
Si la configuración automática no se adapta bien a tu espacio, puedes dibujar el límite manualmente con los controles. Simplemente apunta al suelo y traza el área que quieres designar como segura. Asegúrate de tener suficiente espacio para moverte cómodamente durante el juego.
6. Ajusta el ajuste y la comodidad de tu Meta Quest 3
Para disfrutar de una experiencia de realidad virtual cómoda, es importante ajustar el ajuste de su Meta Quest 3.
Ajuste de la correa
Los auriculares incluyen correas ajustables. Afloje o ajuste las correas traseras y superiores para distribuir el peso uniformemente por la cabeza. Esto ayuda a reducir la tensión durante largas sesiones de juego.
Ajuste de profundidad
Meta Quest 3 cuenta con botones de ajuste de profundidad que permiten acercar o alejar las lentes de la cara. Esto es especialmente útil si usas gafas o quieres evitar que las lentes presionen demasiado la cara. Mantén pulsados los botones junto a las lentes y desliza la interfaz hacia adelante o hacia atrás para encontrar la posición más cómoda.
7. Finalice la configuración con la aplicación móvil Meta Horizon
Tras completar la configuración inicial de los auriculares, vuelve a la app Meta Horizon en tu teléfono. Asegúrate de que el Bluetooth esté activado y sigue las instrucciones para completar el emparejamiento.
Una vez emparejados, puedes usar la app para explorar la tienda, descargar nuevas apps y gestionar tu experiencia de RV. También te permite proyectar lo que ves en RV a tu teléfono o televisor para que otros puedan verlo contigo.
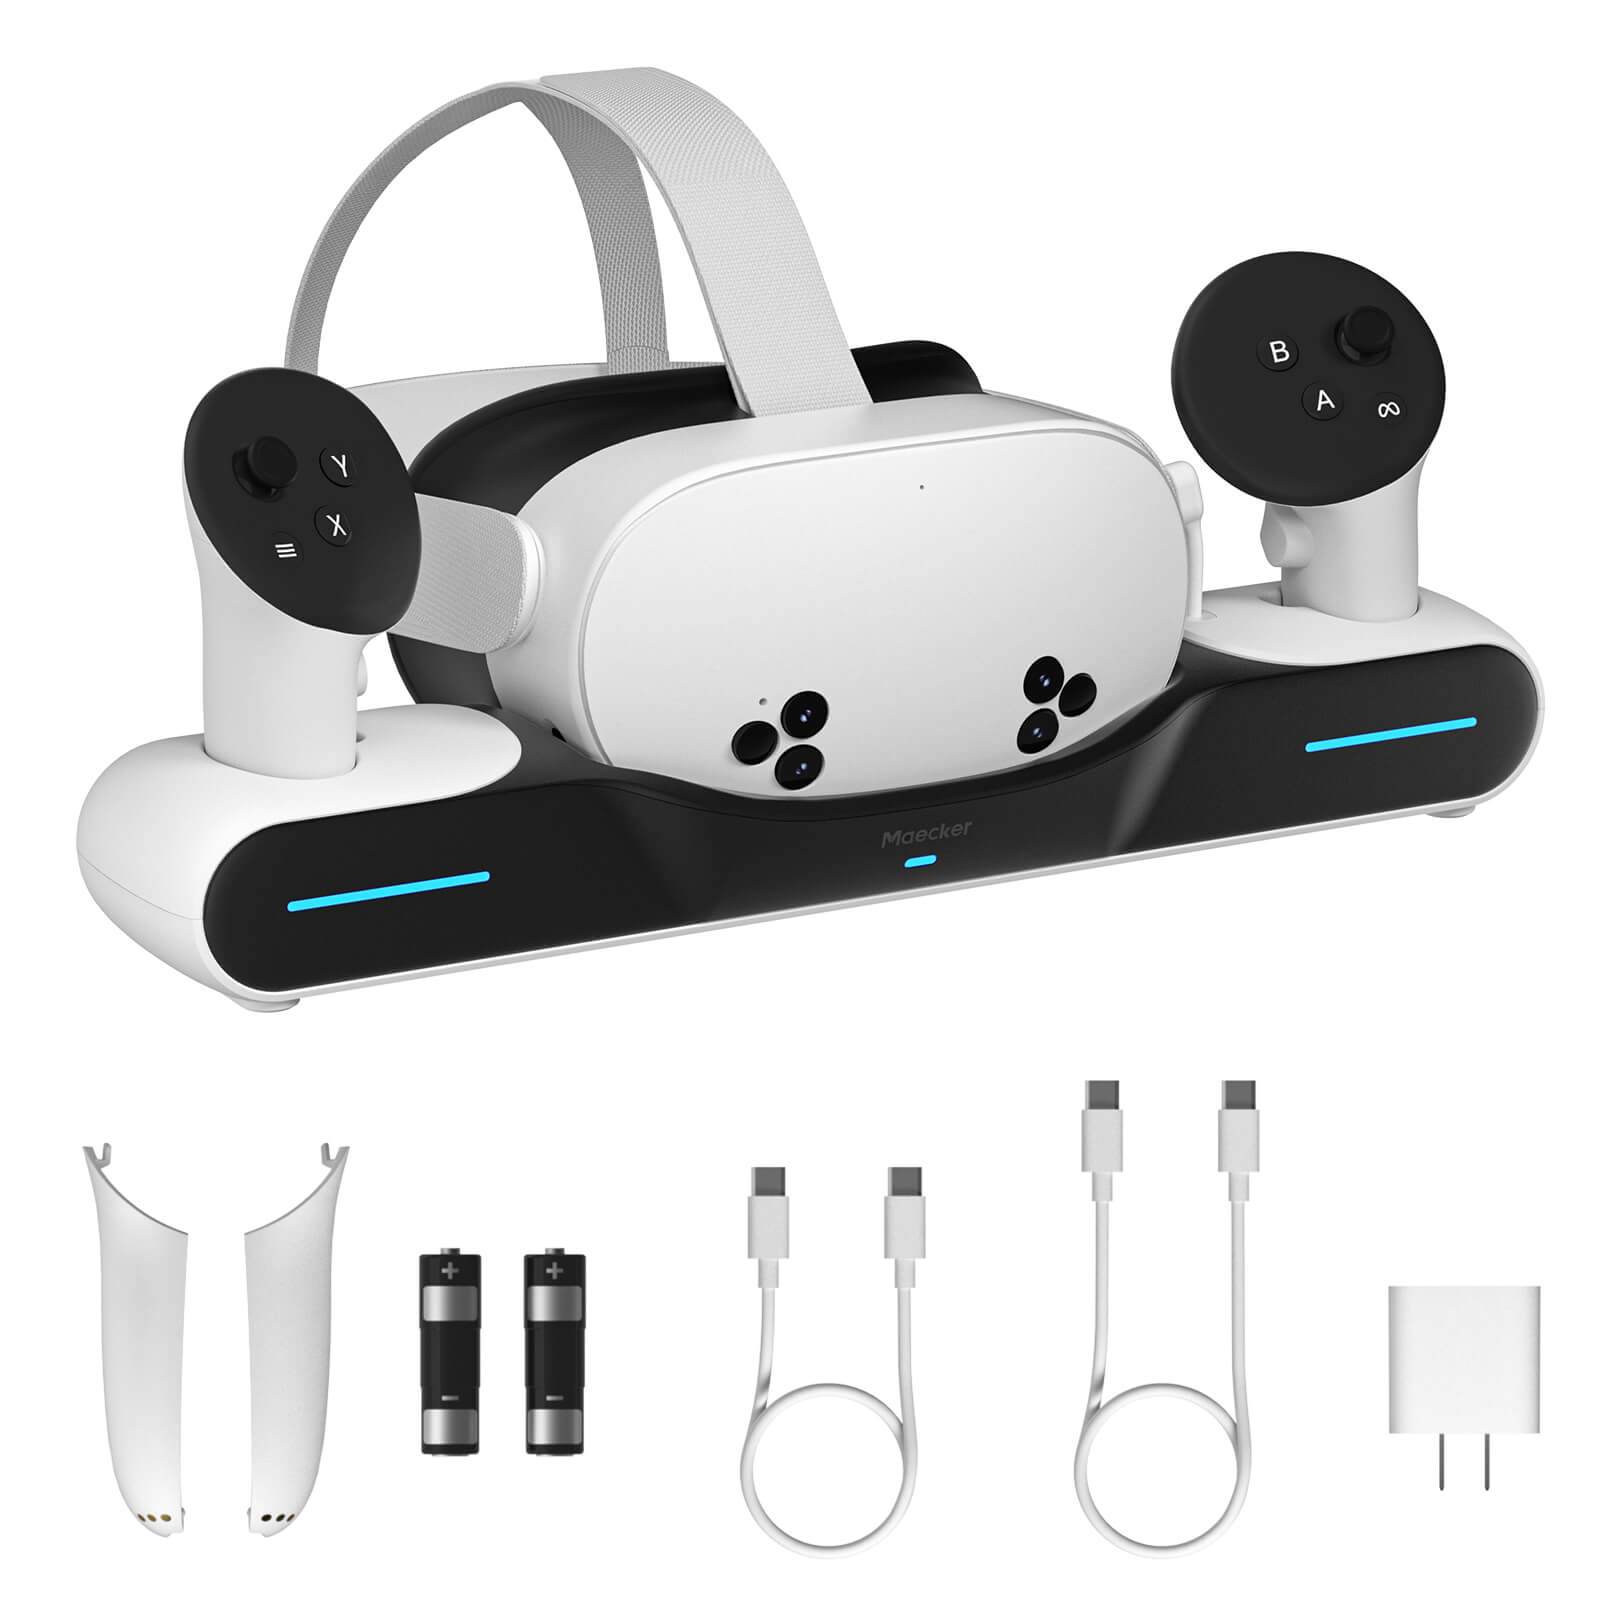
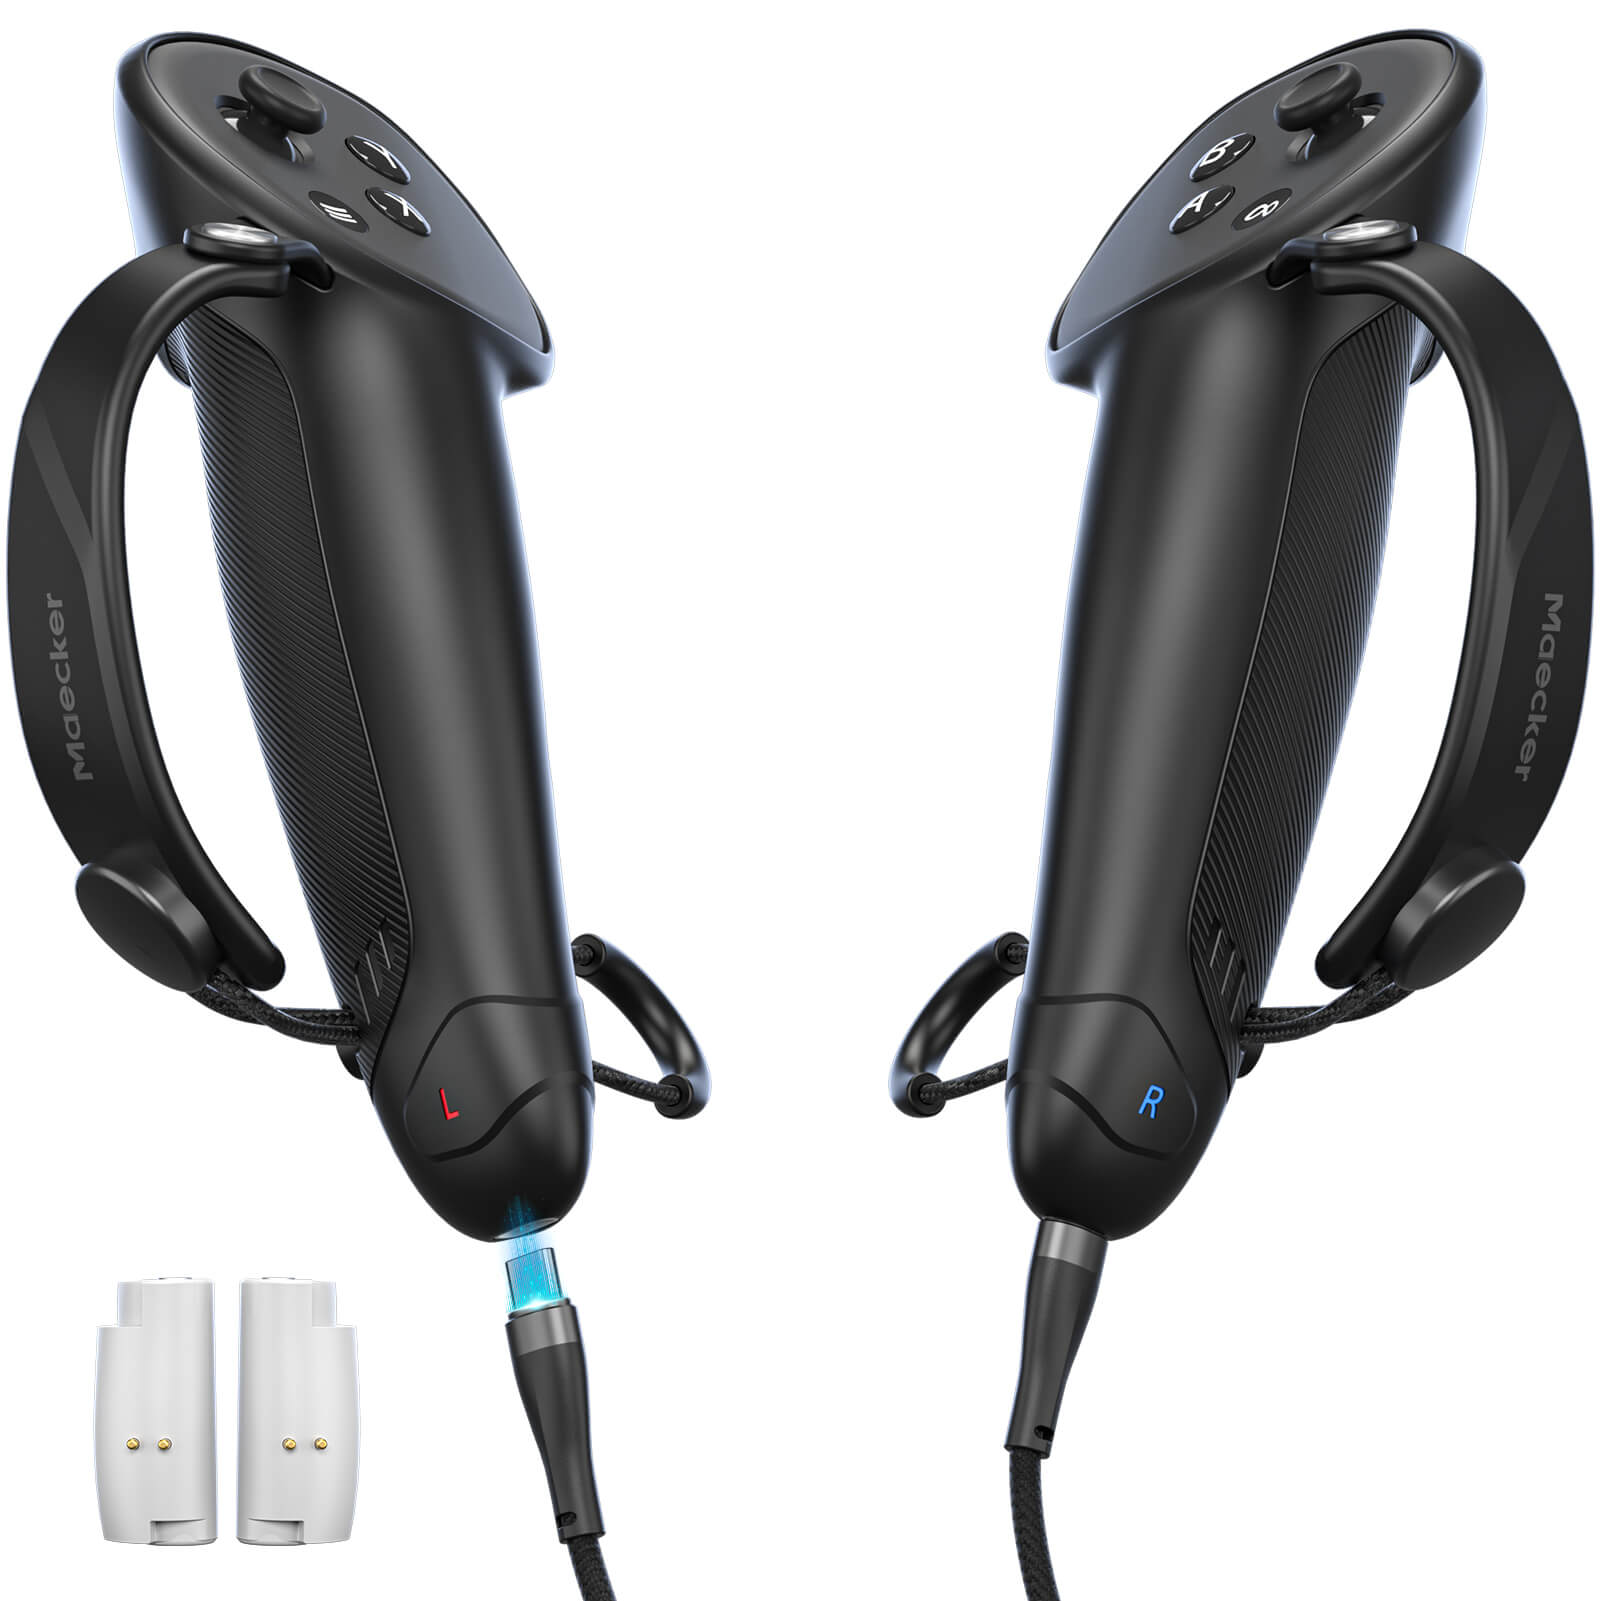
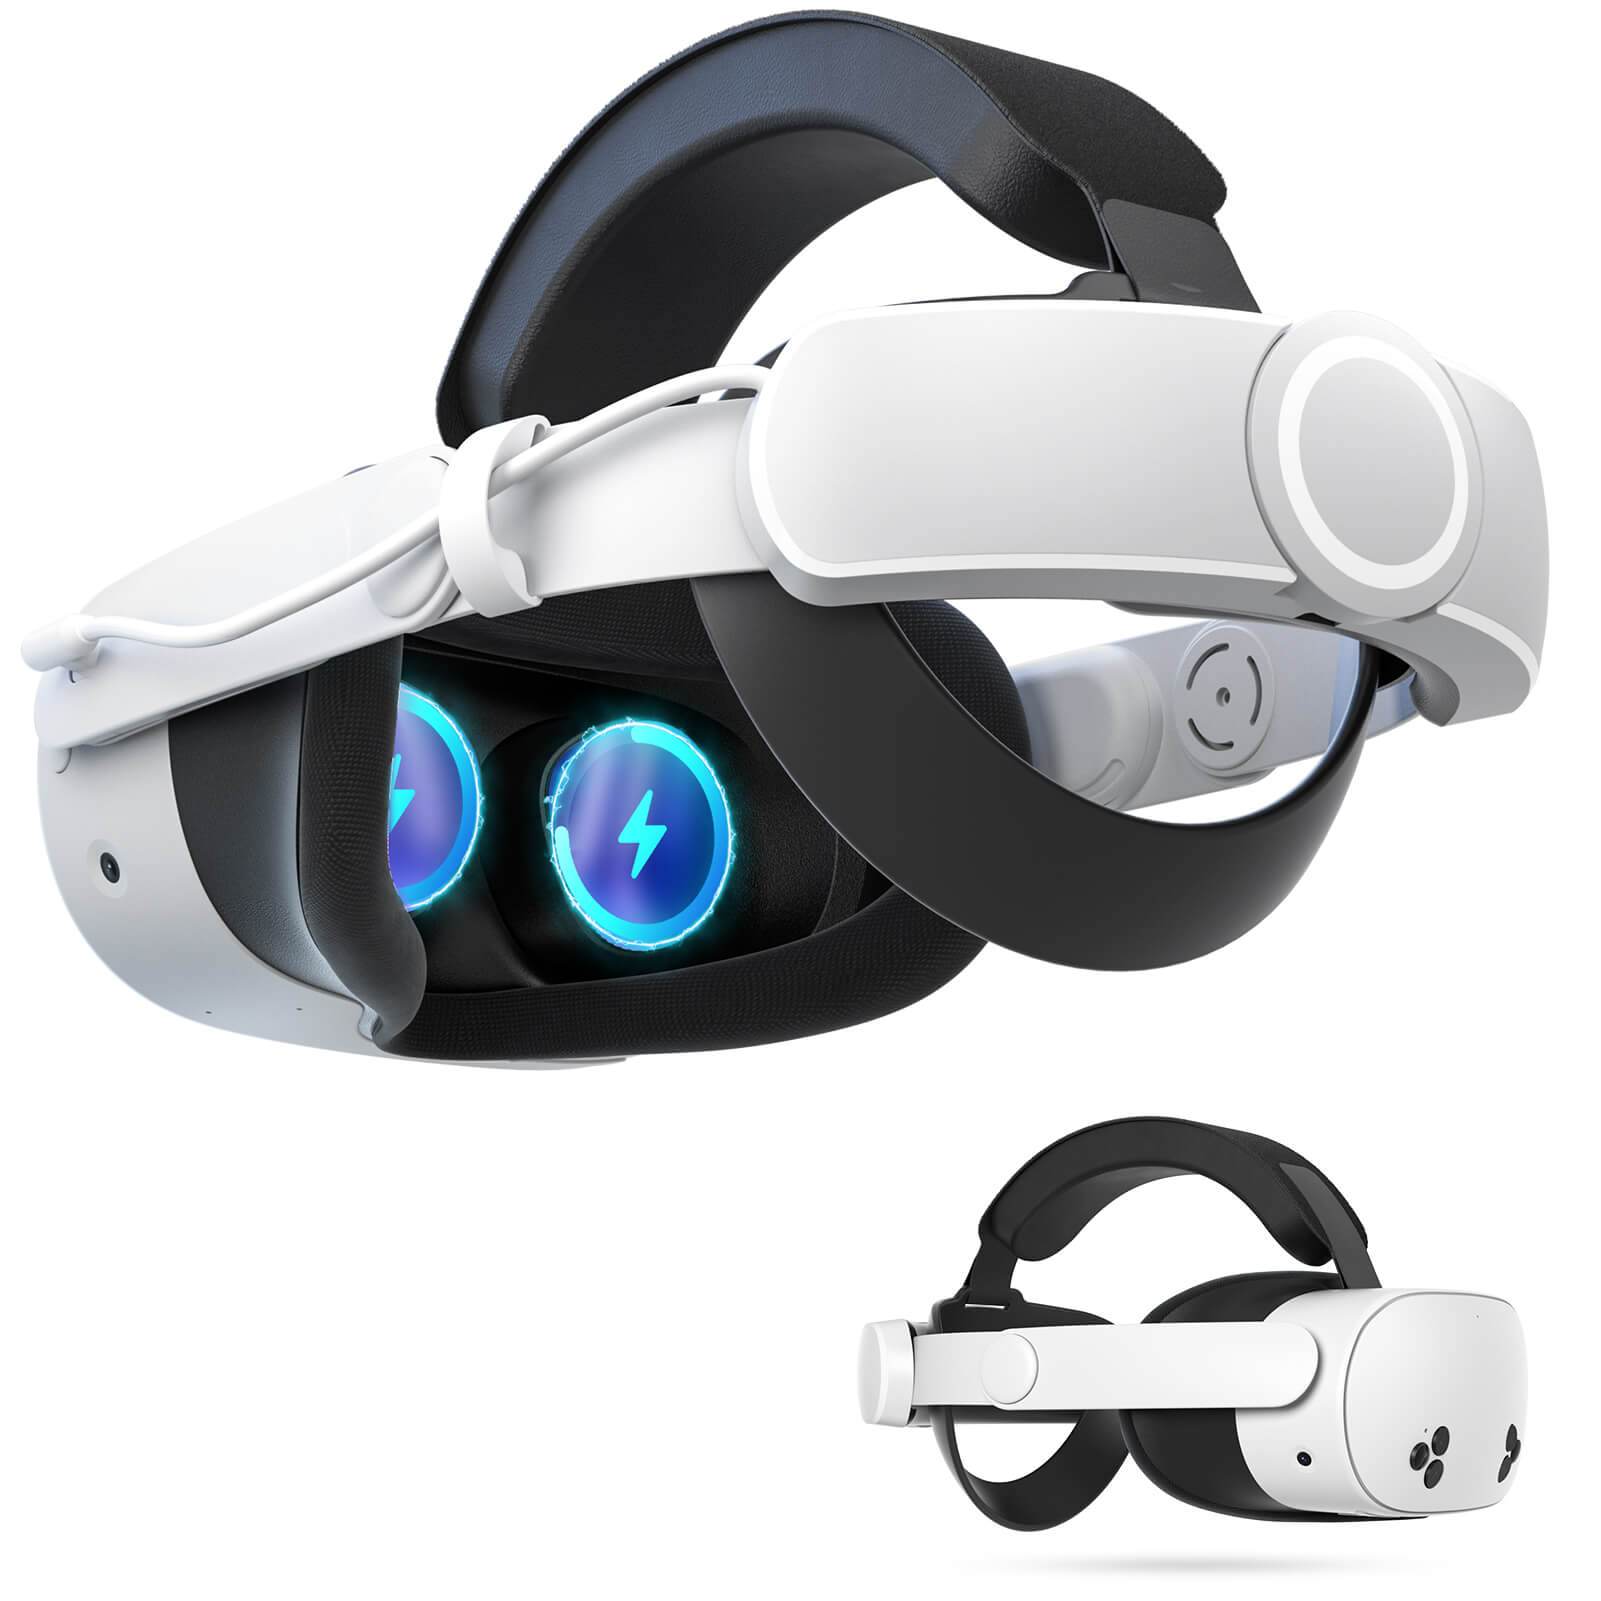
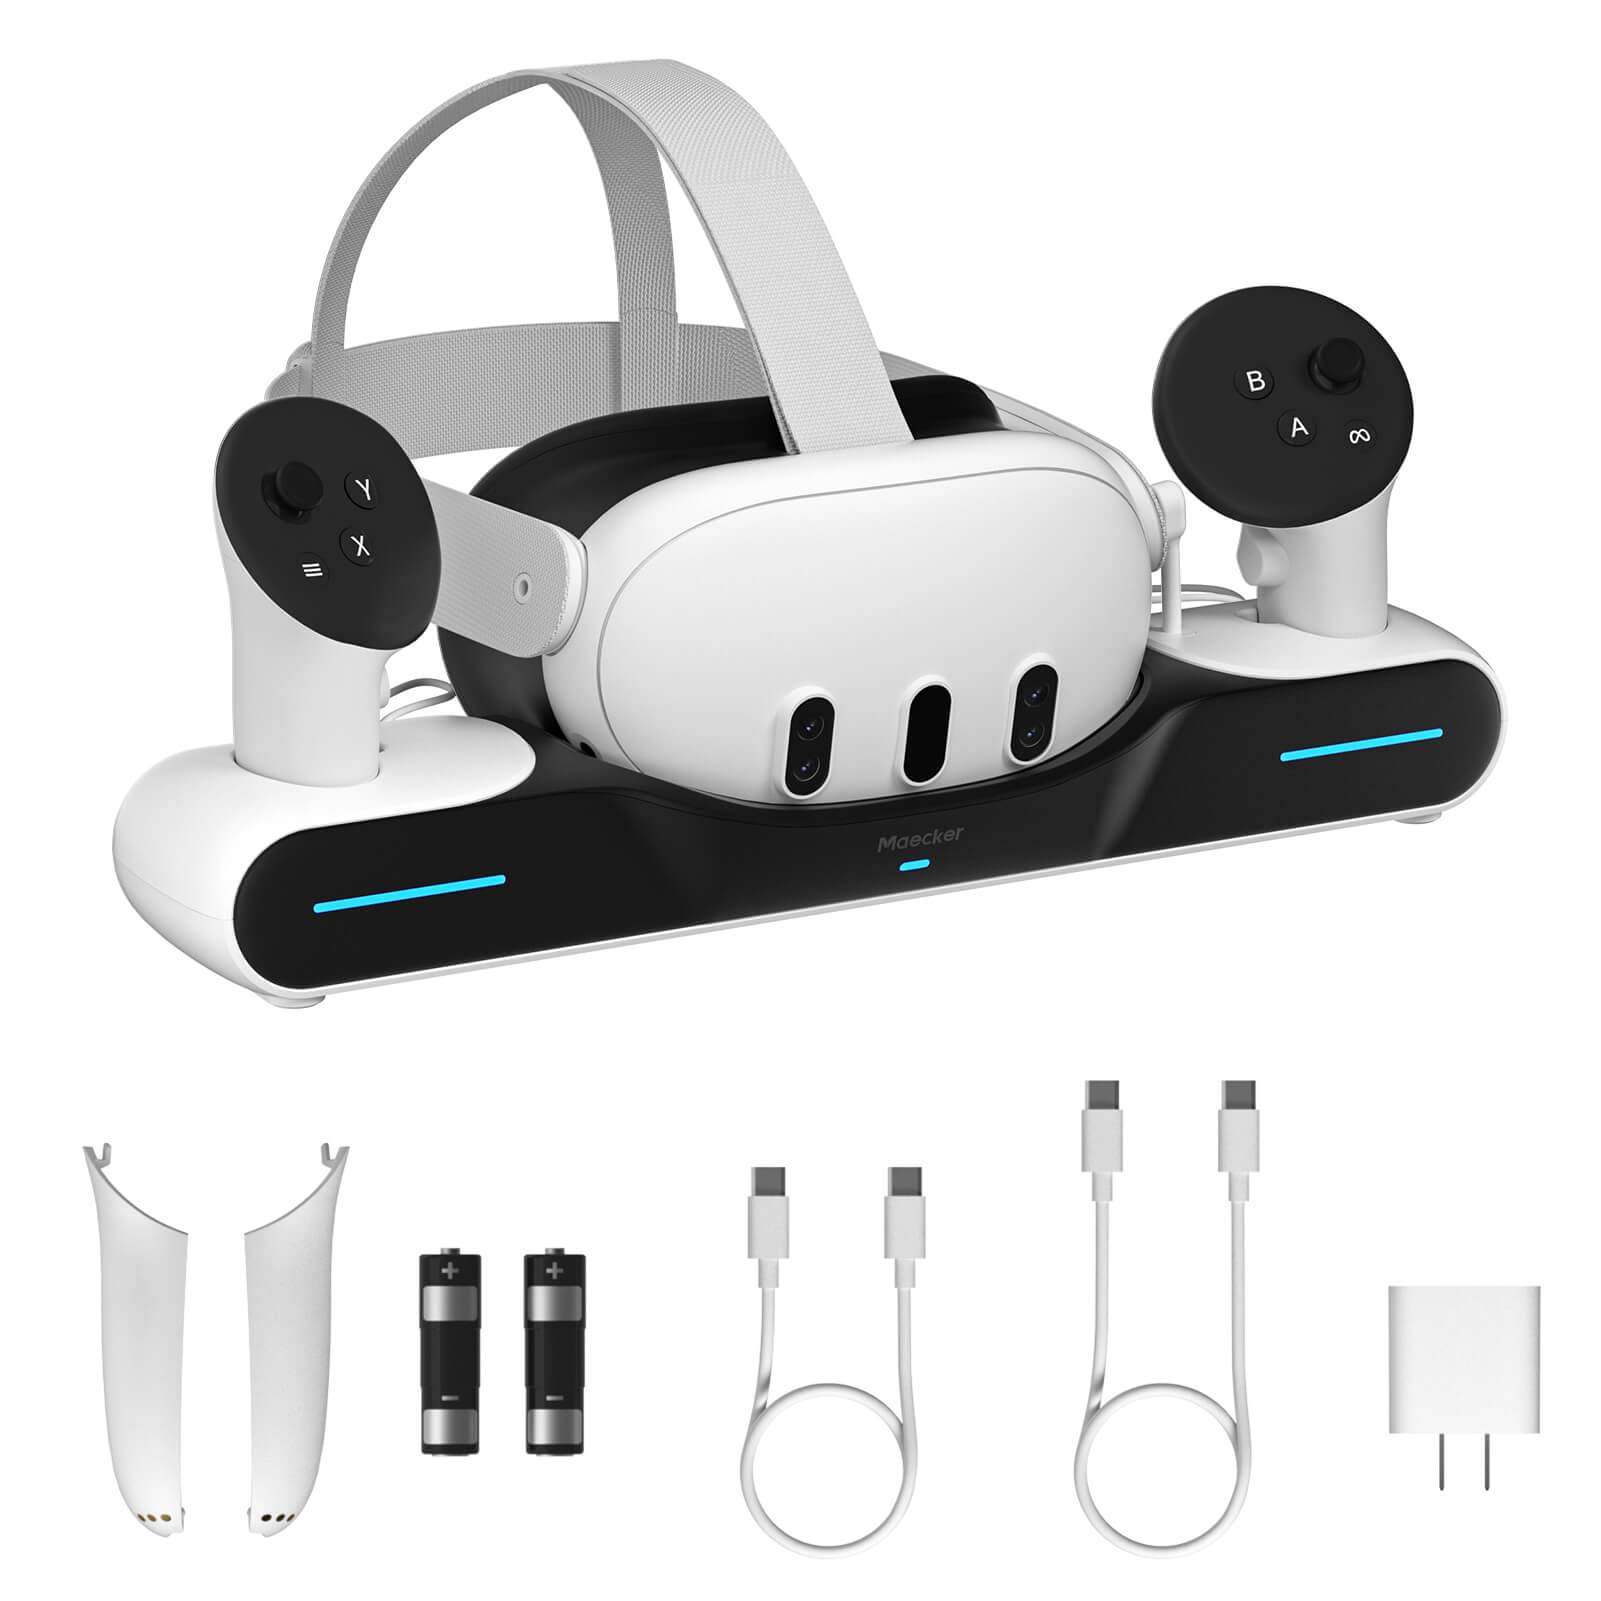
Accesorios recomendados para Meta Quest 3:
1. Correa de élite MaeckerVR Quest 3
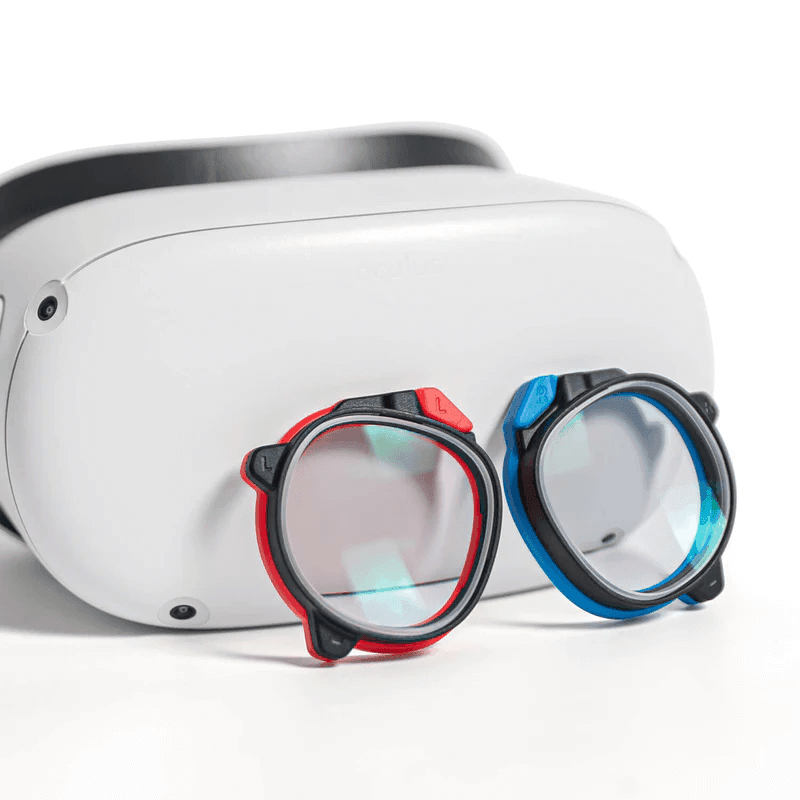
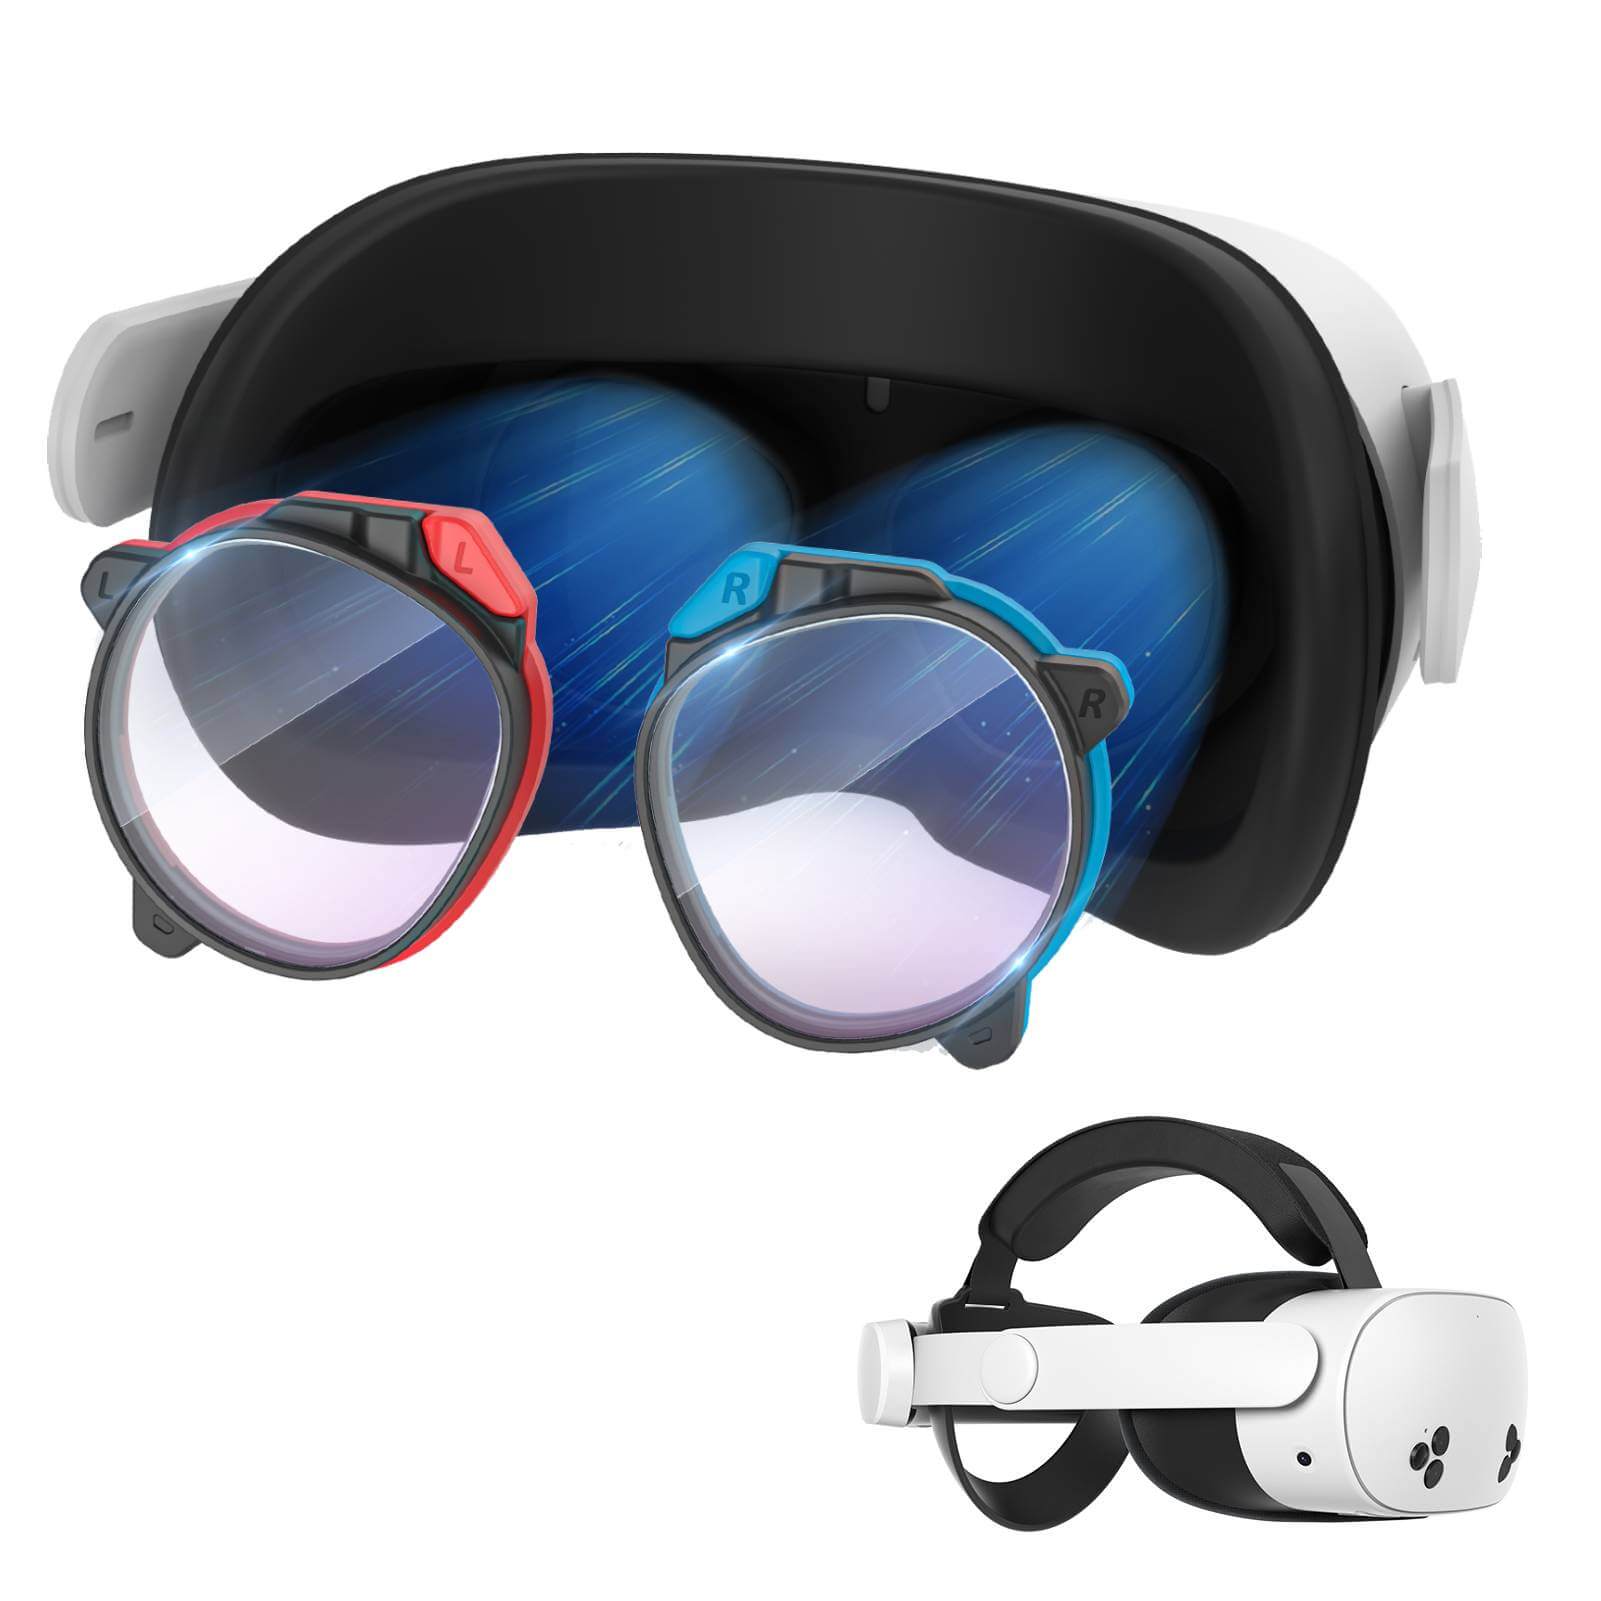
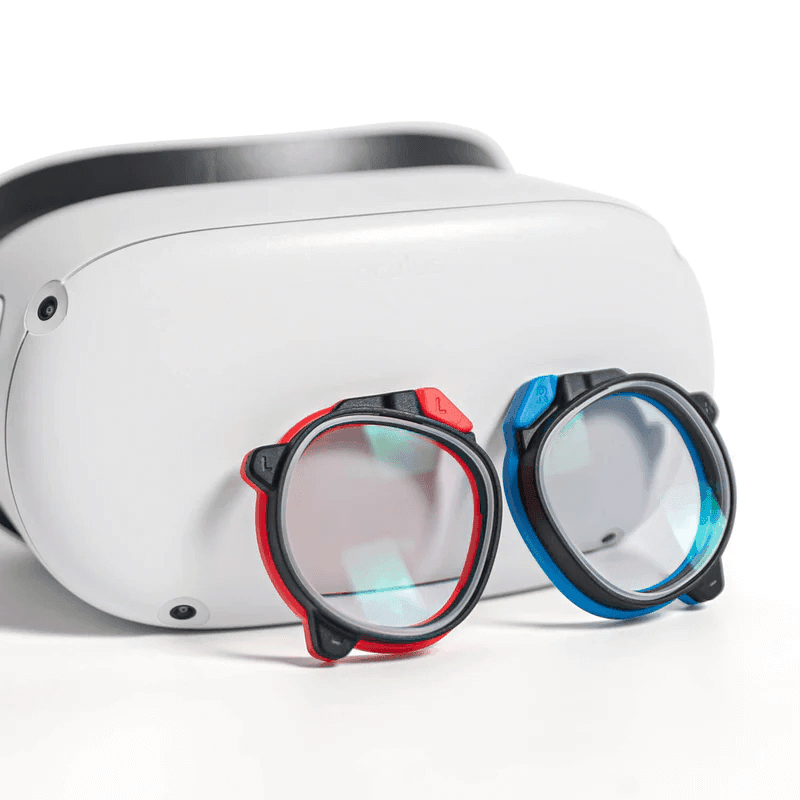
2. Lentes graduadas MaeckerVR Quest 3
Conclusión
Con tus auriculares correctamente ajustados para mayor comodidad, podrás disfrutar de juegos, películas y experiencias virtuales de inmediato. Asegúrate de que todo esté bien colocado y listo para explorar todo el potencial de tu Meta Quest 3.

