Sharing games and apps on Meta Quest has become much easier, allowing families or friends to enjoy the same apps on different headsets without purchasing them multiple times. Meta's App Sharing feature on Meta Quest devices, like the Quest 2 and Quest 3, helps users access shared content on secondary profiles. This guide will walk you through setting up game sharing, the benefits, and what to keep in mind for multiplayer games and other devices.
How To Set Up App Sharing On Meta Quest

To start sharing apps on your Meta Quest, you must set up App Sharing on the primary account of the device. This feature is designed to let one user share their purchased apps with additional profiles on the same headset, so if you have another headset in the house, this can be a helpful option.
Step 1: Ensure You’re the Primary Account on the Device
Before enabling App Sharing, log in with the primary account on the Meta Quest device. This account will act as the “admin” profile, holding ownership of the purchased games and apps. After setting it up, you can add secondary profiles to access shared content.
Step 2: Add an Additional Profile to the Meta Quest
Adding a secondary profile is the next step to sharing games. Follow these simple steps to set it up:
- Turn on your Meta Quest headset and put it on.
- Use the right controller to access the main menu.
- Click on the clock icon on the bottom left to open Quick Settings.
- Select Settings.
- Navigate to the Accounts
- Choose the option to Add Account.
- Allow the person using the secondary profile to log in with their Meta account.
Once the secondary account is added, it can access apps and games owned by the primary account once App Sharing is activated.
How To Activate App Sharing On Meta Quest

Once the secondary profile is set up, you’re ready to turn on App Sharing to make your purchased apps available for that profile. Follow these steps to enable it:
- Turn on your headset and put it on.
- Use the right controller to open the main menu.
- Click the clock icon on the bottom left to go to Quick Settings.
- Go to Settingsand then select Accounts.
- Look for the App Sharingtoggle and turn it on.
With this feature active, the secondary account can access games and apps from the primary profile. Importantly, the game saves and progress are unique to each profile, so each person can play without affecting the other's game history.
Important Details About App Sharing
When using App Sharing on Meta Quest, there are a few important points to remember:
Separate Purchases
The secondary account can buy games and apps on its own, but these purchases won't be shared with the primary account or other profiles.
One Device Only
Meta only allows App Sharing on one Meta Quest device at a time. This means that if you have multiple headsets, only one can be set as the sharing device at any given time.
Simultaneous Use Limitations
While you can log in on multiple devices with the same account, you can’t use the same app on different devices at the same time. However, multiple accounts on the same headset can access a shared app simultaneously.
How To Share For Multiplayer Games On Meta Quest

One question many users have is if App Sharing can support multiplayer games across different headsets. Currently, Meta’s App Sharing isn’t optimized for multiplayer gaming. For example, you can't use the same game on two different Meta Quest headsets to join a multiplayer game together.
The sharing feature is more suited for single-player games or experiences where each person wants to play on their own profile without needing to buy the game twice. For multiplayer experiences, both players will need separate purchases or accounts to play simultaneously on different headsets.
How To Set Up App Sharing On Another Meta Quest Device

Since App Sharing only works on one Meta Quest headset at a time, if you want to switch devices, you'll need to follow a simple process to change the designated sharing device.
- Open Settingson the Meta Quest headset currently set to share apps.
- Go to Accountsand turn off App Sharing.
- Then, on the new headset where you want to enable sharing, log in with the primary account, go to Settings> Accounts, and turn on App Sharing again.
This feature is ideal if you decide to switch headsets but still want to keep shared apps available on a different device.
How App Sharing Works With Multiple Profiles On Meta Quest
Meta Quest’s App Sharing feature allows multiple profiles to share apps on a single device, providing access to purchased apps without impacting the primary account’s settings. Additional profiles on the same device can view and play the shared apps but cannot share apps they purchase with other profiles.
If an additional profile logs in to a new device, they will still have access to all the apps and experiences they’ve personally bought. By using App Sharing, Meta Quest users can make the most of their app purchases, allowing friends or family to access apps on one device.
Limitations To Keep In Mind
While Meta's App Sharing is an excellent way to share apps across profiles, there are some limitations:
Single-Device Restriction
Only one device at a time can have App Sharing active. If you have multiple Meta Quest headsets, you must choose one to share apps on.
One-Way Sharing
Shared apps from the primary account are available to other profiles, but apps bought by additional profiles are not shared with the primary account or other profiles.
Single-Player Only
Multiplayer features generally require each user to have their own app purchase on different devices, as App Sharing is primarily for individual use.
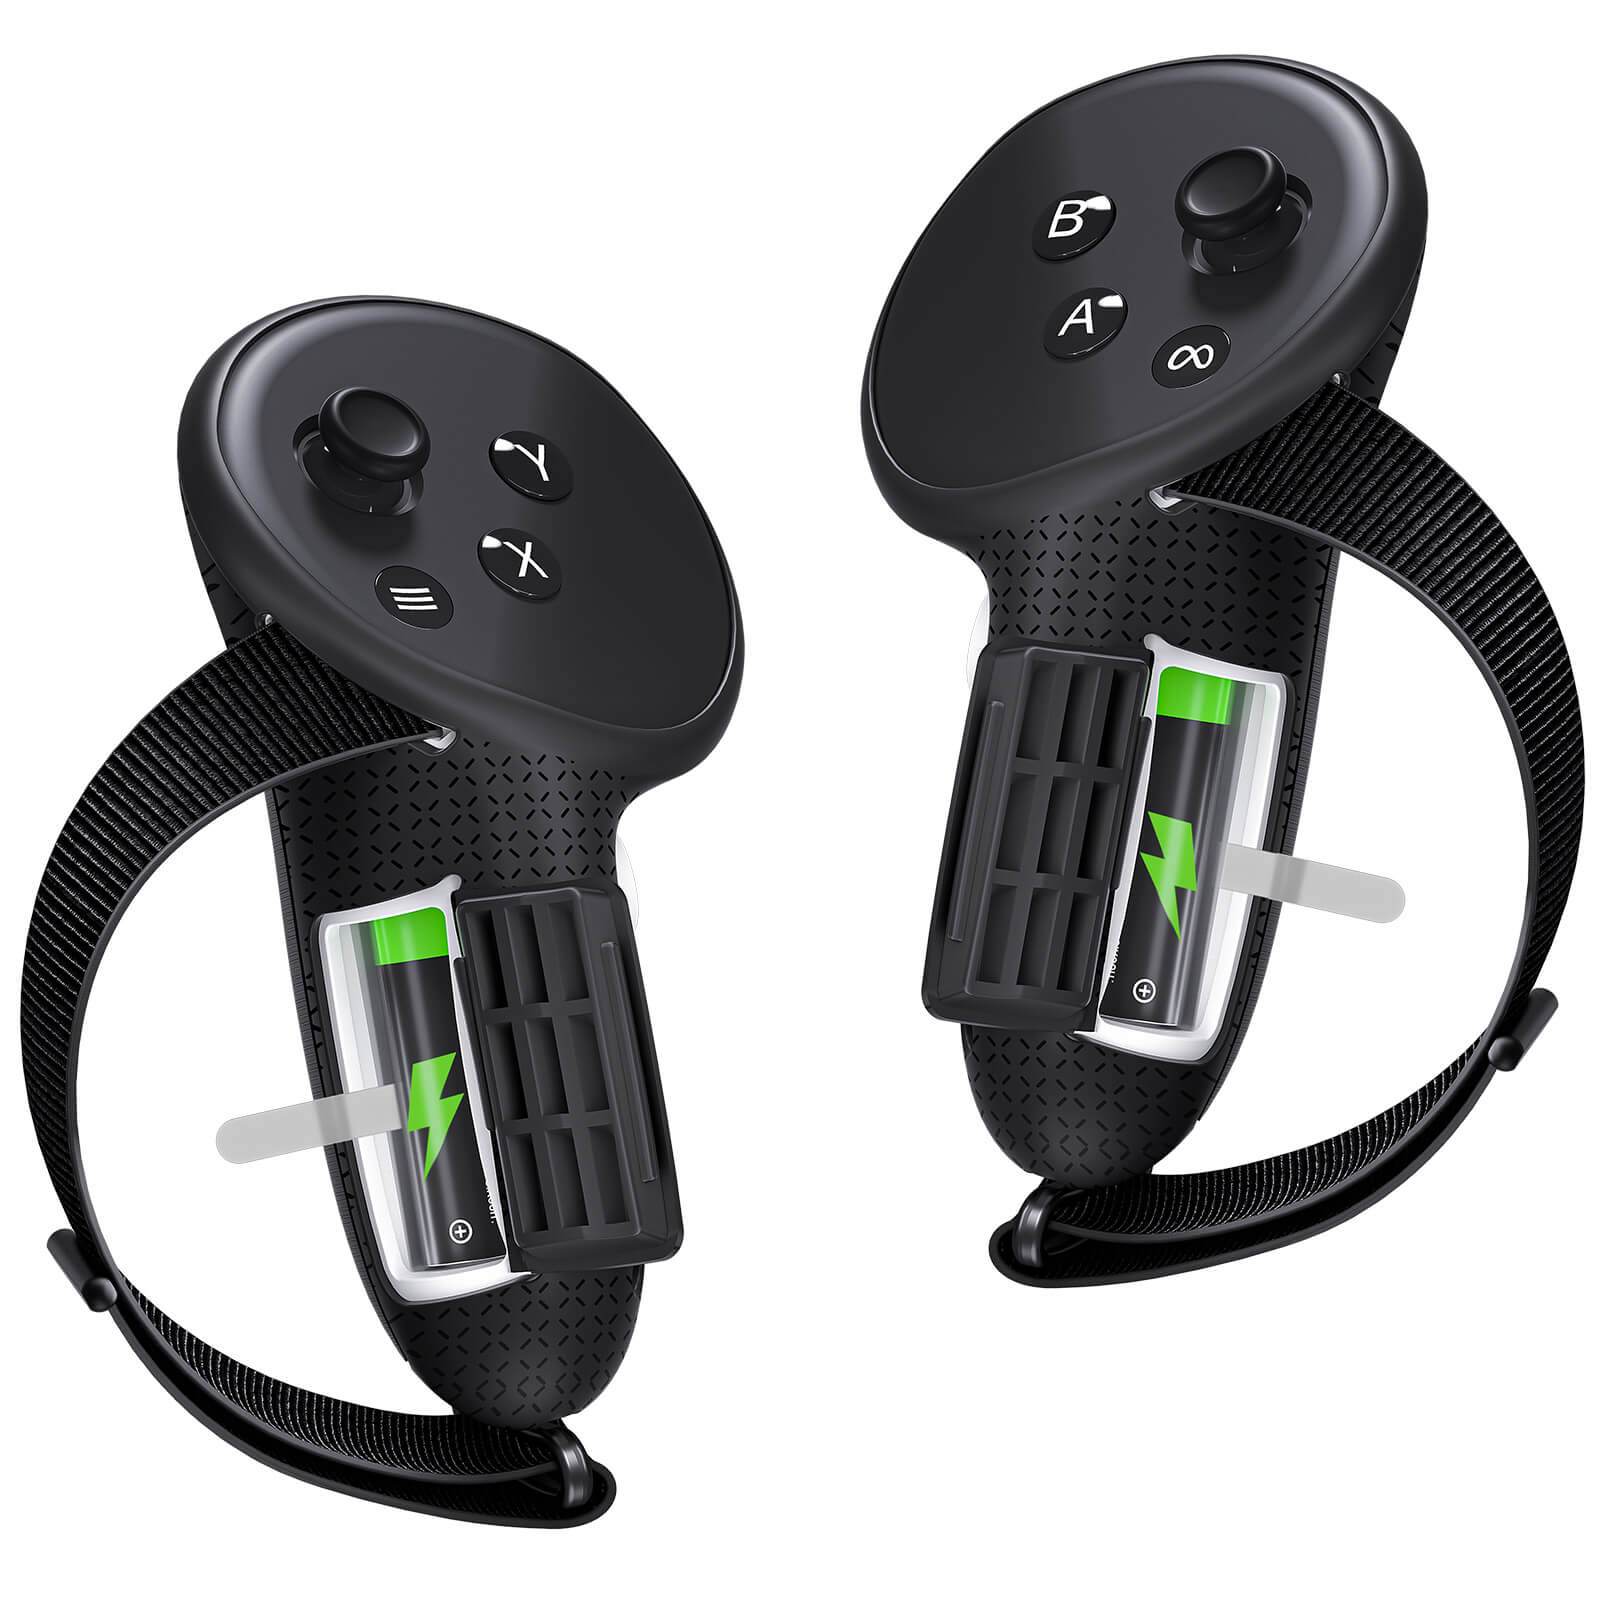
Recommended Meta Quest Accessories:
1. MaeckerVR Quest 3 Battery Head Strap
Conclusion
Meta Quest’s App Sharing feature provides an excellent way to share apps with other profiles on the same device, making it easy for families to access games without buying them multiple times. By following this guide, you can set up App Sharing, switch devices if necessary, and understand its best uses and limitations.
Using App Sharing is ideal for single-player games or experiences where family members want access to a shared app on one headset. For multiplayer needs, consider buying separate copies of the game so each user can fully enjoy Meta Quest’s multiplayer options.



2 comments
Karan Nikalje
Gaming hud
Gaming hud
Fraser
Thanks for this article but it seems a bit contradictory to me.
What I want to know is if we buy a second headset will we need to buy some of the games already bought for the first headset again.
I’m pretty sure now that if we want to play each other we will need to buy 2 copies of a game (which isn’t fair of course – bad Meta!), but are we unable to have access to a game on both headsets without having to buy it twice? So we can at least play the game in other ways (e.g. as a 1 player game or against strangers online) at the same time.
Would appreciate finally knowing the answer to this before deciding I we are happy to proceed with buying another headset.