


Setting up your Meta Quest 3 is an exciting experience, especially if you're new to virtual reality. The Meta Quest 3 is packed with features that make it a standout choice for both beginners and experienced users. This guide will walk you through the process, ensuring a smooth setup so you can start enjoying VR as soon as possible.
1. Unbox And Charge Your Meta Quest 3
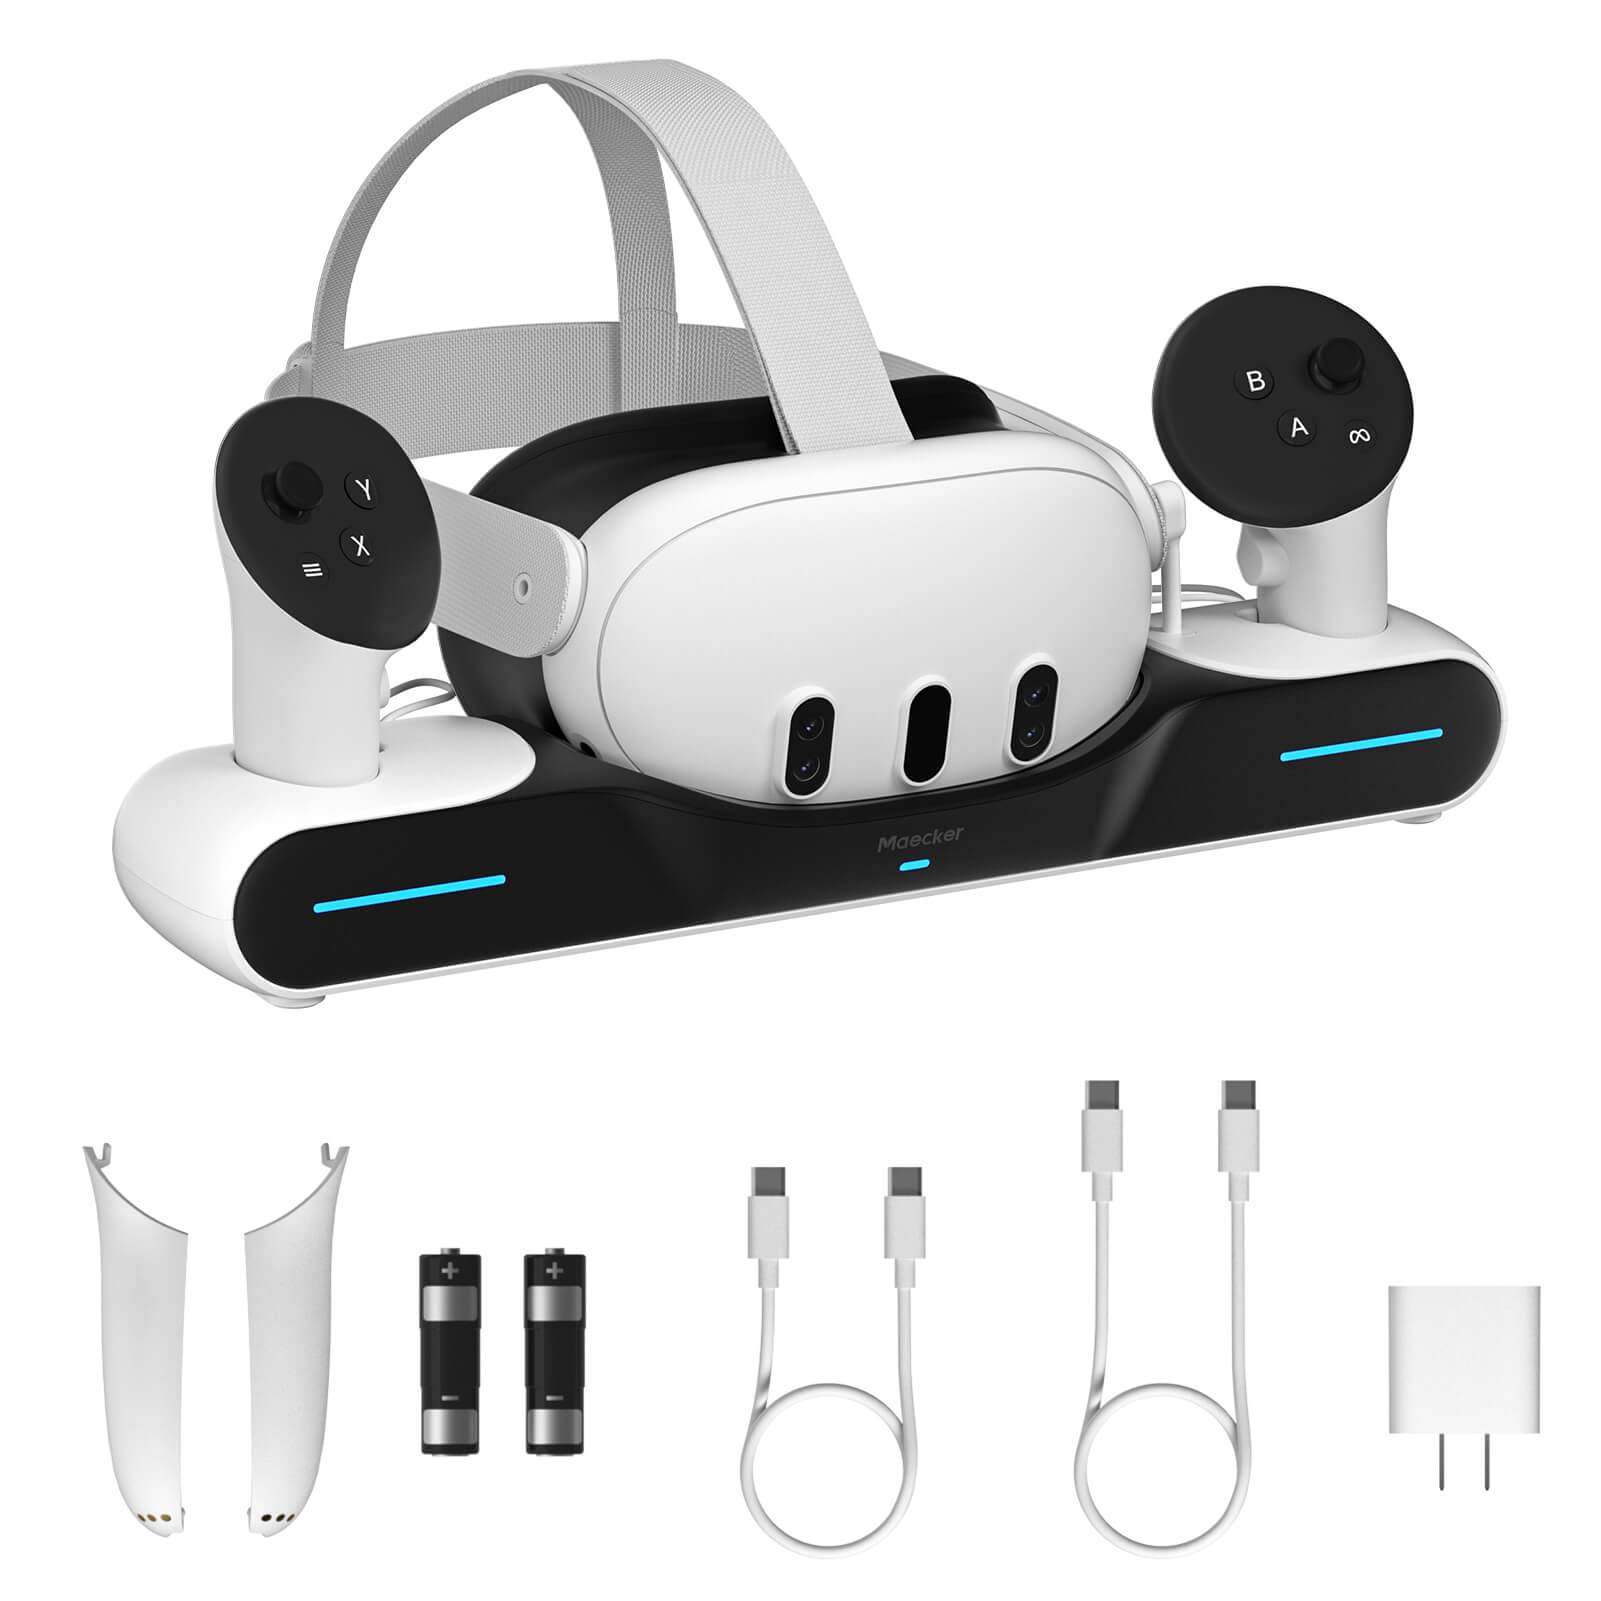
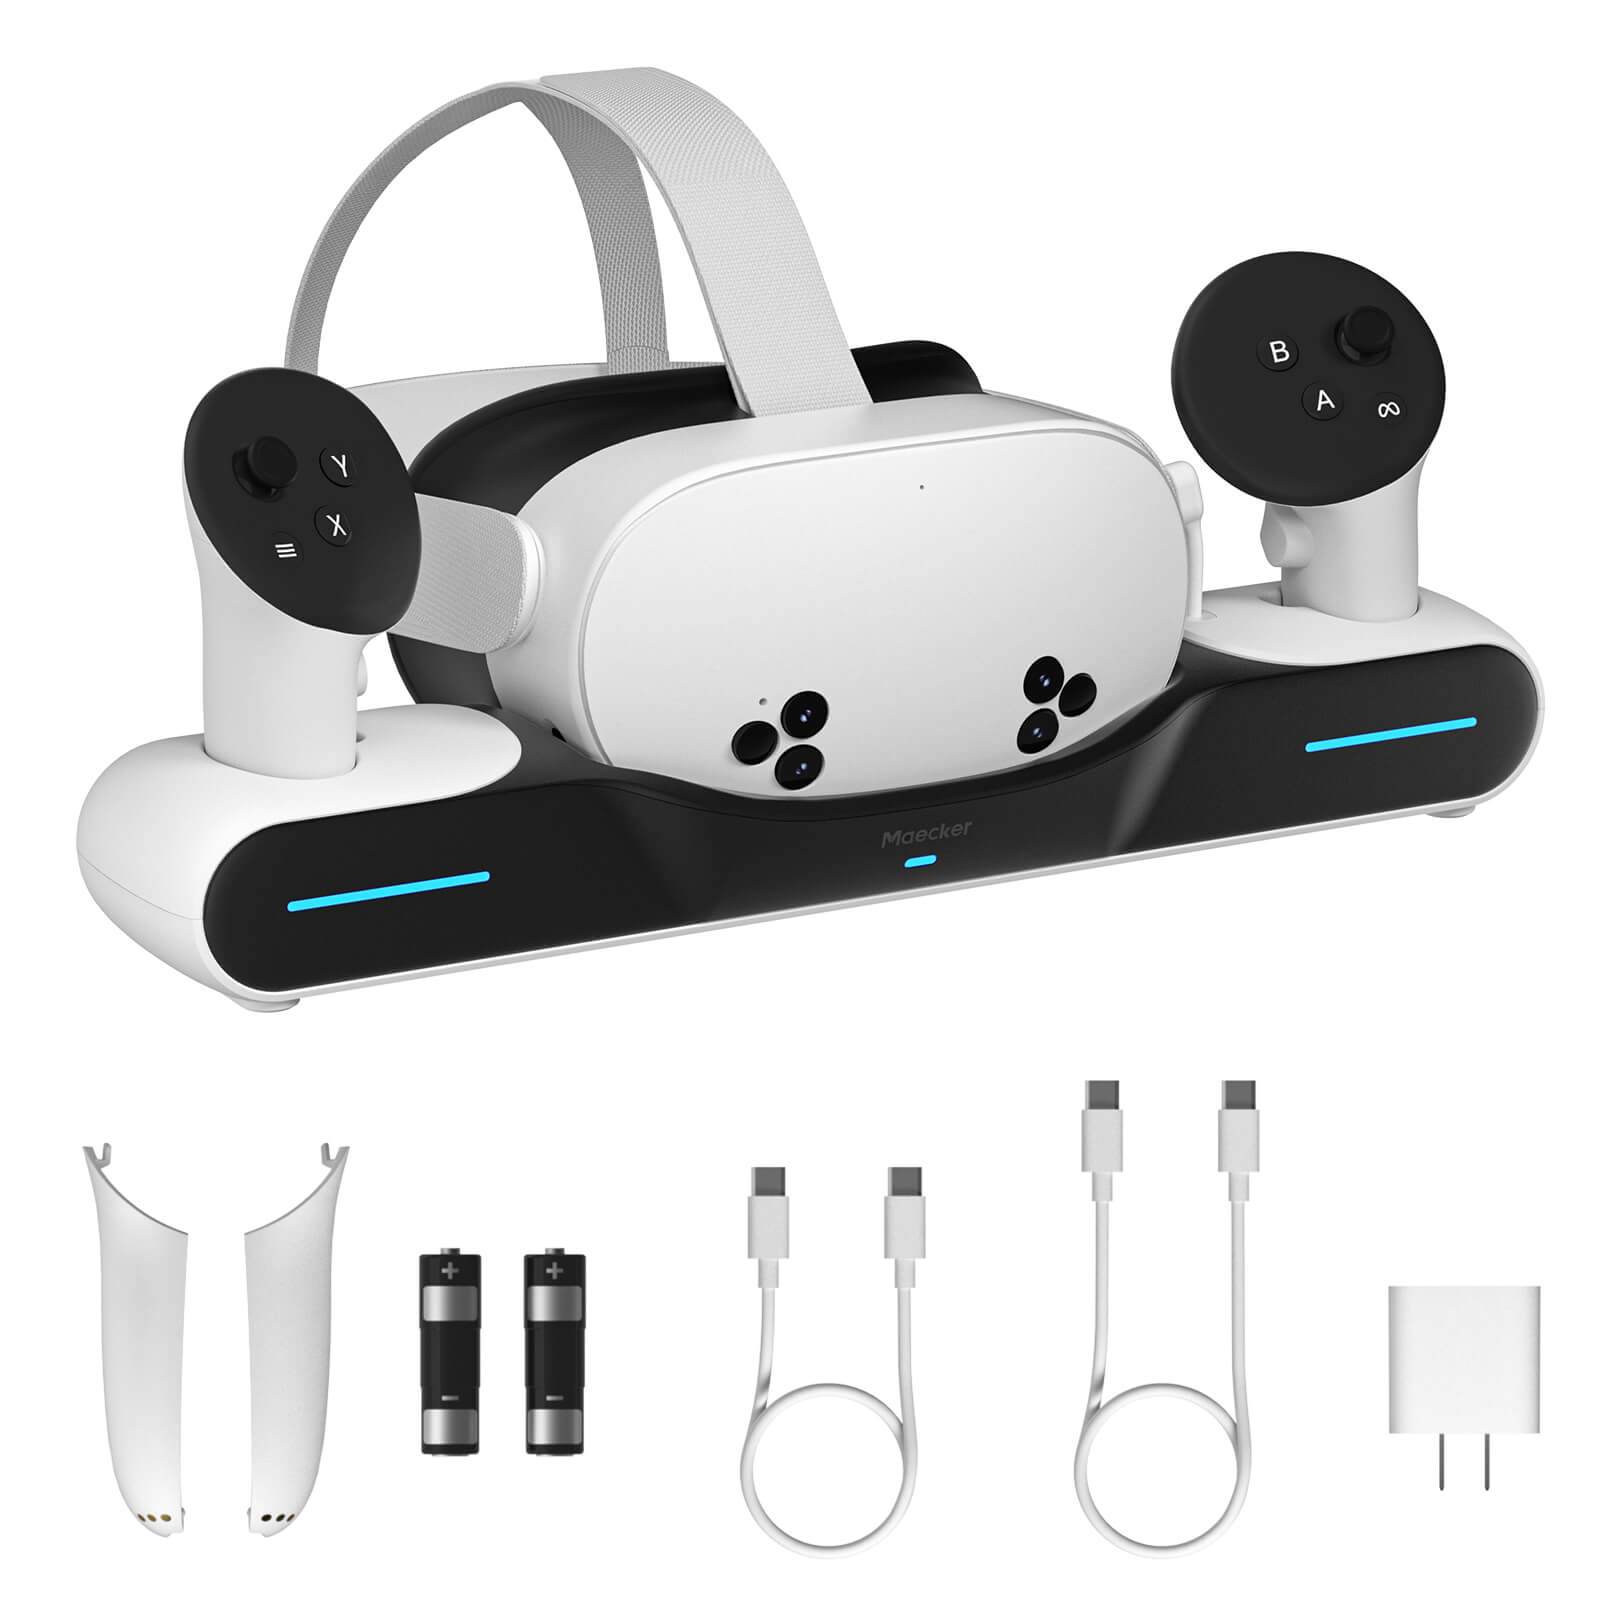
Before you start using your Meta Quest 3, the first step is to unbox the device and ensure it’s fully charged. When you open the box, you'll find the headset, two controllers, a power adapter, and a charging cable.
Unboxing
Carefully remove the headset and controllers from the packaging. Be sure to peel off any protective films on the lenses and any other parts that might have them. This ensures your visuals are clear and the device is ready to function properly.
Charging
Before your first use, it's important to fully charge the headset. Plug the included charging cable into the USB-C port located on the left side of the headset and then connect the other end to the power adapter. Plug it into a power outlet and let the headset charge until it reaches 100%. This can take a couple of hours but ensures that you won't run out of battery during your initial setup or use.
2. Power On And Pair Your Controllers
To turn on your Meta Quest 3, press and hold the power button on the left side of the headset for about three seconds. You should hear a chime sound and see the Meta logo appear inside the headset, indicating it’s booting up.
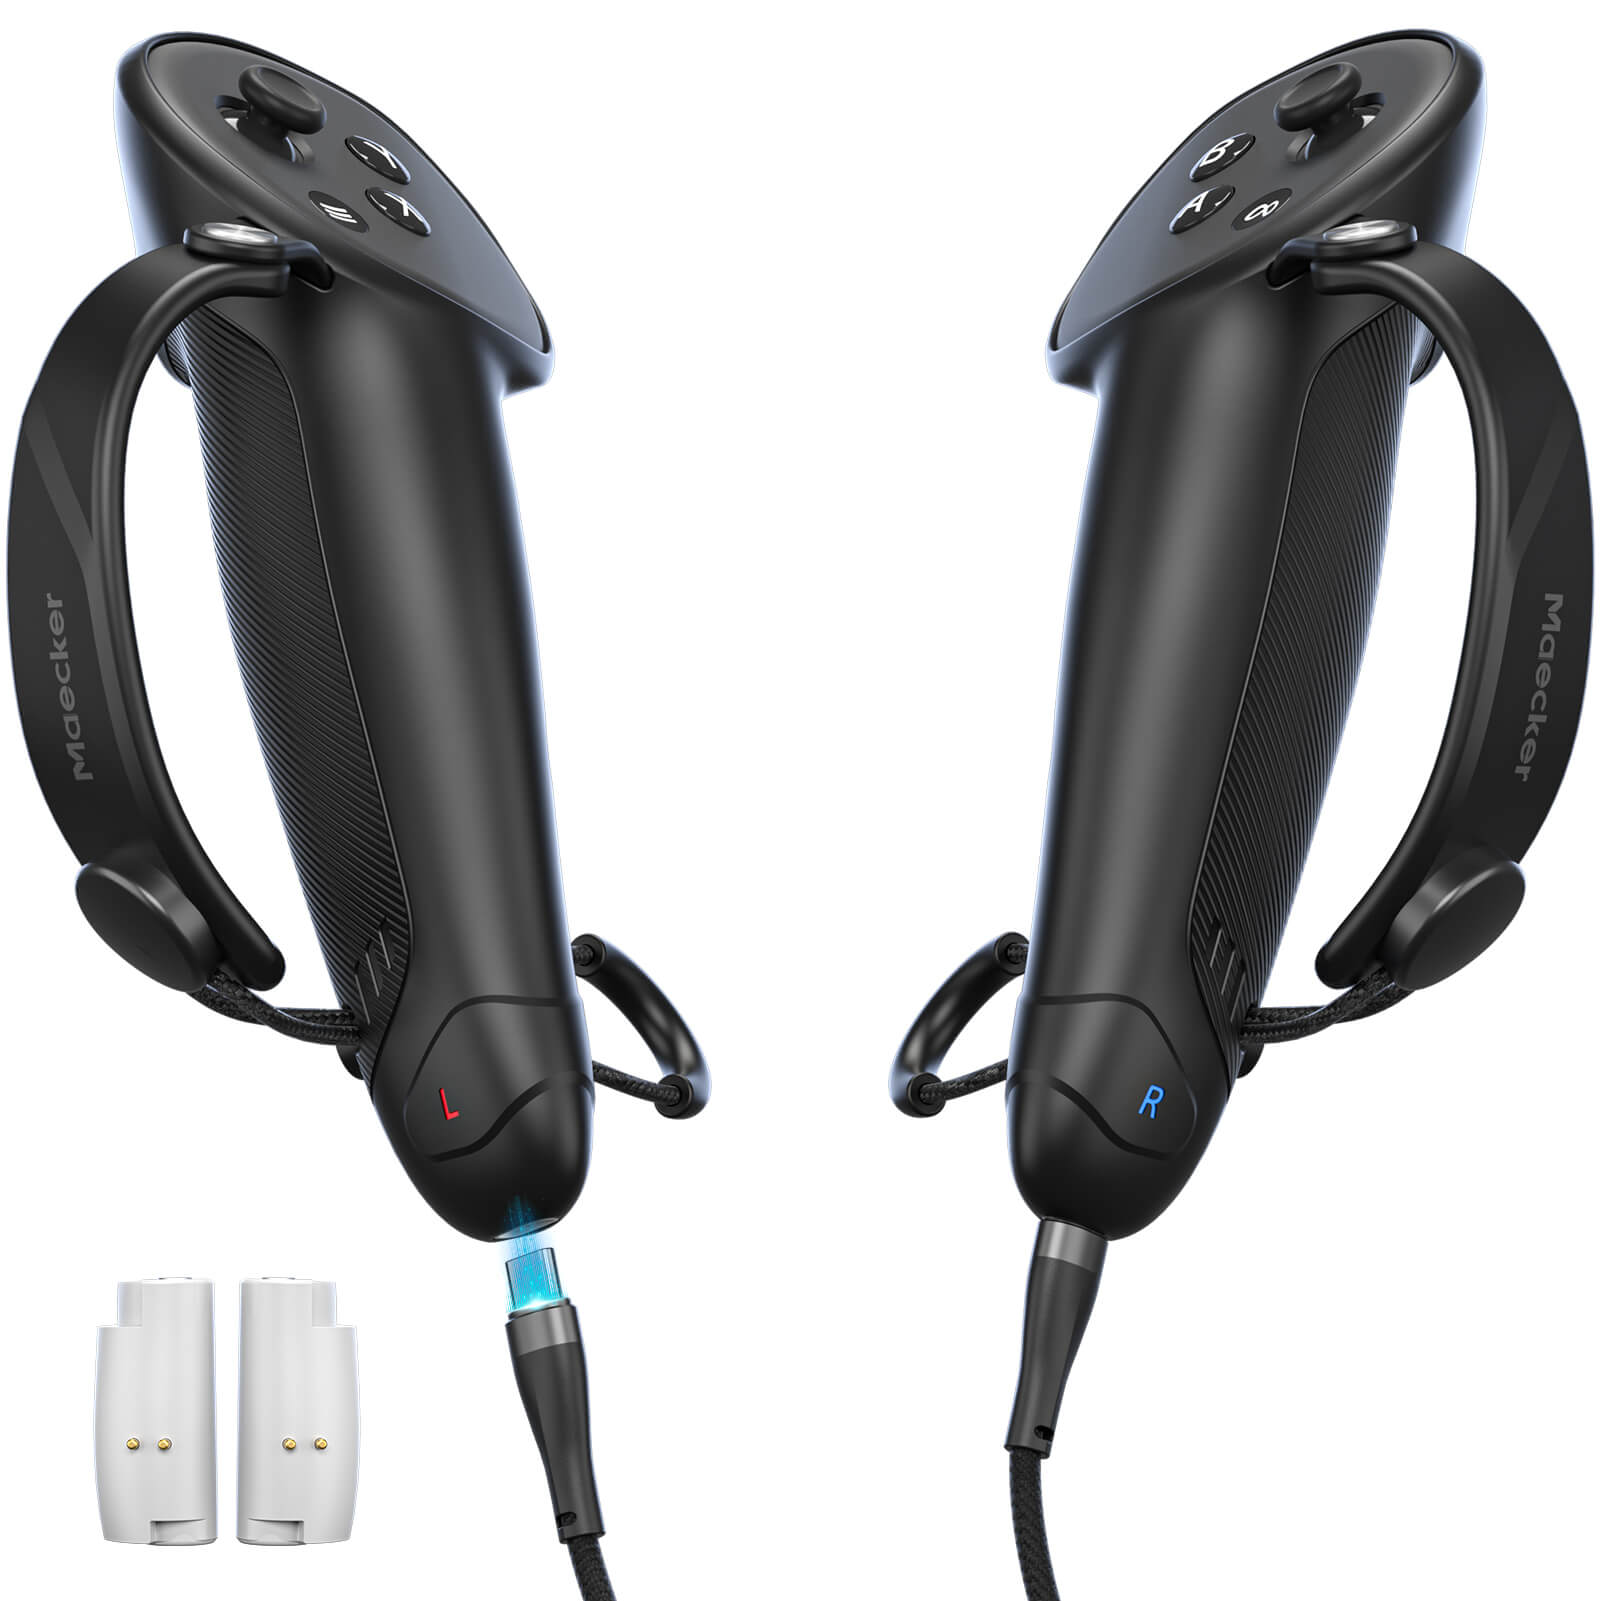
Each controller has a small tab or paper blocker in the battery compartment. Gently pull out these tabs to activate the batteries. Once the tabs are removed, your controllers will automatically pair with the headset. If not, you can manually pair them by pressing and holding the buttons as instructed.
3. Set Up Your Meta Account
Your Meta account is essential for accessing content, apps, and games on your Meta Quest 3. You can set this up through the Meta Quest app, available on both iOS and Android.
- Start by downloading the Meta Quest app from the App Store or Google Play Store.
- Once installed, open the app and log in using your existing Facebook or Instagram account.
If you don’t have an account, you can create a new Meta account within the app.
After logging in, the app will prompt you to pair a new device. Follow the on-screen instructions to link your Meta Quest 3 headset to your account. This will usually involve scanning a QR code displayed on your phone’s screen with your headset.
4. Initial Setup And Calibration
Once your account is set up, it’s time to go through the initial setup process on the headset itself.
Language Selection
The first thing you'll do in the headset is choose your preferred language. This ensures that all instructions, menus, and settings are displayed in a language you understand.
Wi-Fi Connection
Connecting your Meta Quest 3 to a Wi-Fi network is important as it allows you to download updates, apps, and games. Select your home Wi-Fi network, enter the password, and ensure the connection is stable.
Adjusting The Fit
To make sure the headset is comfortable and provides the best experience, you need to adjust the fit. Start by loosening the back straps and placing the headset on your face. Adjust the straps so the headset fits securely without feeling too tight. The goal is to have the headset secure without causing discomfort.
Lens Adjustment
The Meta Quest 3 features adjustable lenses to match the distance between your eyes, known as the interpupillary distance (IPD). Use the wheel on the bottom left side of the headset to adjust the lenses. Move them closer or farther apart until the image in the headset is sharp and clear.
5. Create Your VR Boundary
To ensure safety while using the Meta Quest 3, you'll need to set up a virtual boundary known as the Guardian.
Automatic Boundary Setup
The headset has sensors that can automatically detect your surroundings and suggest a boundary. Simply follow the prompts in VR, and the headset will outline the safe area where you can move freely without bumping into objects.
Manual Boundary Setup
If the automatic setup doesn’t work well for your space, you can manually draw the boundary using the controllers. Just point at the floor and trace the area you want to designate as safe. Make sure there’s enough space for you to move around comfortably during gameplay.
6. Adjust The Fit And Comfort Of Your Meta Quest 3
For a comfortable VR experience, it’s important to fine-tune the fit of your Meta Quest 3.
Strap Adjustment
The headset comes with adjustable straps. Loosen or tighten the back and top straps to distribute the weight evenly across your head. This helps reduce strain during long gaming sessions.
Depth Adjustment
The Meta Quest 3 features depth adjustment buttons that let you move the lenses closer or farther from your face. This is especially useful if you wear glasses or want to avoid the lenses pressing too hard against your face. Hold down the buttons next to the lenses and slide the interface forward or backward to find the most comfortable position.
7. Finalize The Setup With The Meta Horizon Mobile App
After completing the initial setup in the headset, go back to the Meta Horizon app on your phone. Make sure Bluetooth is enabled and follow the prompts to complete the pairing process.
Once paired, you can use the app to browse the store, download new apps, and manage your VR experience. The app also lets you cast what you see in VR to your phone or TV, so others can watch along.
Recommended Meta Quest 3 Accessories:
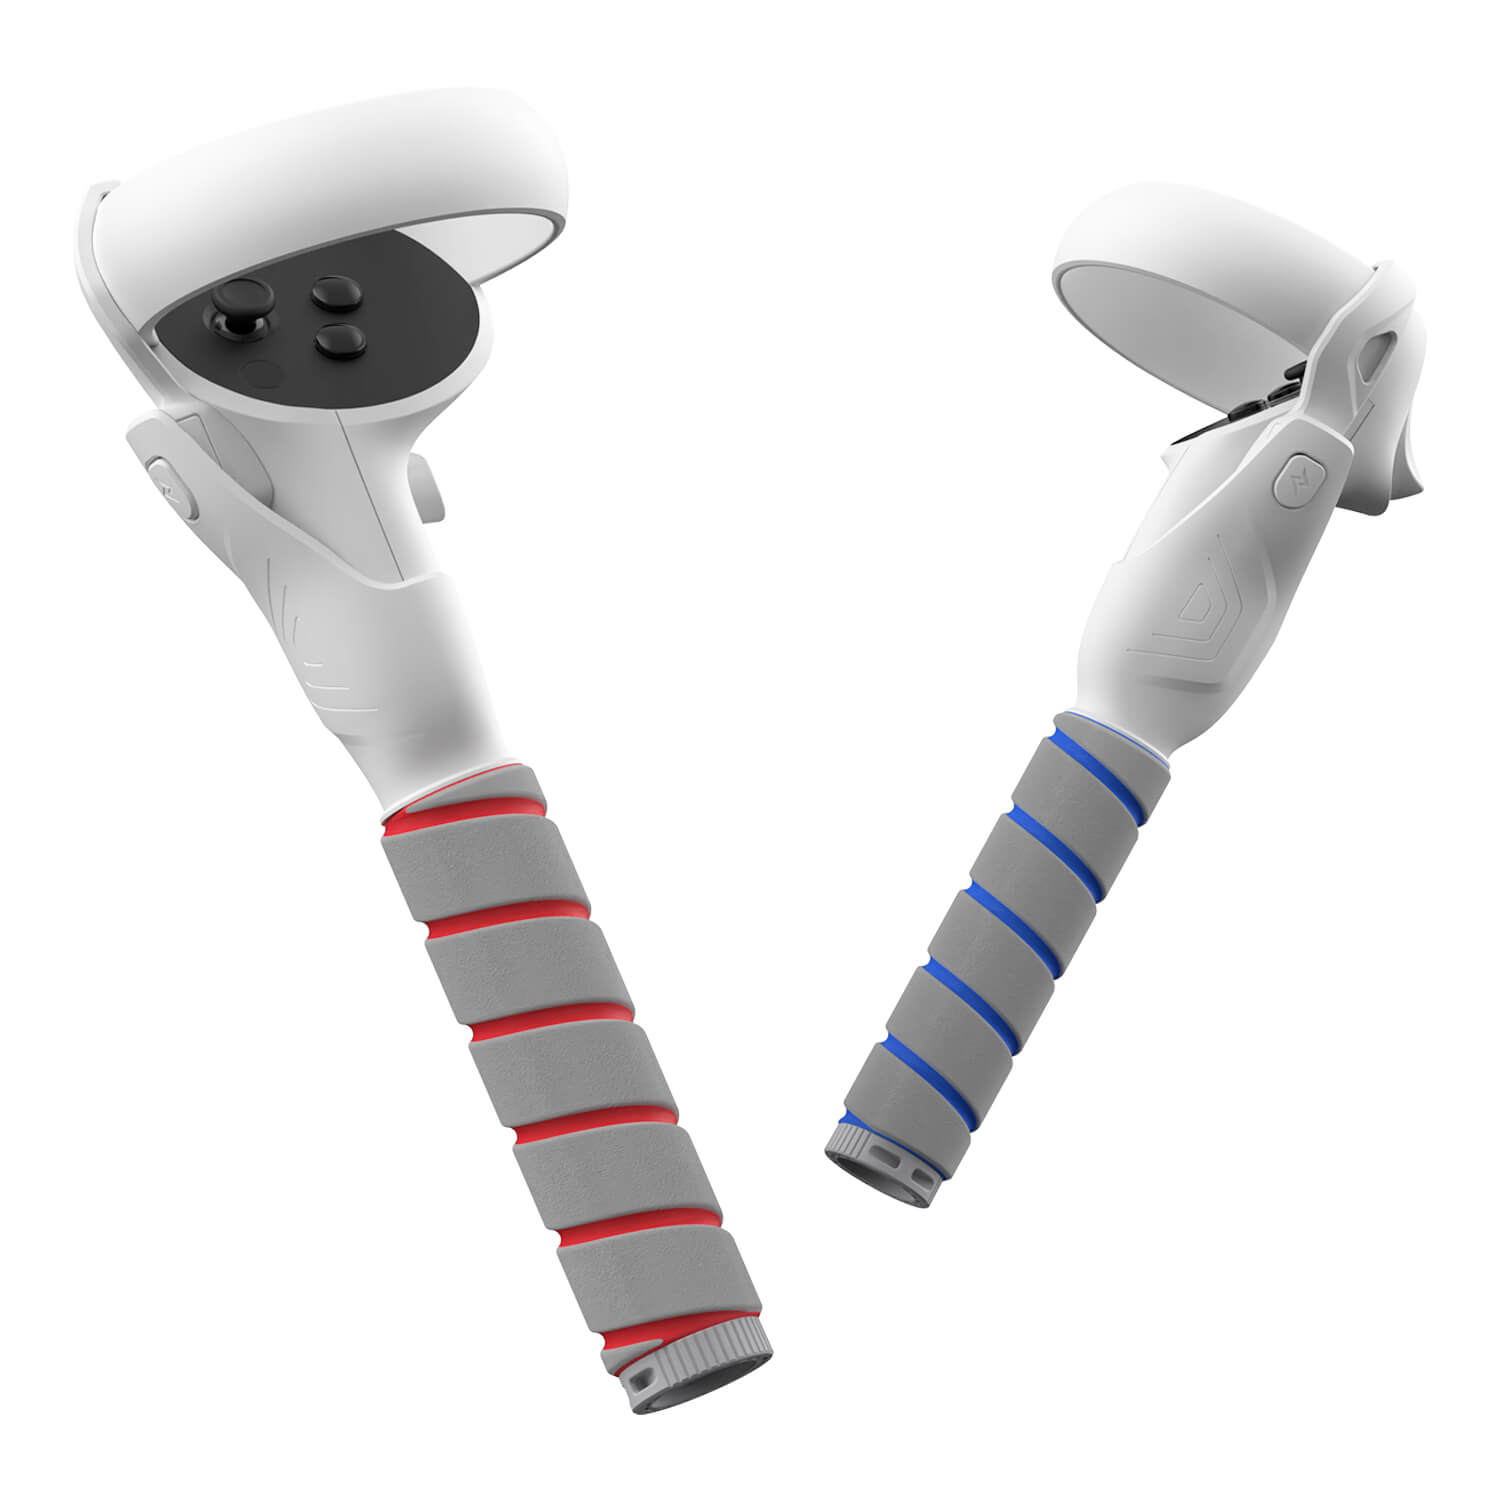
1. MaeckerVR Quest 3 Elite Strap
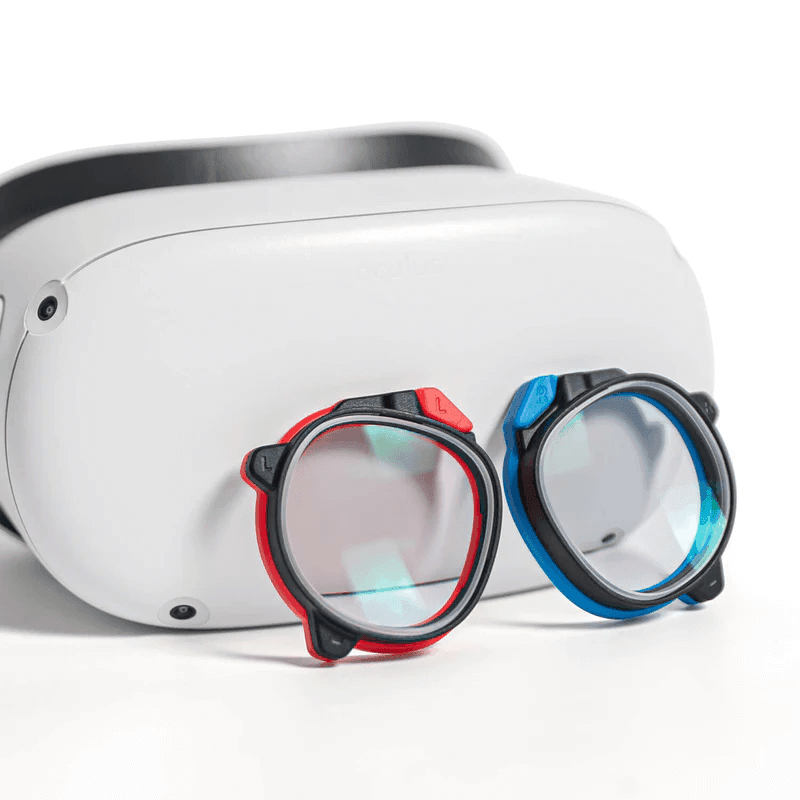
2. MaeckerVR Quest 3 Prescription Lenses
Conclusion
With your headset properly adjusted for comfort and fit, you can jump straight into games, movies, and virtual experiences. Make sure everything is securely in place and you’re all set to explore the full potential of your Meta Quest 3.