Connecting your Meta Quest headset to a Windows PC can expand your virtual reality experience by allowing you to use PCVR applications and games. With Meta Quest Link, you can connect your headset to your PC using a USB-C cable or wirelessly through Air Link.
System Requirements For Meta Quest Link
Before getting started, it's important to ensure that your PC meets the necessary hardware and software requirements for Meta Quest Link. Below are the minimum and recommended specifications to run Meta Quest Link smoothly.
- Processor:Intel i5-4590 / AMD Ryzen 5 1500X or greater
- Graphics Card: See supported GPUs below
- Memory: 8 GB+ RAM
- Operating System: Windows 10, Windows 11
- USB Ports: 1x USB port
Supported GPUs for Meta Quest Link:
Meta Quest Link supports a range of Nvidia and AMD GPUs, ensuring a broad compatibility range for users with different setups.
Nvidia GPUs Supported:
- Nvidia Titan Z
- Nvidia Titan X
- Nvidia GeForce GTX 970
- Nvidia GeForce GTX 1060 (Desktop, 3GB and 6GB versions)
- Nvidia GeForce GTX 1070, 1080, 1650, 1650 Super, 1660, 1660 Ti
- Nvidia GeForce RTX 20-series* (except 2050), 30-series*, 40-series
AMD GPUs Supported:
- AMD 200 Series, 300 Series, 400 Series, 500 Series, 5000 Series, 6000 Series**
Please note that Nvidia RTX 2050, Nvidia 3050, and 3050ti GPUs are not supported for use with Meta Quest Link, and the AMD Radeon RX 6500 is not recommended.
Setting Up Meta Quest Link With A USB-C Cable
Follow these steps to connect your Meta Quest headset to your PC using a USB-C cable:
- Start by downloading and installing the Meta Quest Link PC app from the official Meta website.
- Once the app is installed, open it on your Windows computer. Ensure that your PC is connected to the internet.
- Use your Meta account credentials to log in to the app. If you don’t have an account, you’ll need to create one.
- Plug one end of your USB 3 cable into a USB 3.0 port on your PC, and the other end into your Meta Quest headset. Make sure the connection is secure.
- Turn on your Meta Quest headset and wear it.
- Press the Meta button on your VR controllers to bring up the universal menu.
- Open Quick Settings.
- In Quick Settings, select "System" and then scroll down to find "Quest Link."
- Select the computer to which your headset is connected. If everything is set up correctly, you should see your PC listed here.
- Once your PC is selected, click "Launch" to start using Meta Quest Link. You should now be able to access your PC’s VR content directly through your Meta Quest headset.
Troubleshooting Meta Quest Link
If you run into issues while setting up Meta Quest Link, try restarting both your headset and your PC. This often resolves common connection problems. If the issue persists, check the USB cable connection, update your Meta Quest software, and ensure that your PC meets the required specifications.
Using Meta Quest Air Link For A Wireless Connection
Meta Quest Air Link allows you to connect your headset to your PC wirelessly. This method offers more freedom of movement, as you won’t be tethered to your PC by a cable.
Requirements for Air Link:
- Wi-Fi Network
- Router Placement
- Non-Mesh Network
Setting Up Meta Quest Air Link
- Download the Meta Quest Link PC App
- Power on your Meta Quest headset.
- Put on your headset and press the Meta button on your controllers to access the universal menu.
- Open Quick Settings
- Select "Settings" in the top right corner, then "Quest Link" from the left menu.
- In the available PCs list, select your PC and click "Pair."
- A pairing code will appear in your VR headset. Remove the headset and confirm that the code matches the one on your PC.
- Click "Launch" to start using Air Link. You can now access your PC’s VR content wirelessly through your Meta Quest headset.
Turning Off Air Link
To turn off Air Link, go back to the Quest Link settings in your headset and toggle off the switch next to Air Link. This will disable the wireless connection.
Recommended Meta Quest Accessories
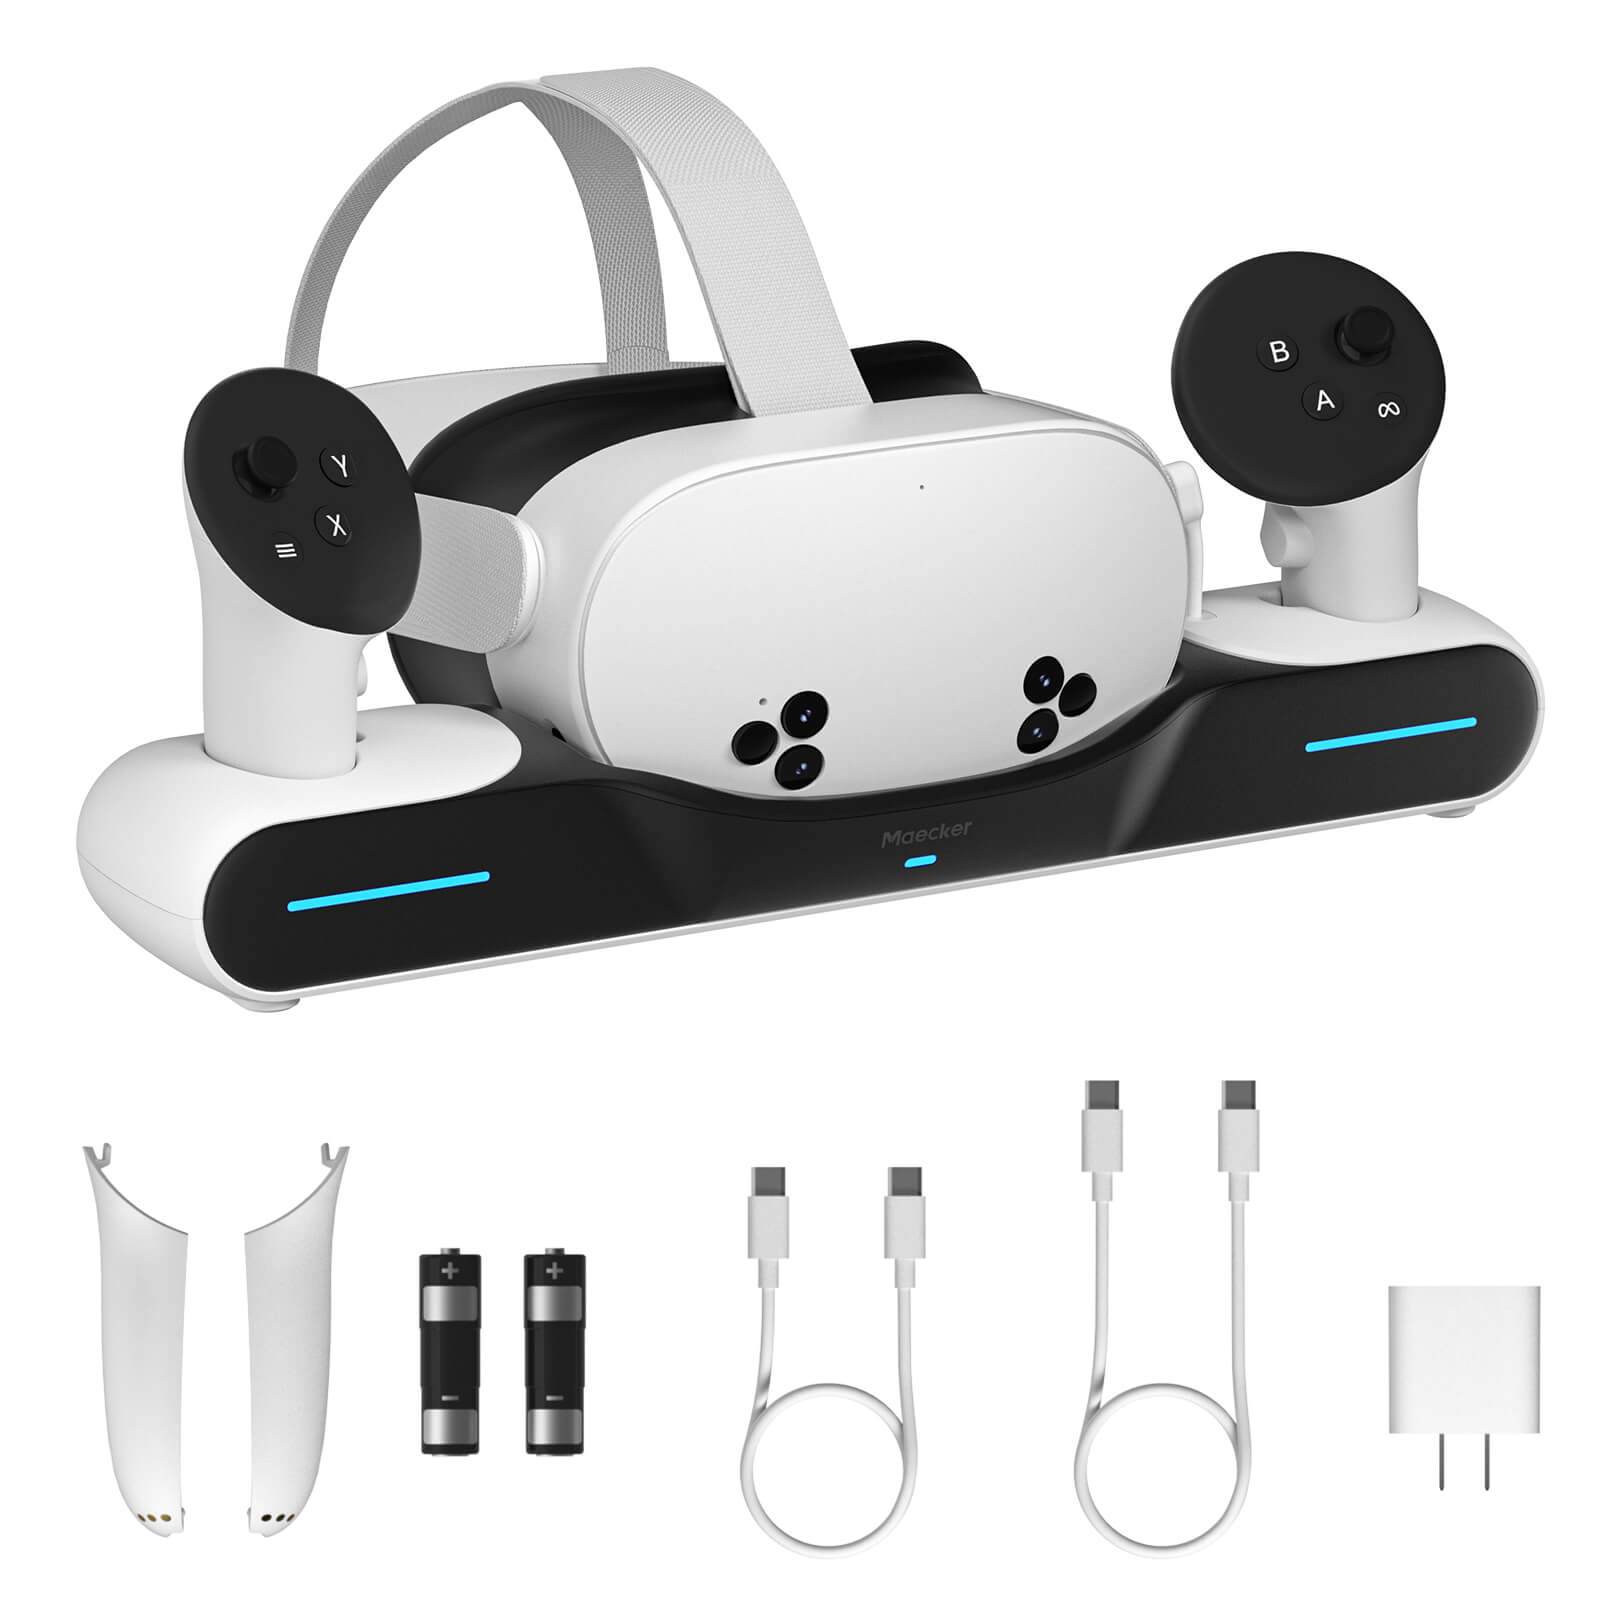
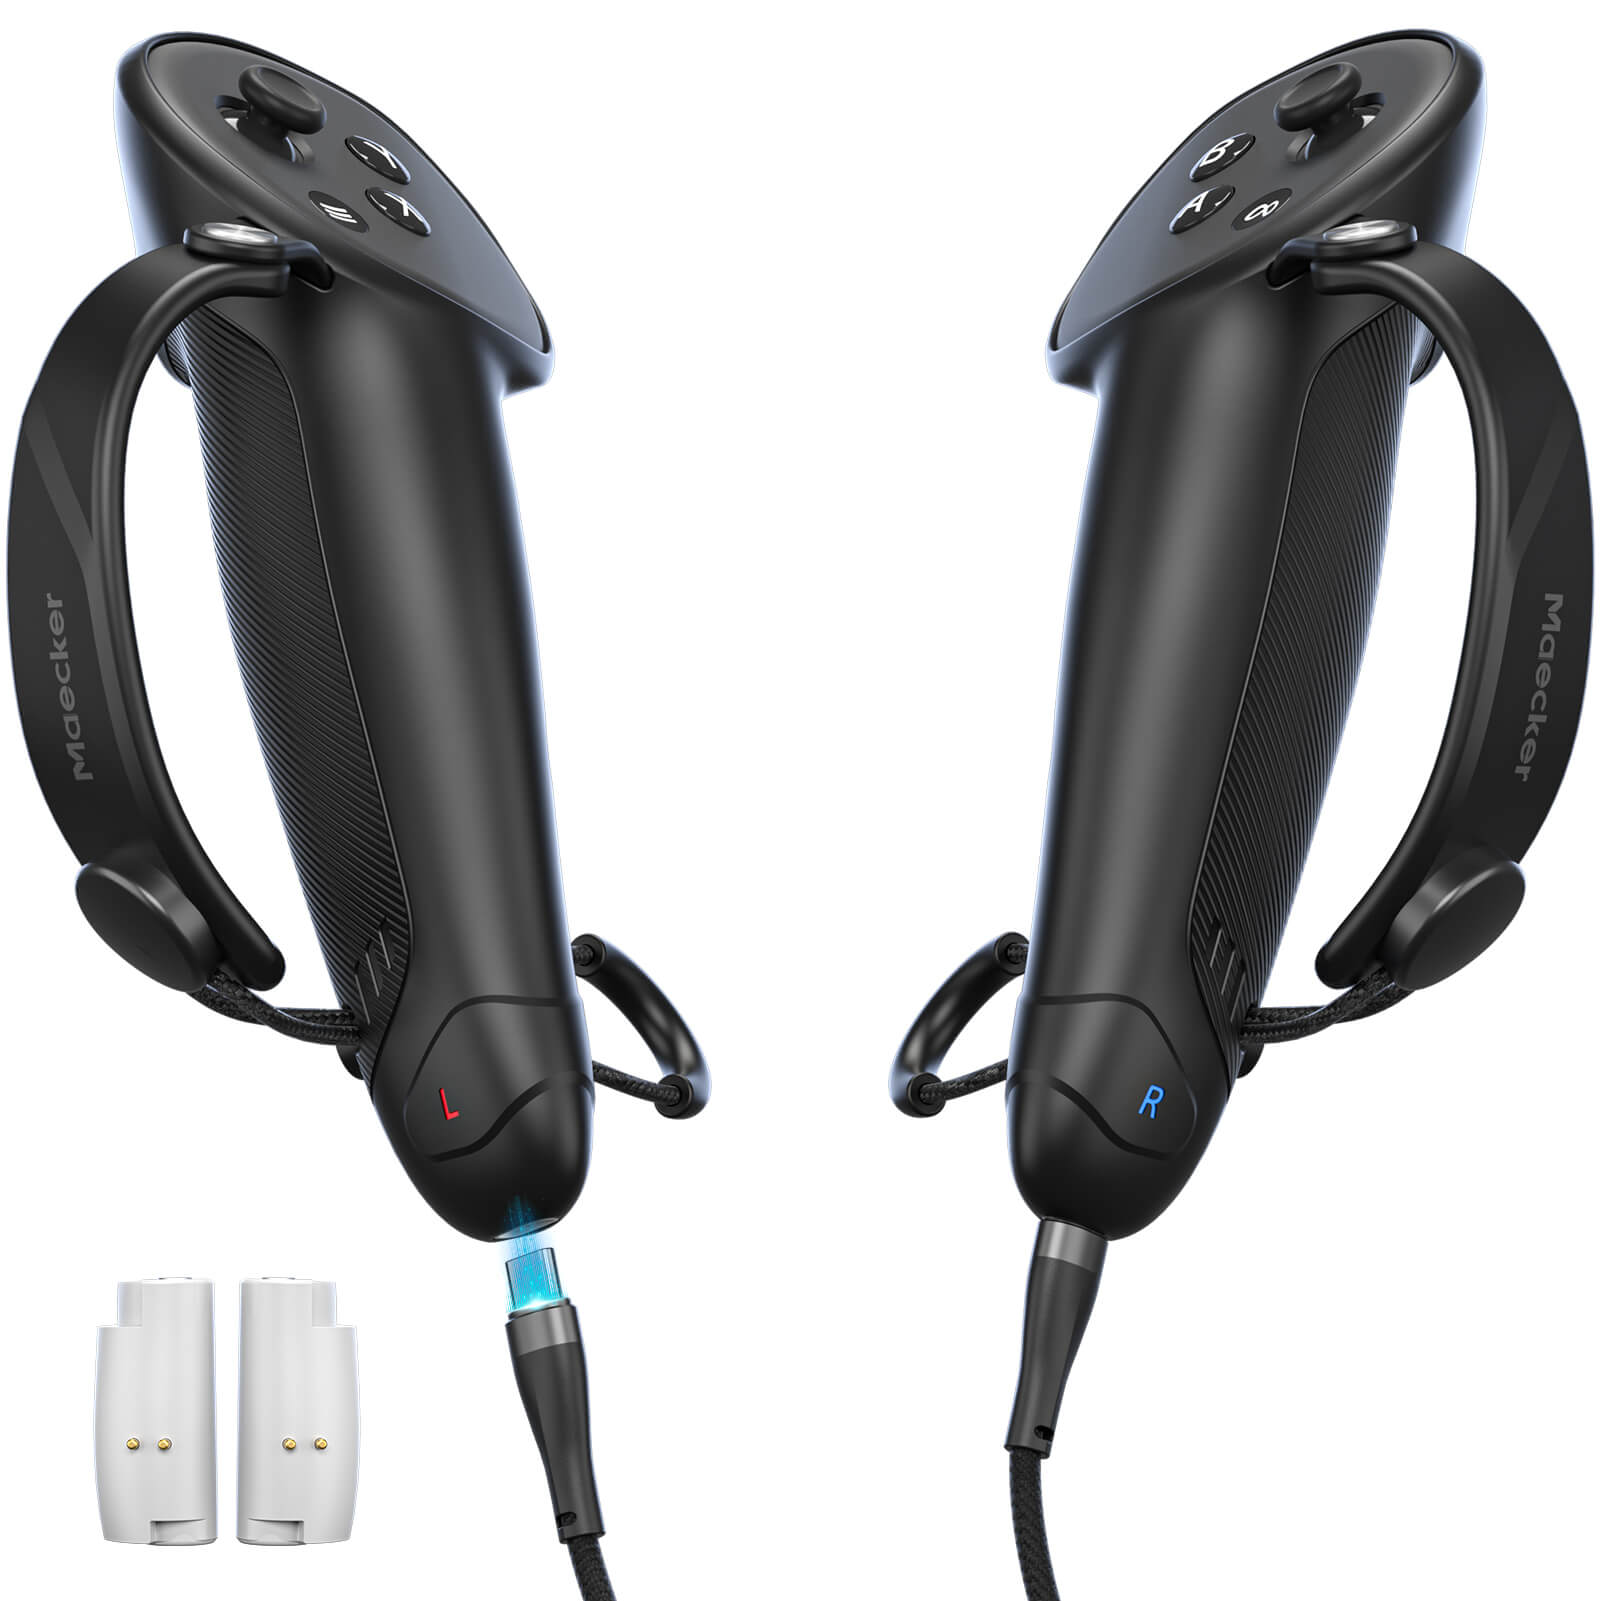
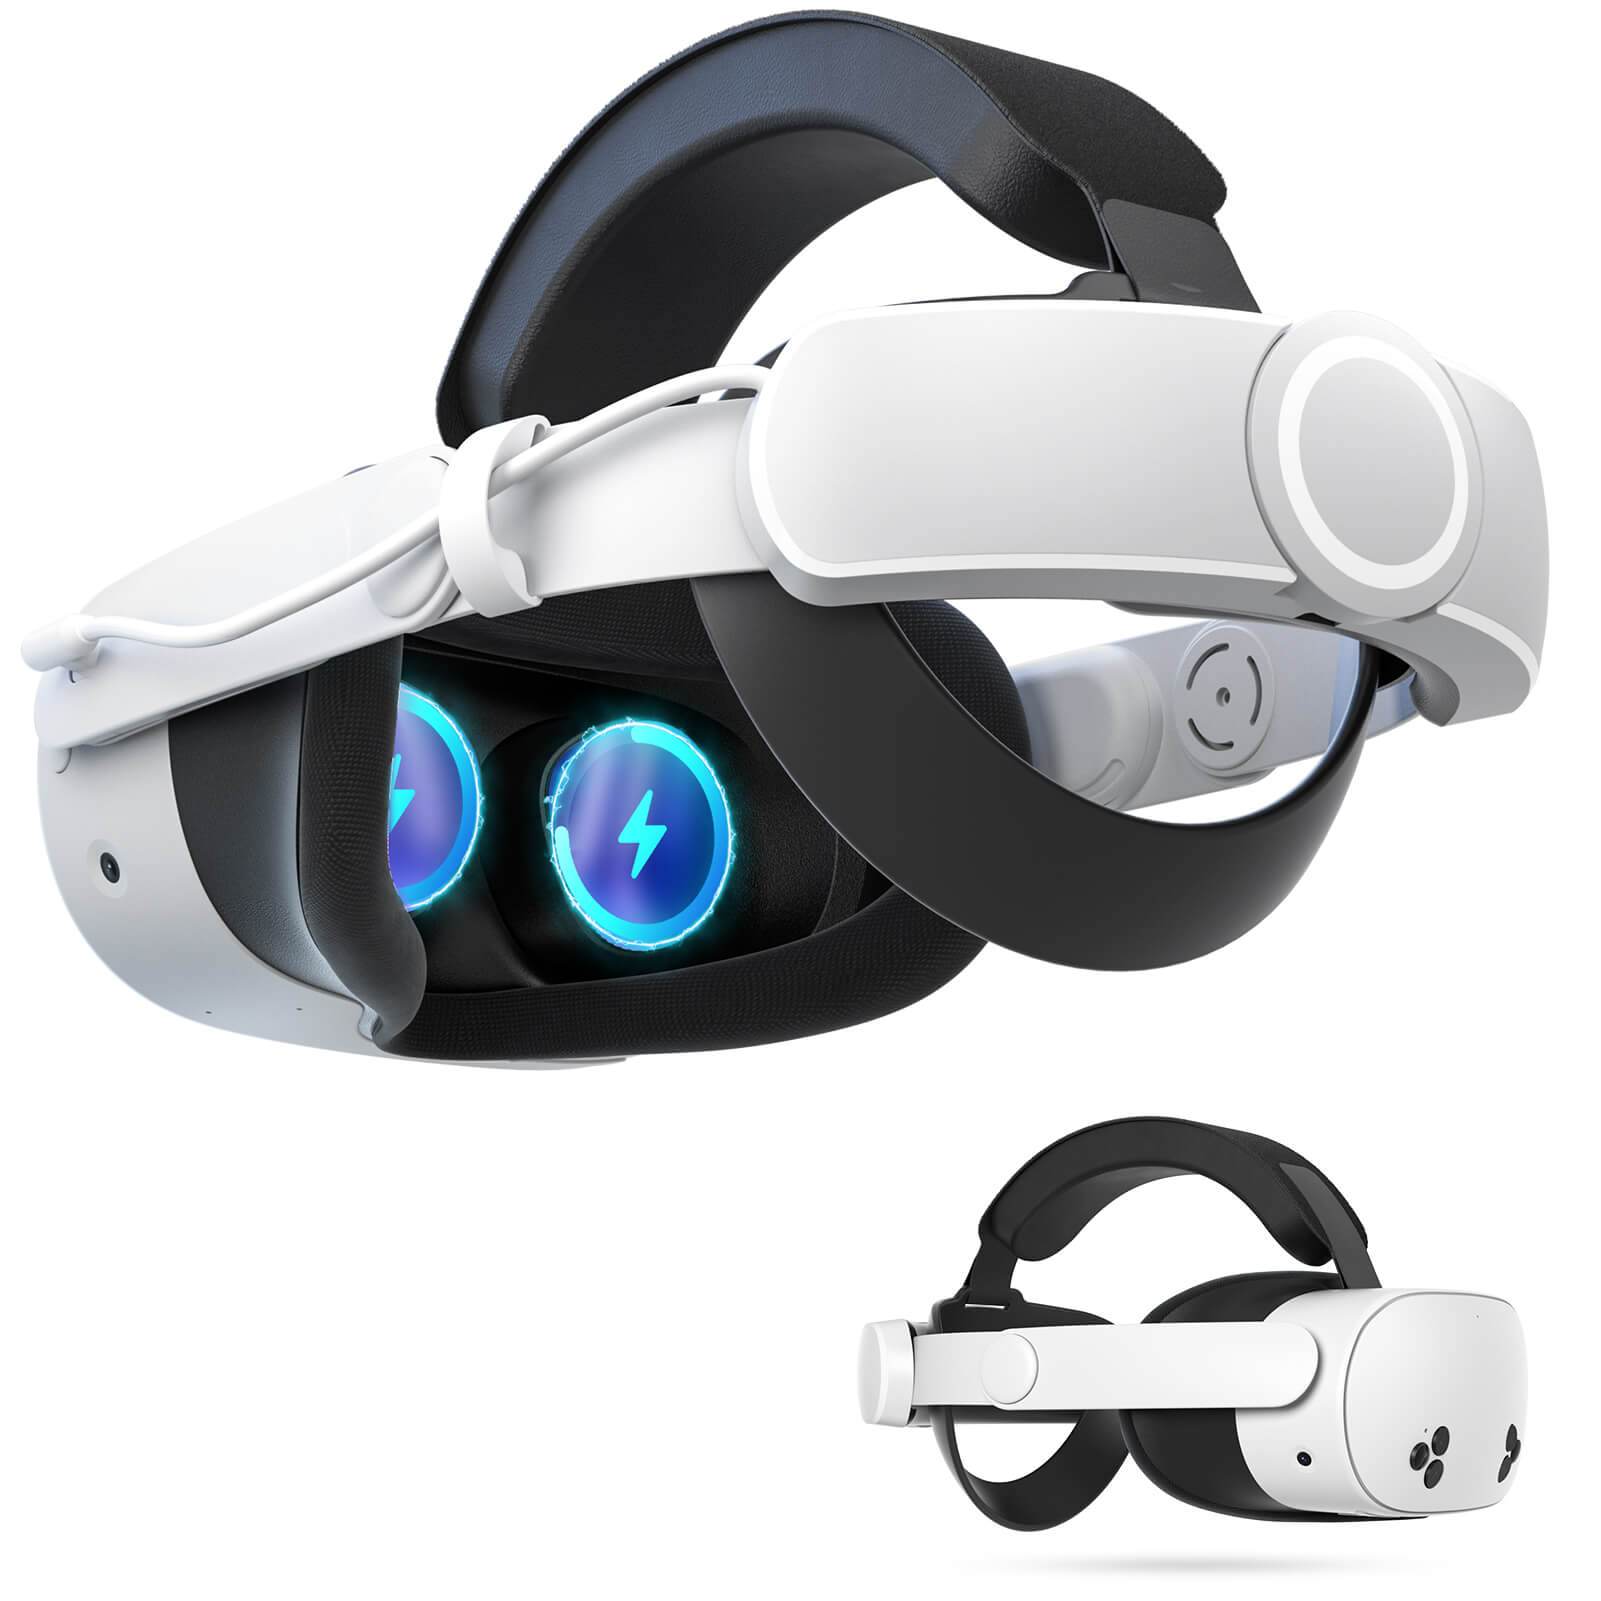
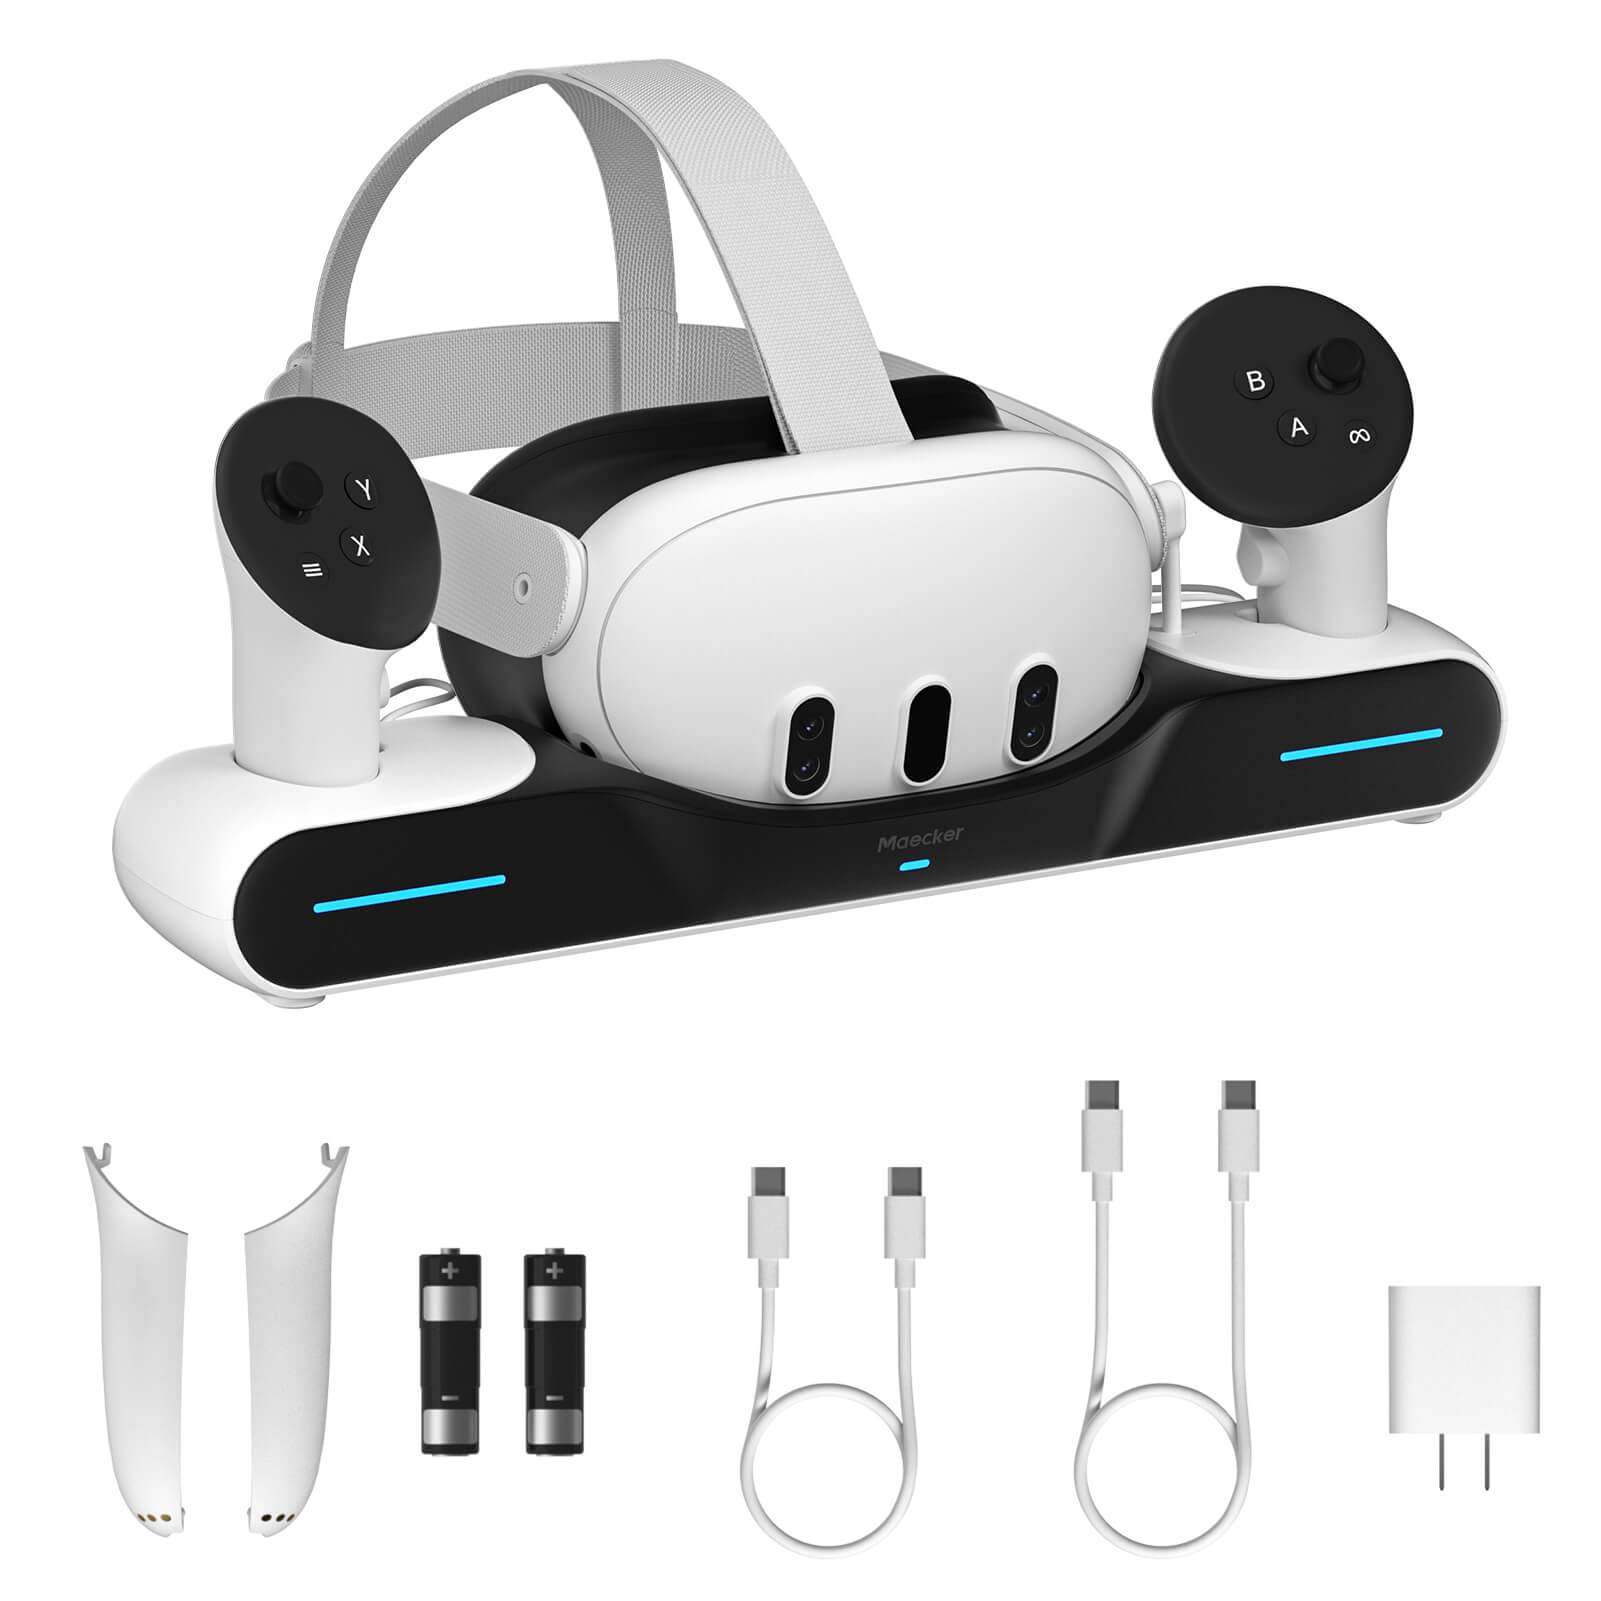
1. MaeckerVR Meta Quest 2/3 Battery Head Strap
Conclusion
Setting up Meta Quest Link, whether via a USB-C cable or wirelessly with Air Link, enhances your VR experience by enabling access to a wide range of PCVR content. By following the steps outlined above and ensuring that your PC meets the necessary requirements, you can enjoy a smooth and immersive VR experience with your Meta Quest headset.

