Meta Quest 3 provides an easy way to record what you see in your headset so you can capture your VR experiences and share them with others. This guide will cover all the steps to start and stop video recording directly from your headset, explain how to customize recording settings, and show you advanced recording options available with the Meta Quest Developer Hub on PC.
How To Start And Stop Recording On Meta Quest
Recording on Meta Quest 3 is straightforward and you have several ways to start capturing gameplay.
Recording Through The Universal Menu
- Press the Meta button on your right Touch controller. This will bring up the universal menu where you can access various settings and features.
- Choose the camera icon from the menu, then select “Record Video.” Once you start recording, a red dot will appear in your view, indicating the recording has begun.
- To end the recording, press the Meta button again to access the universal menu, select the camera icon, and then choose "Stop Recording." Your video will automatically save to your headset’s Files app.
Recording Directly While In A Game

- While inside a game, press the Meta button on your right controller to bring up the menu.
- Click on the round film camera button labeled "Record Video" to begin capturing gameplay. You can enable the microphone toggle if you want to record your voice during the session.
- To finish recording, repeat the steps to open the menu, and select "Stop Recording."
The videos saved to your Files app are available for easy access anytime.
Before you begin recording, it’s helpful to adjust a few camera settings to improve video quality. Here’s how to access and change these settings:
- From the universal menu, select the clock icon on the left side to access Quick Settings.
- Tap on the “Settings” option in the top right, select “System,” and then choose “Camera.”
- You can set preferences like aspect ratio, image stabilization, primary eye (left or right), frame rate, and bitrate (from 5 Mbps up to 20 Mbps). These options allow you to control the quality of your recordings, so you get a smoother and clearer video.
For those who prefer specific settings, adjusting frame rate and resolution ensures the footage matches your expectations. The higher the settings, the better the quality, but keep in mind this will increase file size.
How To Record Mixed Reality On Meta Quest

Mixed Reality allows you to record experiences that combine real-world elements with VR interactions. The Meta Quest 3 makes it easy to capture MR gameplay. Here are a few tips to help with MR recording:
Set Up Your Playspace
Make sure your play area is well-lit and free of clutter. This enhances the passthrough camera quality, making it easier for the headset to recognize objects and track surroundings accurately.
Customize Guardian Settings
When setting up the Guardian, make it slightly larger than the room to avoid boundary notifications during MR recording. If you have developer mode enabled, you can also disable the Guardian boundary for a smoother experience, though this may cause black sections in passthrough recordings.
Follow Standard Recording Steps
To record MR footage, follow the same steps as for regular recording. These settings will automatically integrate passthrough visuals for a more immersive recording.
How To Use Meta Quest Developer Hub For Advanced Recording Options
For users looking to achieve the highest quality VR footage, the Meta Quest Developer Hub (MQDH) on PC offers advanced options beyond what is available directly in the headset. With MQDH, you can adjust parameters like resolution, bitrate, and frame rate. Here’s how to get started:
Setting Up Developer Mode
- Visit meta.comand register your account under an organization. Accept the developer agreement to continue.
- Open the Meta Quest mobile app, go to Menu> Devices > Headset Settings, and toggle on Developer Mode. Reboot your headset for the changes to take effect.
Connecting Your Quest To A PC
- Plug your Quest headset into your PC using a USB-C or Link cable. When prompted, allow USB debugging.
- With the headset connected, open MQDH and navigate to Device Manager. From here, you can adjust recording settings.
Advanced Recording Settings In MQDH
- Select the desired resolution (1080p or 4K) and bitrate. Higher settings provide better video quality but also result in larger files.
- Customize the frame rate for smoother recordings and configure audio settings. Using Beta Cast 2.0provides even better recording performance with additional options like aspect ratio and primary eye control.
- After initially connecting via USB, enable “ADB over WiFi” to record wirelessly. Ensure your PC and headset are on the same network, then disconnect the USB cable for added flexibility.
How To Transfer Recorded Footage From Meta Quest 3
Once your recording is complete, you’ll want to transfer it from your headset to other devices. Here are two simple methods:
Transferring To A PC
- Use a USB cable to link the headset to your PC. Approve the connection on your headset when prompted.
- On your PC, open the Oculus Quest folder, then navigate to the “VideoShots” folder for in-headset recordings or the “Videos” folder for MQDH recordings.
- Drag and drop the video files to your preferred location on the PC.
Transferring To A Mobile Device
- In your headset’s media gallery, click the three dots on a video, then select “Sync” to make the video available on your phone.
- Open the Meta Quest mobile app, go to Menu> Gallery, select your video, and download it to your phone.
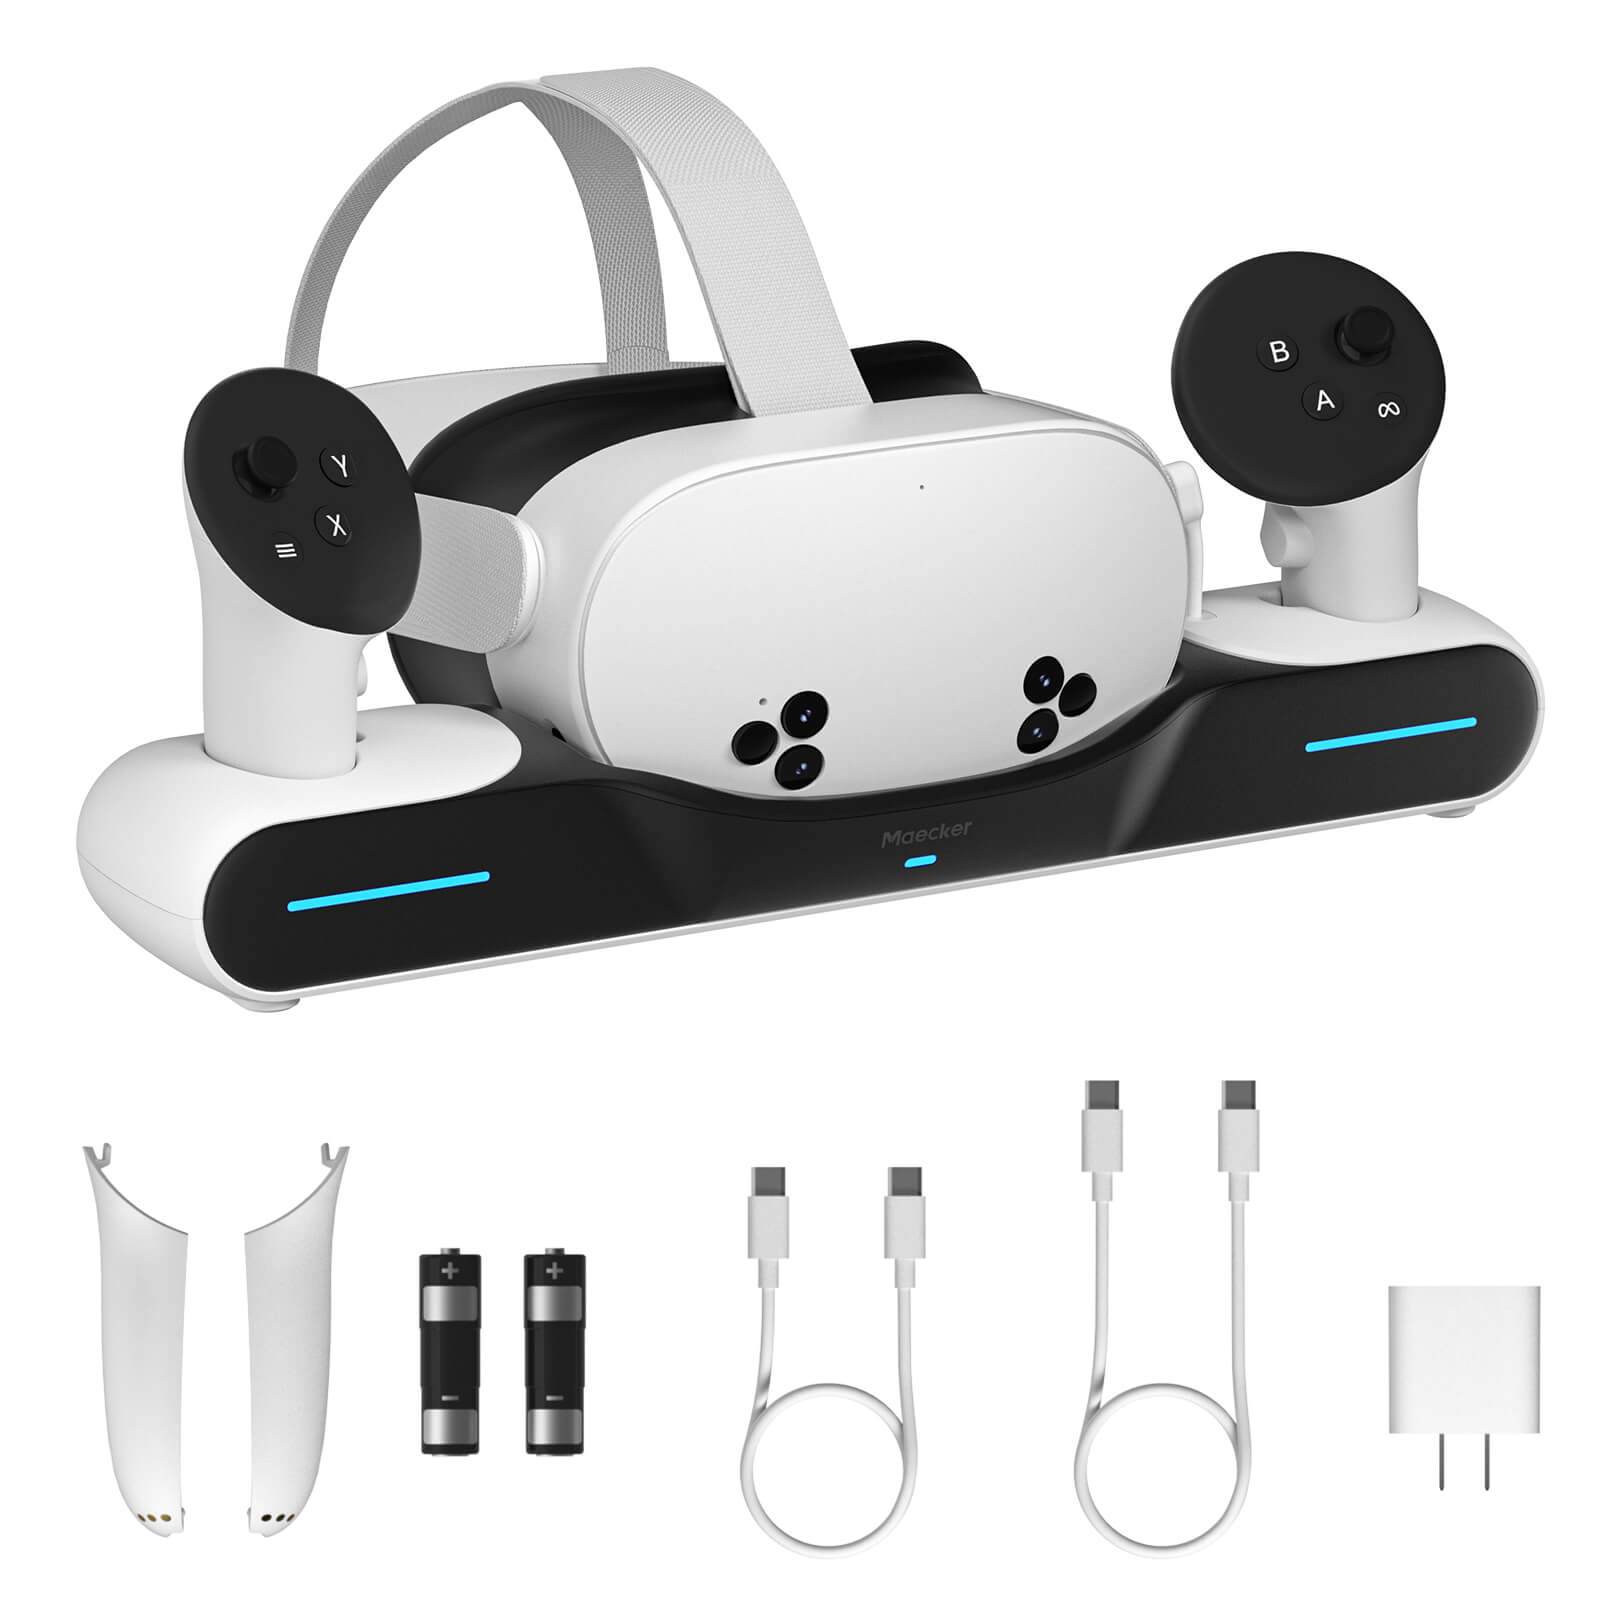
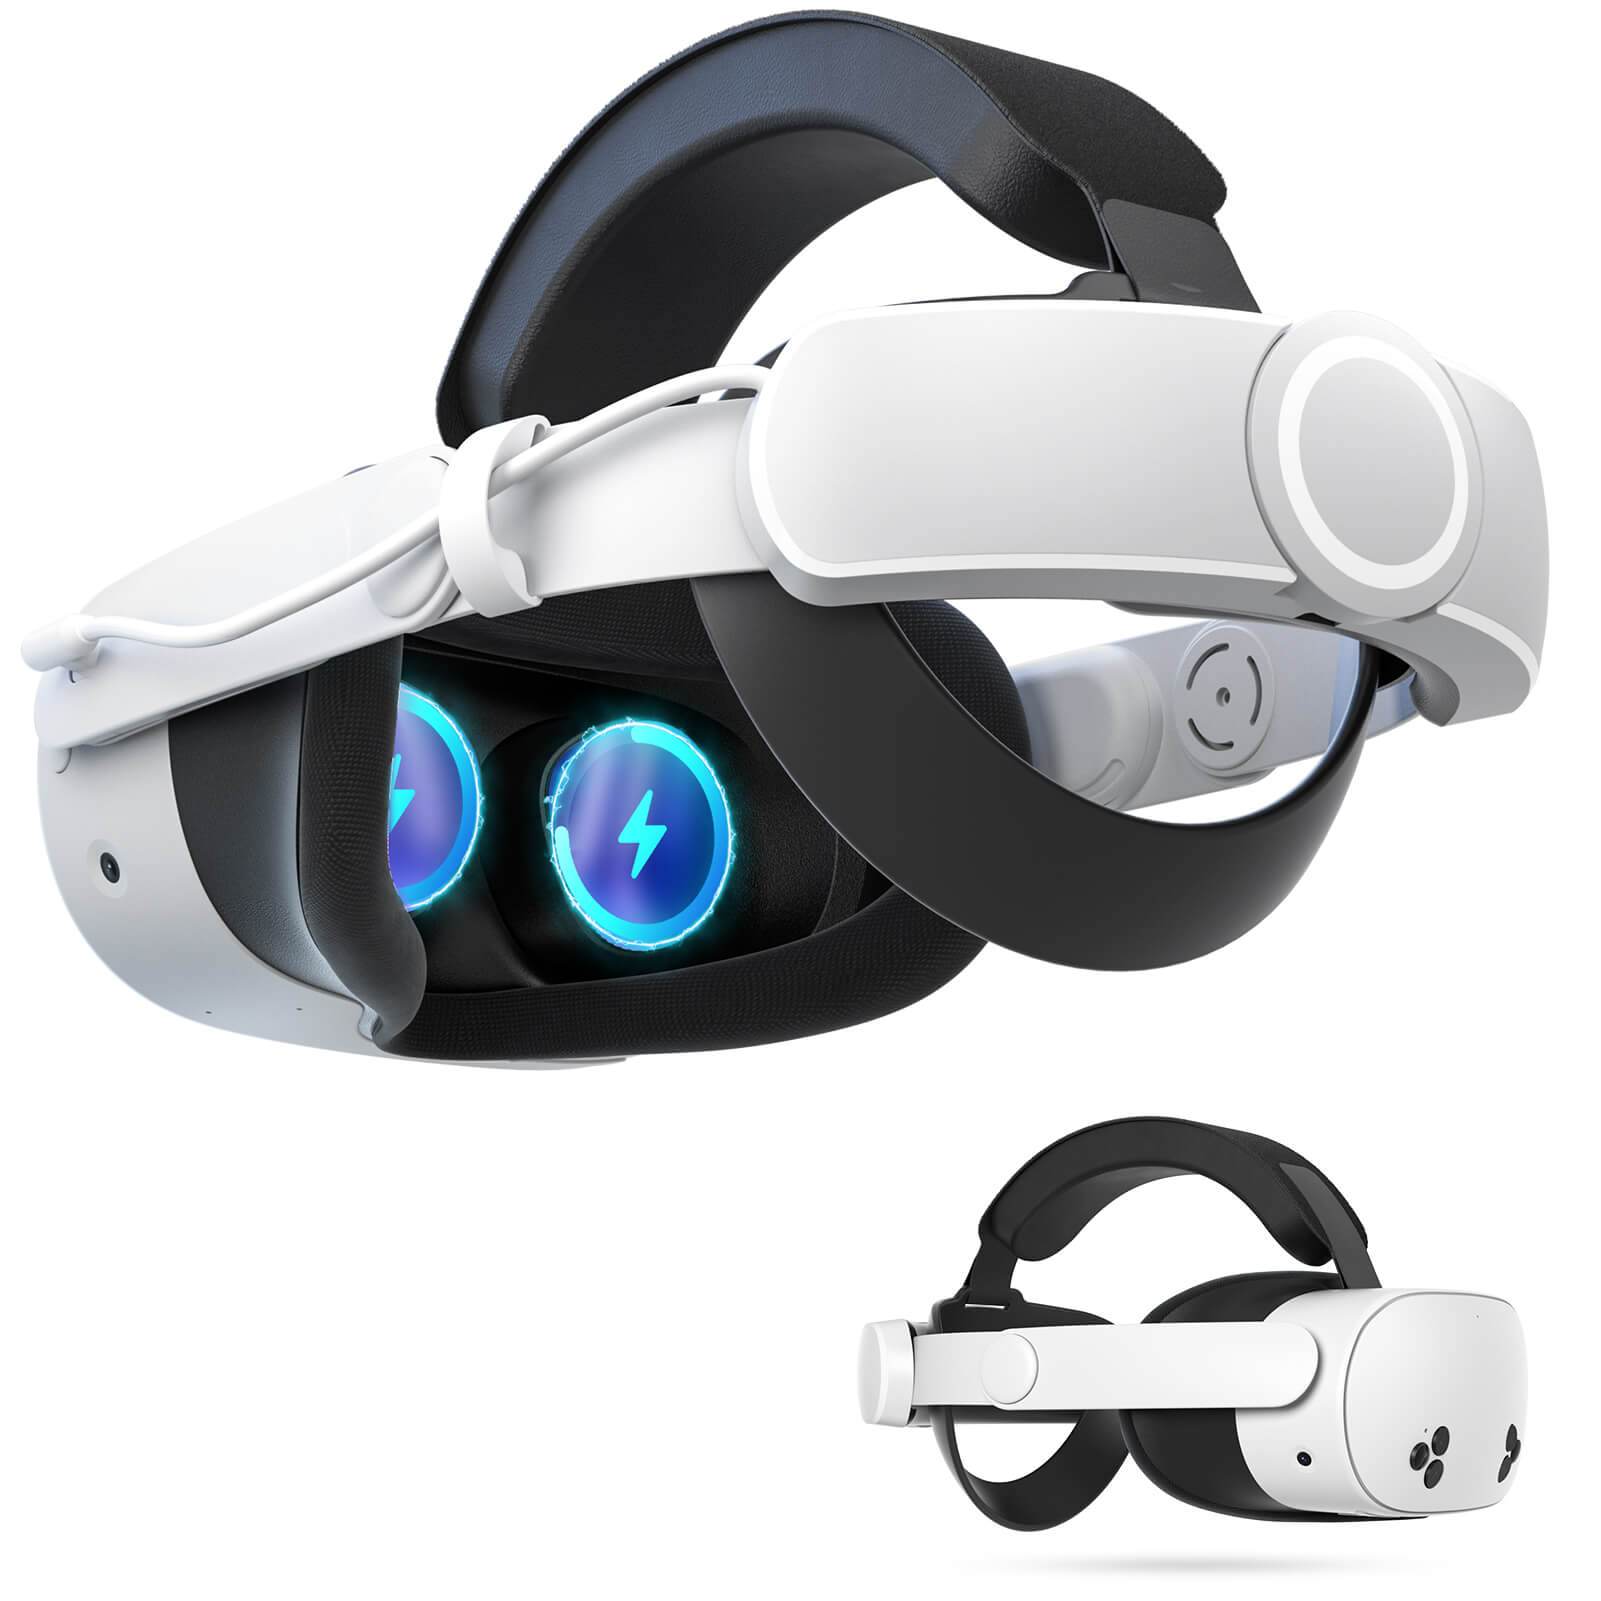
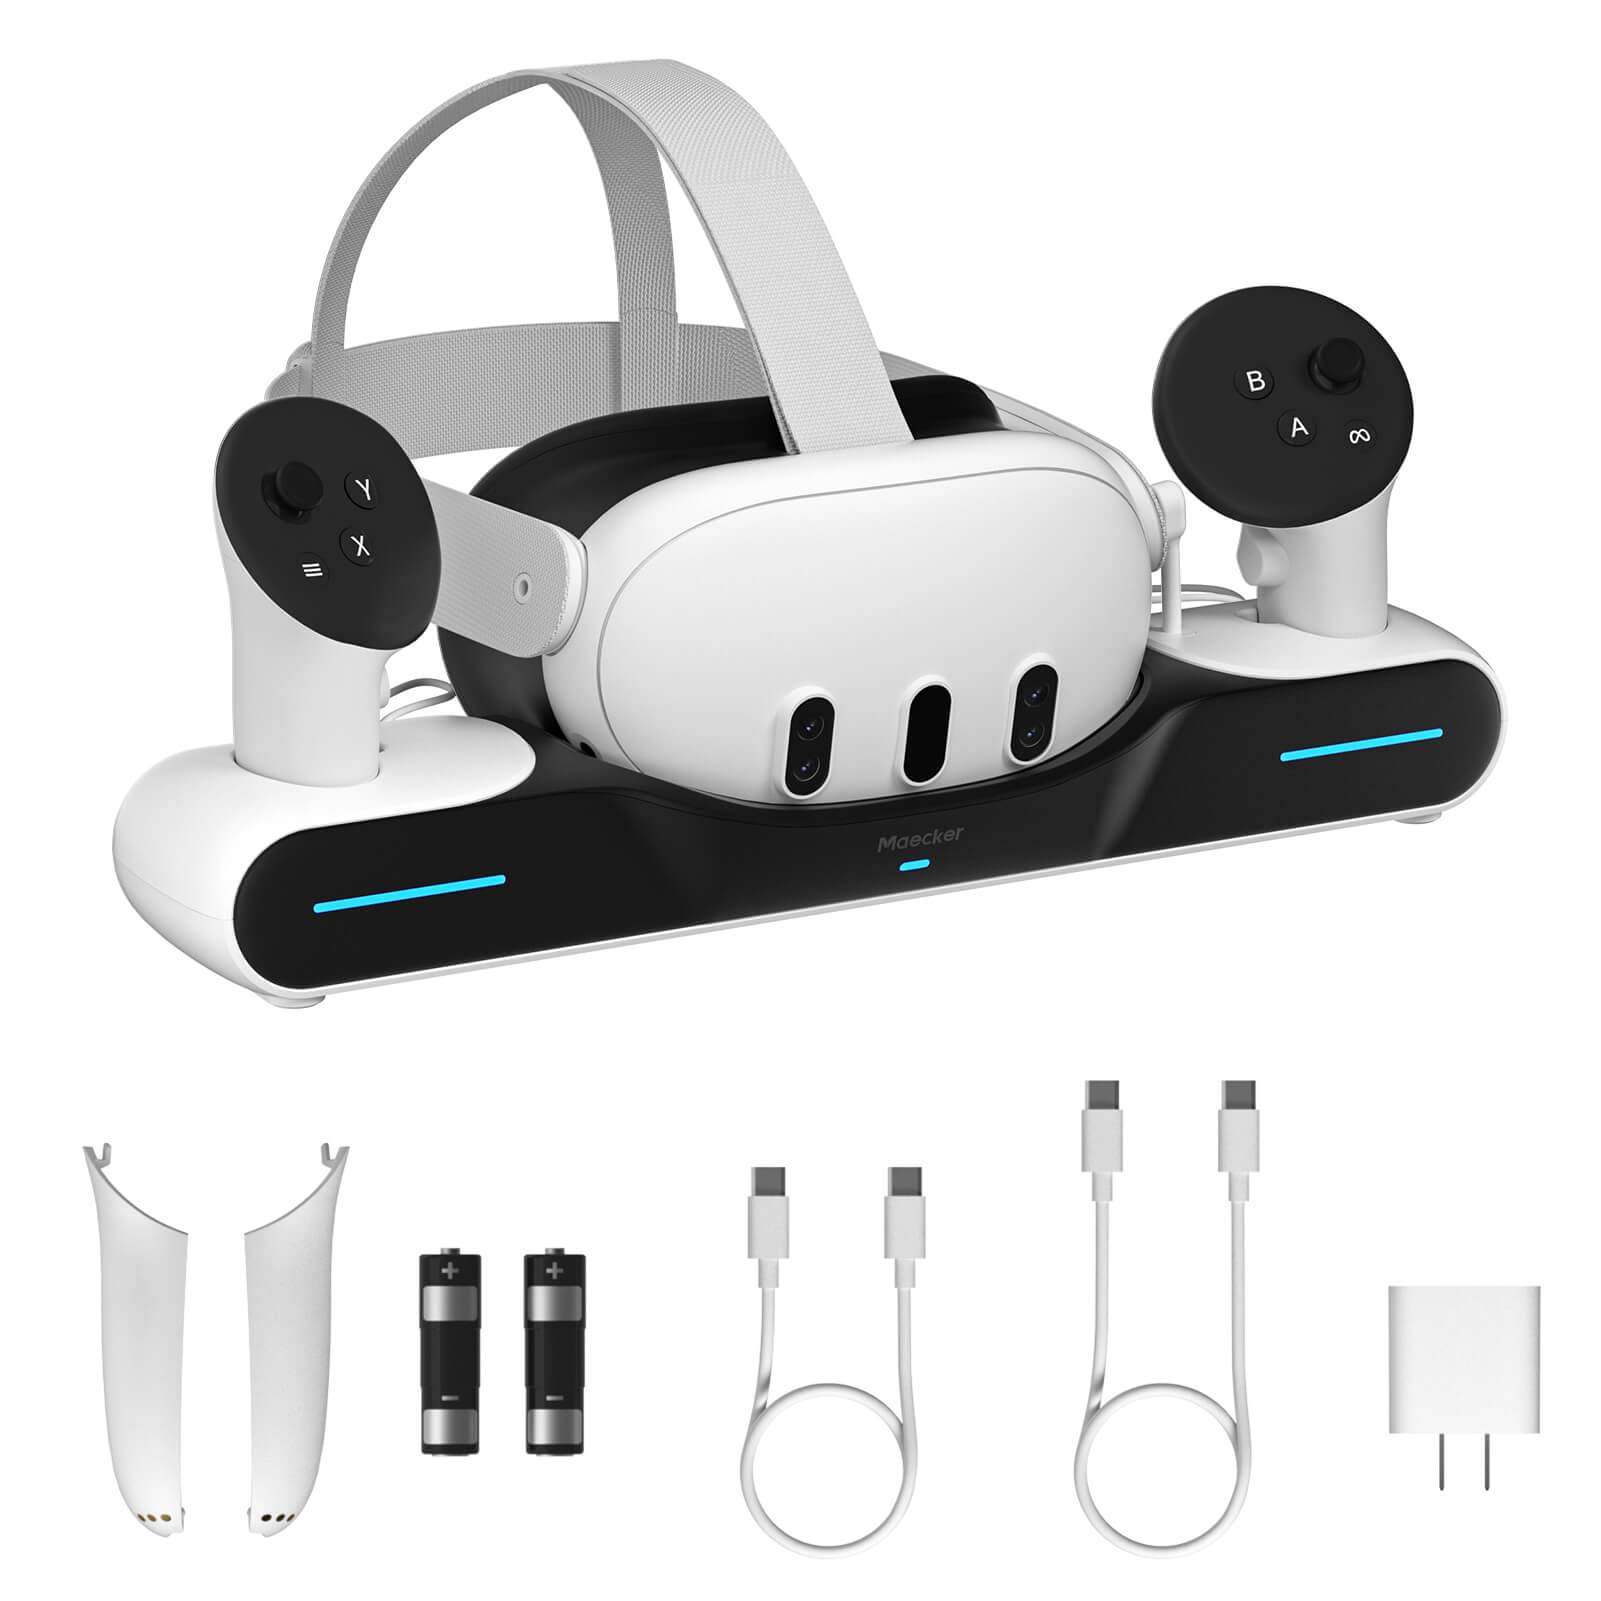
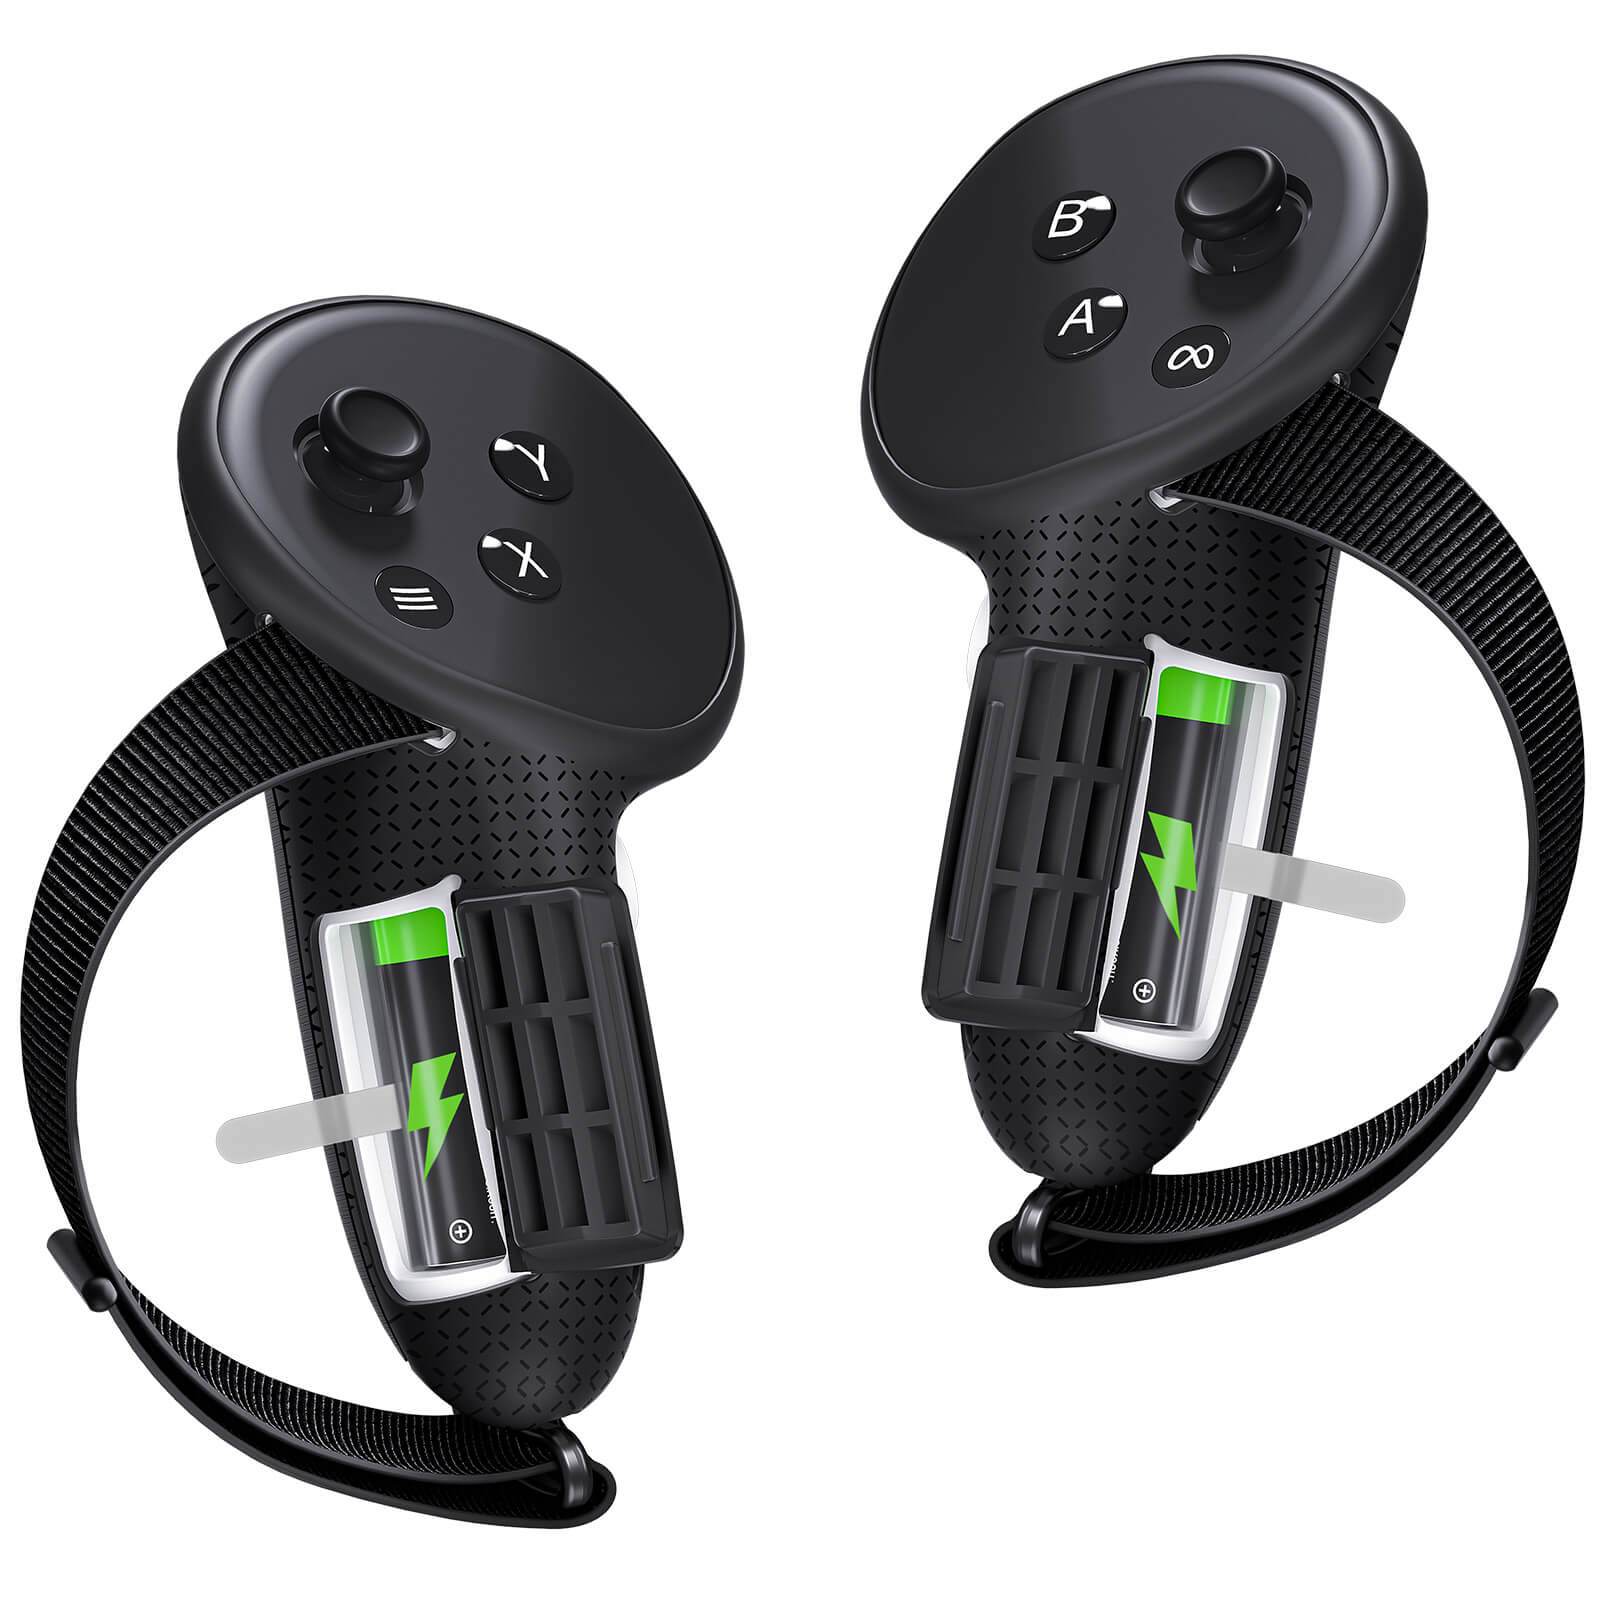
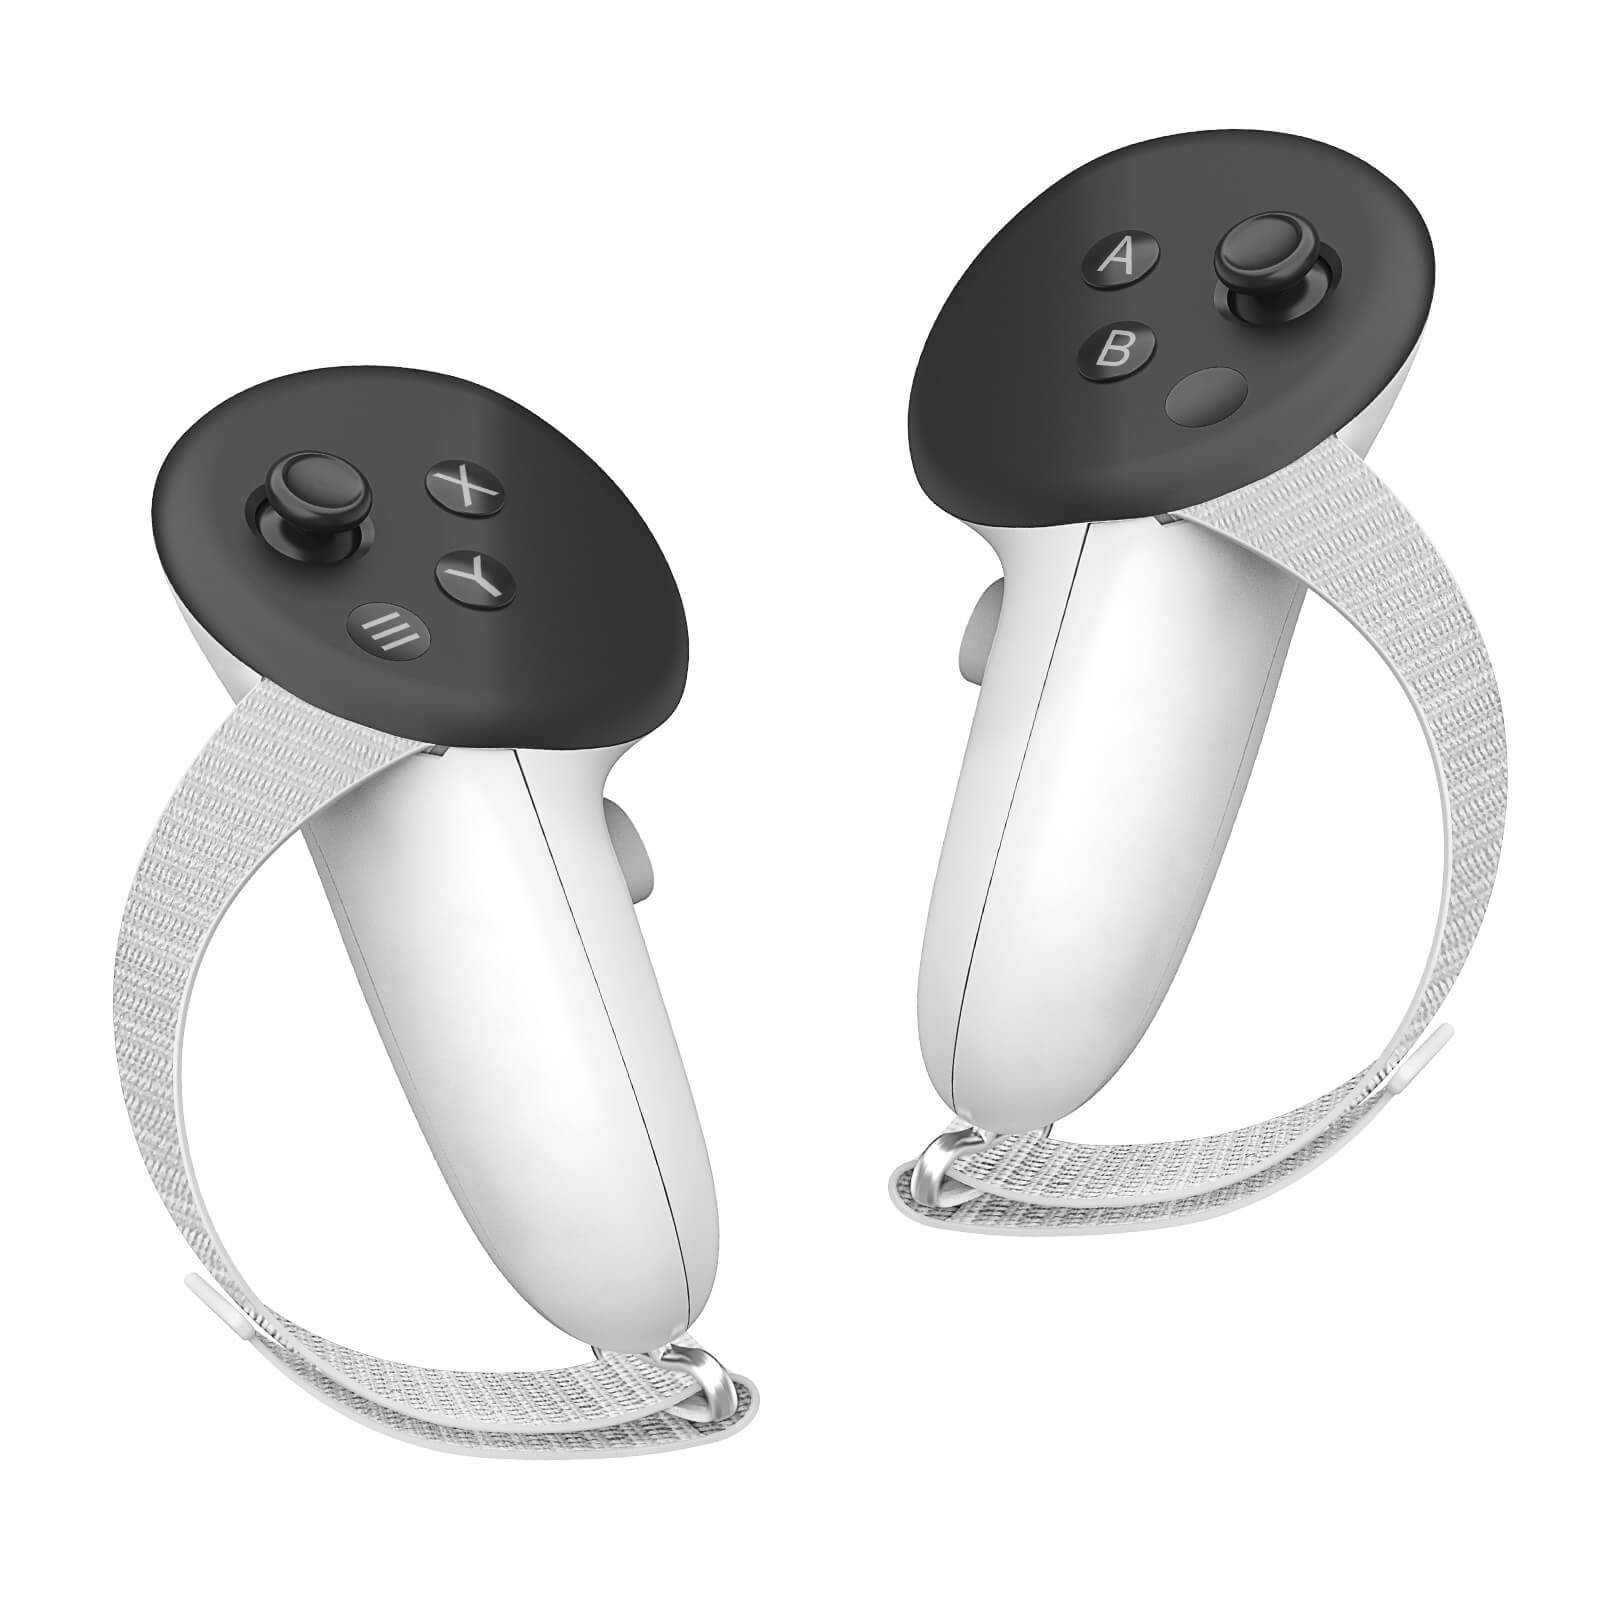
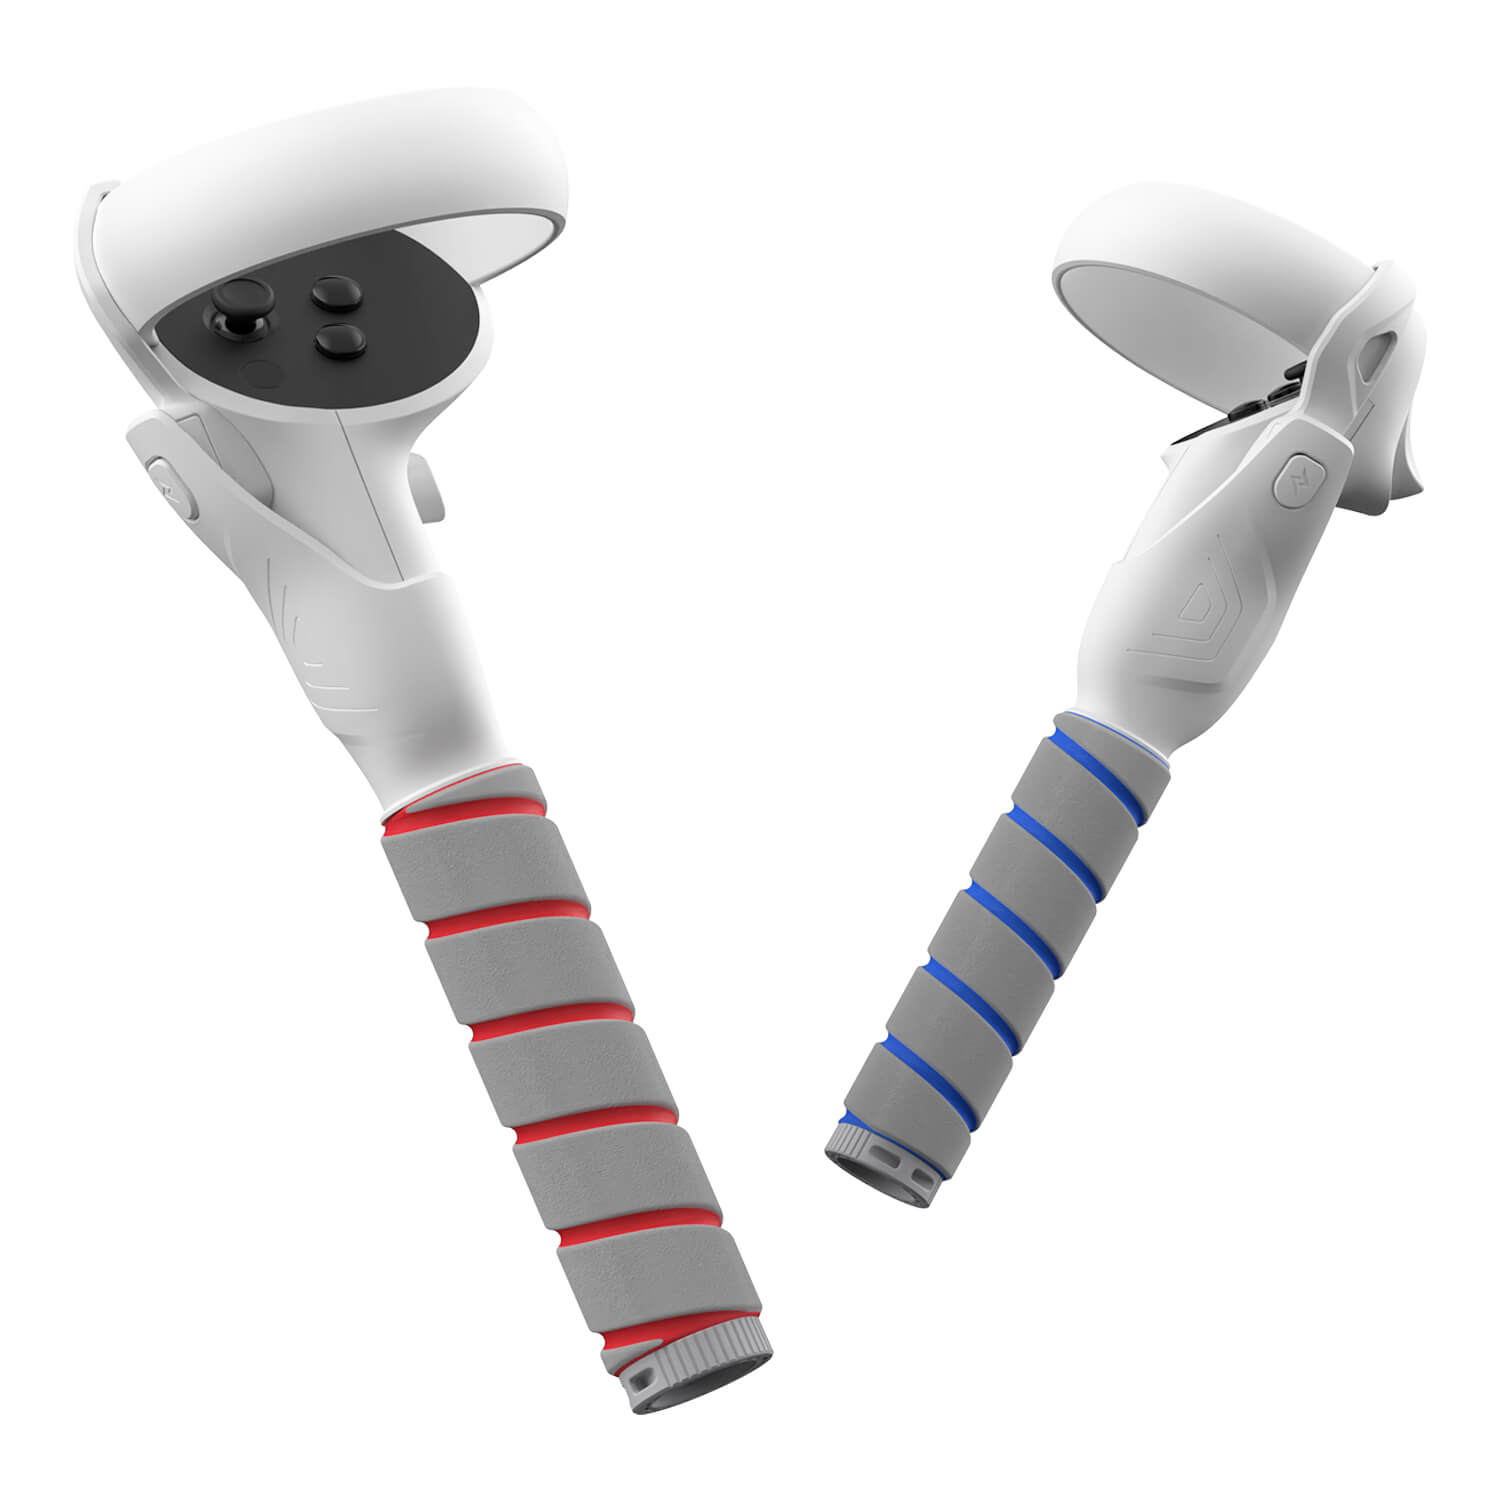
Recommended Meta Quest Accessories:
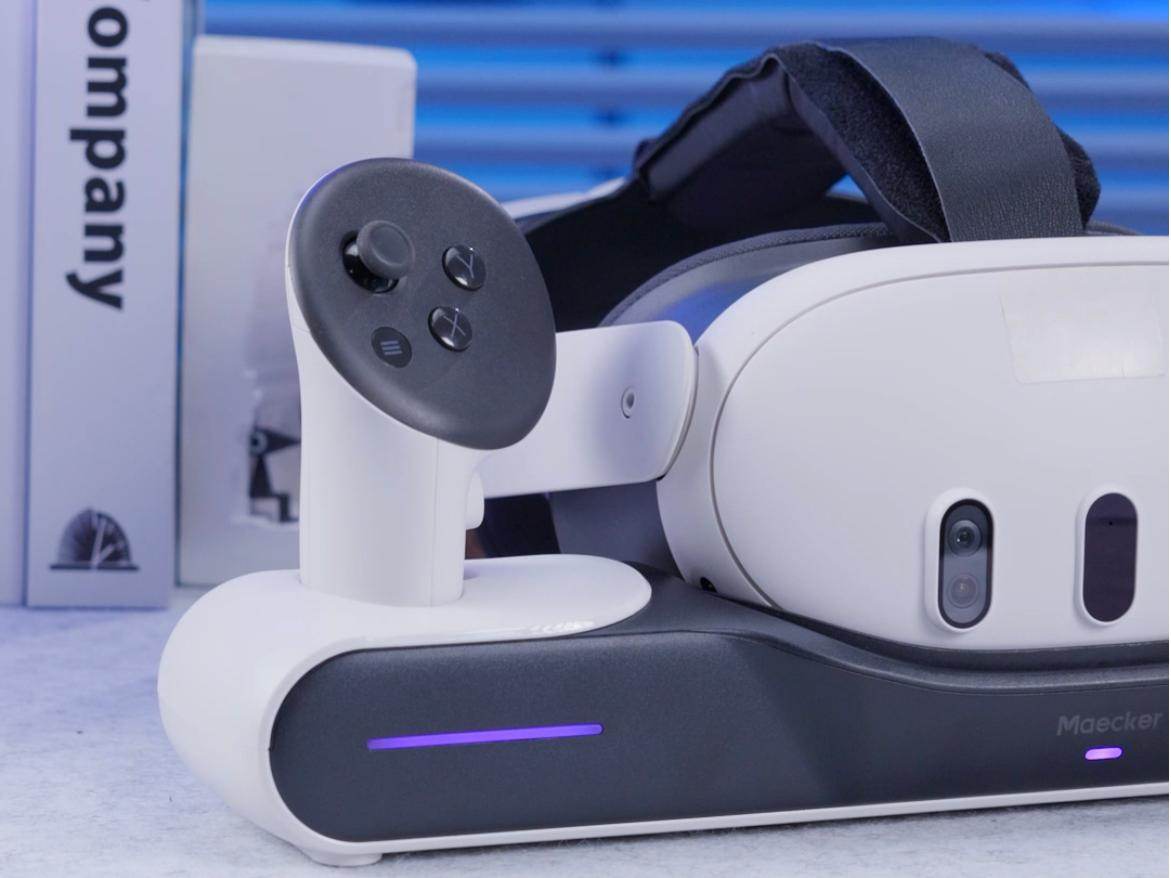
1. MaeckerVR Meta Quest 3 Battery Head Strap
Conclusion
Meta Quest 3 offers a versatile set of tools for recording VR gameplay and capturing mixed reality footage. Users can choose between the in-headset recording options for quick captures or MQDH on PC for enhanced quality and customization. With this guide, you’ll be able to handle everything from basic gameplay recording to high-quality video transfers, keeping your VR experiences ready to share anytime.

