

Creating a VR video is an exciting way to immerse viewers in a 360-degree environment, making them feel like they are part of the action. While the core process of making a VR video is similar to traditional filmmaking, it requires specific equipment, techniques, and post-production processes.
This guide will walk you through each step, from planning and shooting to editing and optimizing your VR video for the best viewing experience.
Pre-Production: Planning Your VR Video
Before you start filming, careful planning is essential. The pre-production phase determines the success of your VR video by ensuring that all elements are thoughtfully structured and well-prepared.
1. Define The Purpose And Story
VR videos are unique because they engage viewers on a deeper level, allowing them to explore the environment rather than just watching a screen. Before filming, ask yourself:
· What message or experience do you want to convey?
· Who is your target audience?
· What emotions or reactions do you want to evoke?
A strong narrative is crucial. Unlike traditional videos, VR content should encourage viewers to look around and explore different aspects of the scene.
2. Choosing The Right Location
VR works best when there is depth and action in every direction. Select locations that offer visually interesting surroundings, such as:
· Natural landscapes
· Urban environments
· Interactive settings like concerts, events, or theme parks
Avoid locations with cluttered backgrounds, as too much visual noise can overwhelm the viewer.
3. Equipment Selection
Choosing the right equipment is essential for producing high-quality VR content. Here’s what you’ll need:
360-Degree Camera
A 360-degree camera captures footage in all directions, allowing viewers to explore the scene freely. Popular options include:
· Insta360 One X – Features slow-motion capture and seamless video stitching.
· GoPro Max – Ideal for action-packed shots and sports content.
· Ricoh Theta X – Compact and records high-resolution 360-degree video.
Tripod or Stabilizer
VR videos should be smooth and stable to avoid disorientation. A tripod or stabilizer minimizes shakes and keeps the camera steady while filming.
Microphone
Good audio is just as important as visuals. Consider using:
· Ambisonic microphones for spatial audio
· Lavalier microphones for interviews or narration
Production: Filming Your VR Video

Once the planning phase is complete, it’s time to start shooting. The key to capturing high-quality VR content lies in technique and preparation.
1. Setting Up the Camera
Position the camera strategically to provide a balanced view of the surroundings. Unlike traditional cameras, which focus on one direction, VR cameras capture everything. Here are some best practices:
· Place the camera at eye level for a natural perspective.
· Keep the camera steady using a tripod or stabilizer.
· Minimize unwanted obstructions, such as crew members or equipment.
2. Lighting Considerations
Proper lighting ensures a clear and immersive experience. Since VR cameras capture a full 360-degree view, you can’t use traditional lighting setups. Instead:
· Utilize natural light when possible.
· Avoid direct light sources that may cause glare.
· Use even lighting to prevent harsh shadows.
3. Avoid Unwanted Camera Movement
Unlike traditional videos, shaky VR footage can cause dizziness or discomfort. To prevent this:
· Use a gimbal stabilizer for smooth motion shots.
· Mount the camera on a drone for aerial VR videos.
· Plan longer shots with minimal movement to keep transitions smooth.
Post-Production: Editing Your VR Video

Editing is where your footage transforms into an immersive VR experience. This step involves stitching, color correction, and optimizing your video for different platforms.
1. Stitching the Footage
Many 360-degree cameras automatically stitch footage together. However, for manual stitching, use software like:
· Adobe Premiere Pro (with VR plugins)
· Insta360 Studio
· GoPro VR Player
Ensure that the stitched footage is seamless without visible lines or distortions.
2. Color Correction and Enhancements
VR videos should have vibrant yet natural colors. Adjust the following:
· Contrast – To improve depth and realism.
· Exposure – To balance bright and dark areas.
· Saturation – To enhance the vibrancy without making it look artificial.
3. Adding Spatial Audio
Spatial audio enhances the immersive experience by making sounds appear to come from different directions. Use ambisonic audio formats and edit with software like:
· Reaper with FB360 plugin
· Adobe Audition
4. Optimizing for Different Platforms
Different platforms have specific VR video requirements. Here’s how to prepare your content:
· YouTube VR – Export in MP4 format with a resolution of at least 4K.
· Facebook 360 – Use a metadata injector tool to ensure compatibility.
· Oculus Rift & Quest – Ensure high frame rates for a smooth experience.
Tips For Creating A Powerful VR Video

To make your VR video stand out, follow these additional best practices:
1. Keep Scenes Longer for Smooth Transitions
Frequent cuts in VR can be disorienting. Instead, use longer scenes with smooth transitions to maintain immersion.
2. Guide Viewer Attention Naturally
Unlike traditional videos, you can’t direct the viewer’s gaze with camera angles. Instead:
· Use motion and sound cues to draw attention.
· Highlight key elements in the environment.
3. Test Your VR Video on Multiple Devices
Before publishing, view your VR video on different devices, including:
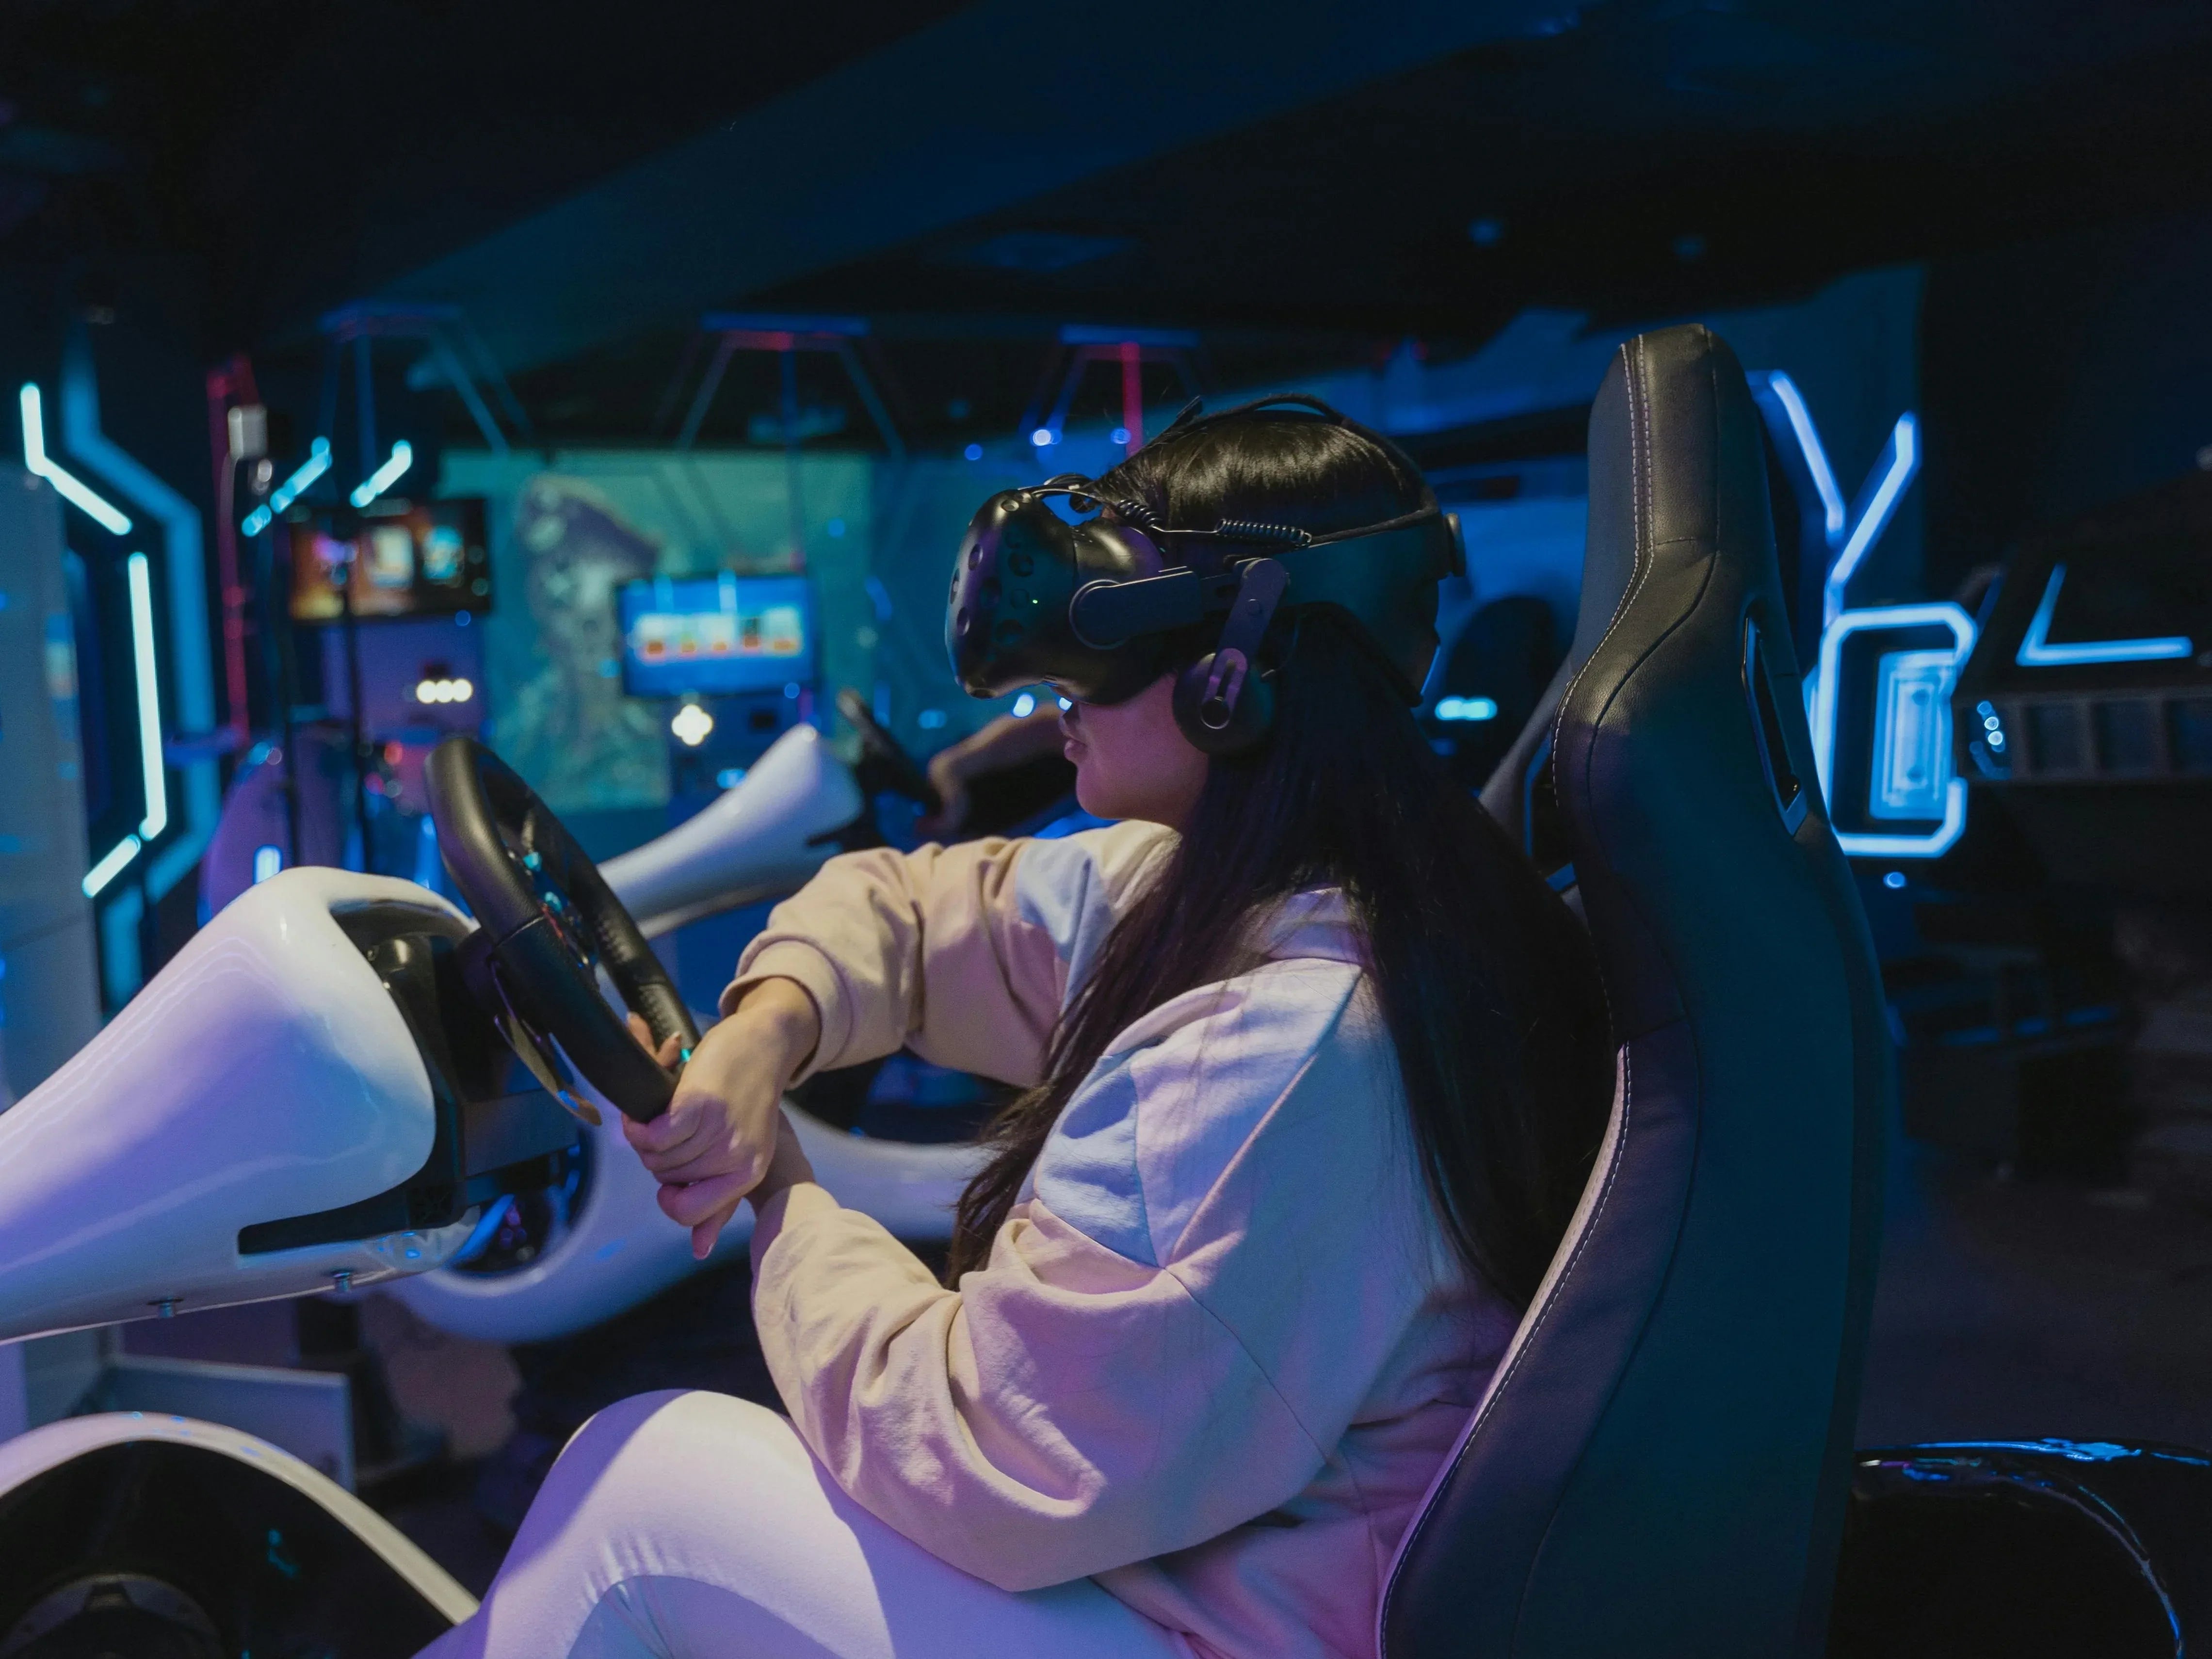
· VR headsets (Meta Quest, HTC Vive)
· Desktop computers
· Mobile devices
Testing ensures a consistent experience across all platforms.
4. Make Your VR Video Accessible
While VR headsets provide the best experience, not everyone has access to one. Ensure your VR video can be viewed on:
· YouTube (desktop and mobile)
· Facebook (360-degree format)
· Embedded web players
Conclusion
Making a VR video requires careful planning, the right equipment, and meticulous editing to create an engaging and immersive experience. By following these steps, you can produce high-quality VR content that captivates audiences and enhances storytelling.