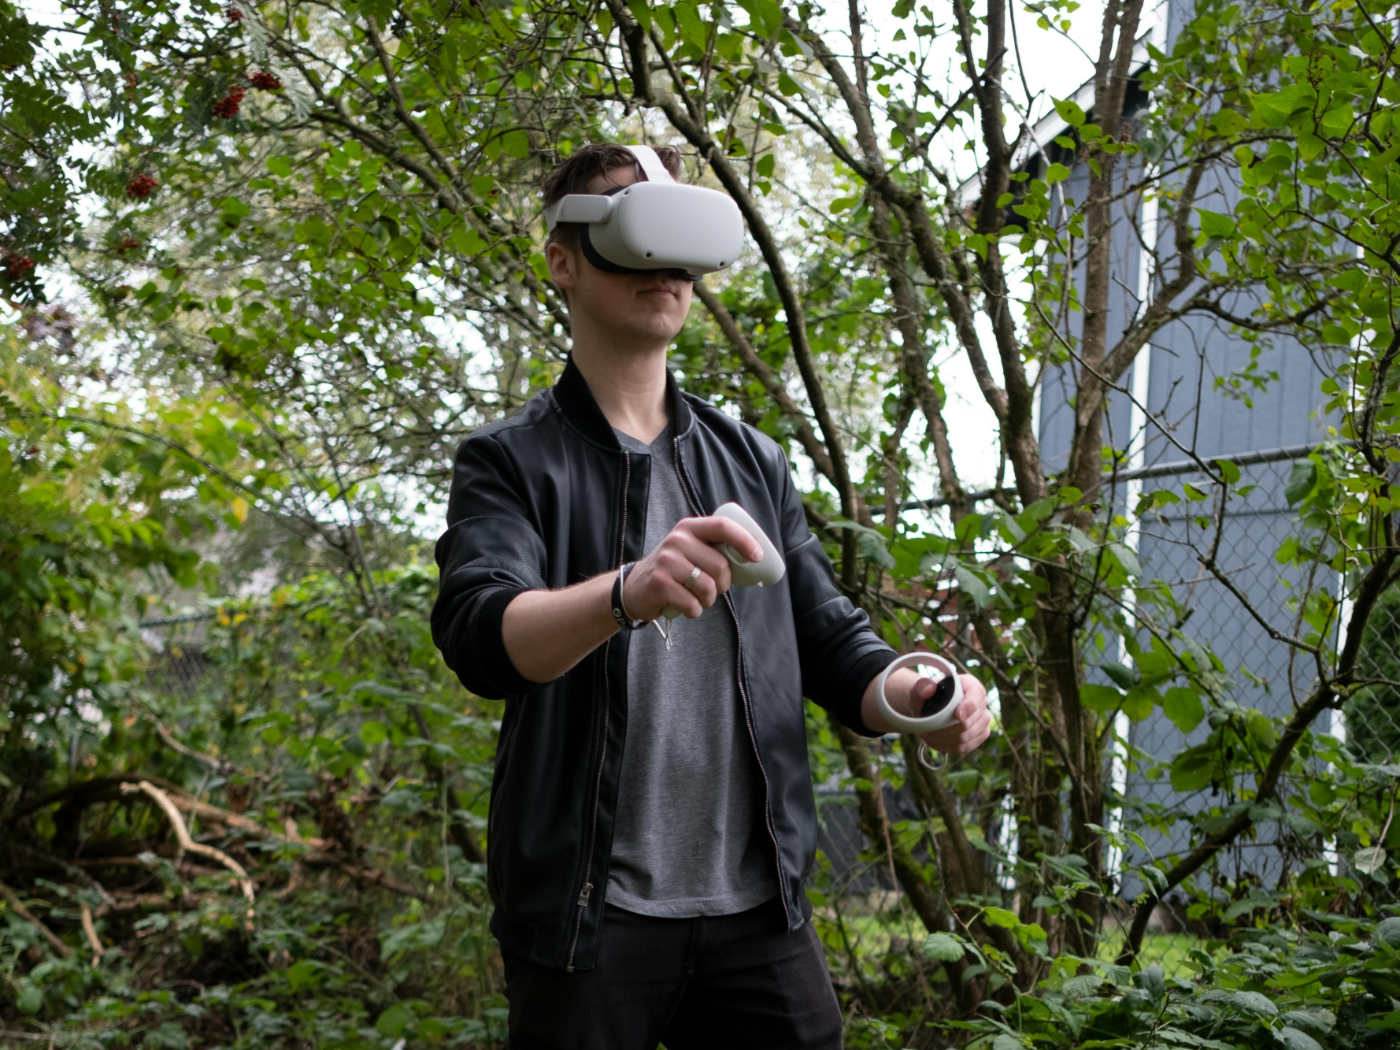
La mayoría de los juegos de realidad virtual solo rastrean los movimientos de la cabeza y las manos, lo que implica que gran parte del cuerpo queda fuera. Sin embargo, añadir seguimiento corporal completo permite que tu avatar imite los movimientos de tus piernas, torso y pies.
Esta guía cubrirá todo lo que necesita saber para configurar el seguimiento de cuerpo completo en sus auriculares Meta Quest, desde el uso de funciones integradas con Virtual Desktop hasta opciones de seguimiento externo para quienes buscan la máxima precisión.
1. Uso del escritorio virtual
Una de las maneras más sencillas de experimentar el seguimiento corporal completo en dispositivos Quest es a través de Virtual Desktop, que incluye una función de seguimiento. Este software permite que las gafas sigan los movimientos emulando los rastreadores SteamVR Vive, ofreciendo un nivel básico de seguimiento corporal ideal para experiencias de realidad virtual informales. A continuación, se explica cómo el seguimiento de Virtual Desktop varía según el modelo de dispositivo.
Misión 3: Seguimiento corporal de adentro hacia afuera (IOBT)
Quest 3 cuenta con Seguimiento Corporal Inversa (IOBT), que utiliza sus cámaras laterales para el seguimiento básico de la parte superior del cuerpo. Esta configuración captura los movimientos de los codos, el torso y otras partes de la parte superior del cuerpo, lo que hace que el movimiento del avatar en VR parezca más natural.
- Puntos fuertes : Ofrece un seguimiento confiable de la parte superior del cuerpo.
- Limitaciones : Los movimientos de la parte inferior del cuerpo se rastrean con menos precisión debido a la falta de seguimiento específico de los pies.
Quest 2 y Quest Pro - Cinemática inversa (IK)
En Quest 2 y Quest Pro, el seguimiento corporal se basa en la cinemática inversa, un método que estima la posición del cuerpo según la ubicación de la cabeza y las manos. Si bien no ofrece la misma precisión que el seguimiento de Quest 3, proporciona un nivel de realismo en el movimiento del avatar que mejora las interacciones sociales en VR.
- Puntos fuertes : Solución de seguimiento asequible para el movimiento corporal básico.
- Limitaciones : Menos preciso que IOBT y no rastrea los movimientos detallados de la parte inferior del cuerpo.
Pasos para configurar un escritorio virtual para el seguimiento corporal
![]()
-
Comprar e instalar Virtual Desktop :
- Descargue Virtual Desktop desde Meta Quest Store.
- Instale Virtual Desktop Streamer en su PC.
-
Configurar los ajustes del escritorio virtual :
- Abra Virtual Desktop y acceda a la configuración mediante el botón redondo en el controlador Quest izquierdo.
- Vaya a la sección "Streaming".
- Habilite "Reenviar datos de seguimiento a PC" y elija "Emular rastreadores SteamVR Vive".
-
Lanzar aplicaciones de realidad virtual :
- Inicie VRChat u otras aplicaciones compatibles y debería ver los movimientos de la parte superior de su cuerpo reflejados en VR.
2. Elección de rastreadores externos
Para quienes buscan mayor precisión, los rastreadores externos ofrecen un seguimiento corporal más completo y preciso. Estos rastreadores son compatibles con SteamVR y requieren estaciones base para capturar y transmitir tus movimientos. Veamos algunos rastreadores externos populares compatibles con los dispositivos Quest.
1. Rastreadores HTC Vive
Estos rastreadores son ideales para aplicaciones de RV que requieren un seguimiento corporal de alta calidad, como simulaciones de entrenamiento profesional, juegos de RV complejos y experiencias sociales inmersivas. Los rastreadores Vive son conocidos por su durabilidad y rendimiento constante, lo que los convierte en una opción popular para usuarios exigentes de RV. Sin embargo, son más caros y requieren estaciones base para un seguimiento eficaz.
2. Rastreadores de tundra
Los Tundra Trackers son elogiados por ser más pequeños y ligeros, lo que los hace más cómodos de usar durante largas sesiones de VR. Además, cuentan con una impresionante duración de batería, lo que permite a los usuarios disfrutar de experiencias de VR más largas sin interrupciones. Al igual que los Vive Trackers, los Tundra Trackers requieren estaciones base SteamVR para su seguimiento, lo que aumenta el costo total.
3. Rastreadores AXIS
Estos rastreadores no requieren estaciones base, lo que simplifica su configuración y facilita su uso en diversos espacios. Los rastreadores AXIS son fáciles de instalar y no requieren cableado, pero ocasionalmente pueden experimentar desviaciones de posición, lo que requiere recalibración periódica.
4. Rastreadores SlimeVR
SlimeVR es una opción más económica para quienes prefieren hacerlo uno mismo. Es un sistema de seguimiento de código abierto basado en IMU, disponible tanto como kit prefabricado como para proyectos individuales. SlimeVR no requiere estaciones base, lo que facilita su integración en diversas configuraciones. Sin embargo, presenta limitaciones de precisión debido a su tecnología basada en IMU, y es posible que los usuarios deban recalibrarlo con frecuencia.
3. Configuración de rastreadores externos con estaciones base
Una vez que haya elegido un sistema de rastreo externo, deberá configurarlo con estaciones base. Esta configuración proporciona un rastreo consistente, aunque puede ser más compleja que usar Virtual Desktop.
Configuración esencial para estaciones base
-
Monte las estaciones base :
- Coloque dos estaciones base en esquinas opuestas de su área de juego, a aproximadamente 6,5 pies de altura.
- Inclinelos hacia abajo entre 30 y 45 grados para cubrir el espacio de manera efectiva.
-
Encender y configurar canales :
- Asegúrese de que cada estación base esté encendida, con una luz de estado verde.
- En SteamVR, navegue a Dispositivos > Configuración de la estación base para configurar diferentes canales para cada estación.
Emparejamiento y actualización de rastreadores
-
Emparejar rastreadores con SteamVR :
- Encienda cada rastreador presionando su botón hasta que comience a parpadear.
- En SteamVR, seleccione "Emparejar rastreador" y siga las instrucciones para conectar cada uno.
-
Actualizar firmware para rastreadores y estaciones base :
- Conecte cada rastreador a su PC a través de USB.
- En SteamVR, vaya a Dispositivos y busque actualizaciones en Actualizar dispositivo .
Asignar rastreadores a partes del cuerpo
Asigna cada rastreador a una parte específica del cuerpo (por ejemplo, pie, cintura) dentro de SteamVR:
- Haga clic derecho en el rastreador, seleccione Administrar rastreadores y use el menú desplegable para asignar cada rastreador.
4. Calibración de rastreadores
La calibración garantiza que los movimientos virtuales coincidan con los movimientos reales con la mayor precisión posible. Para la configuración con rastreadores externos, siga el proceso detallado a continuación:
-
Descargar Calibrador Espacial OpenVR :
- Instale esta aplicación gratuita para sincronizar los rastreadores con sus auriculares Quest.
-
Ejecutar calibración :
- Abra la aplicación y seleccione el controlador Quest a la izquierda y un rastreador a la derecha.
- Utilice la configuración de calibración “Lenta” para lograr mayor precisión y mueva la mano en forma de ocho.
-
Calibración en el juego :
- Inicie su juego (por ejemplo, VRChat) y siga las instrucciones del juego, que a menudo implican una pose T para alinear los rastreadores.
La calibración es esencial para evitar la "deriva", es decir, que tu avatar de VR se desplace lentamente de tu posición real con el tiempo. Si notas una desalineación, podría ser necesario recalibrarlo periódicamente.
5. Solución de problemas comunes de seguimiento de cuerpo completo
Incluso con la mejor configuración, ocasionalmente pueden surgir problemas de seguimiento. Aquí se presentan algunos problemas comunes y sus soluciones.
Seguimiento inexacto
Recalibre utilizando OpenVR Space Calibrator, ajuste las posiciones de los rastreadores y asegúrese de que haya una buena iluminación en el área de juego.
Deriva de posición
Recalibre con más frecuencia, verifique si hay interferencias magnéticas y asegúrese de que las estaciones base estén montadas de forma segura.
Problemas de conectividad
Utilice un concentrador USB con alimentación, asegúrese de que los rastreadores estén completamente cargados y verifique si hay interferencias de Wi-Fi.
Problemas de rendimiento
Cierre las aplicaciones en segundo plano, asegúrese de tener una conexión Wi-Fi estable y reduzca la configuración de gráficos del juego si experimenta retrasos.
Accesorios recomendados para Meta Quest:
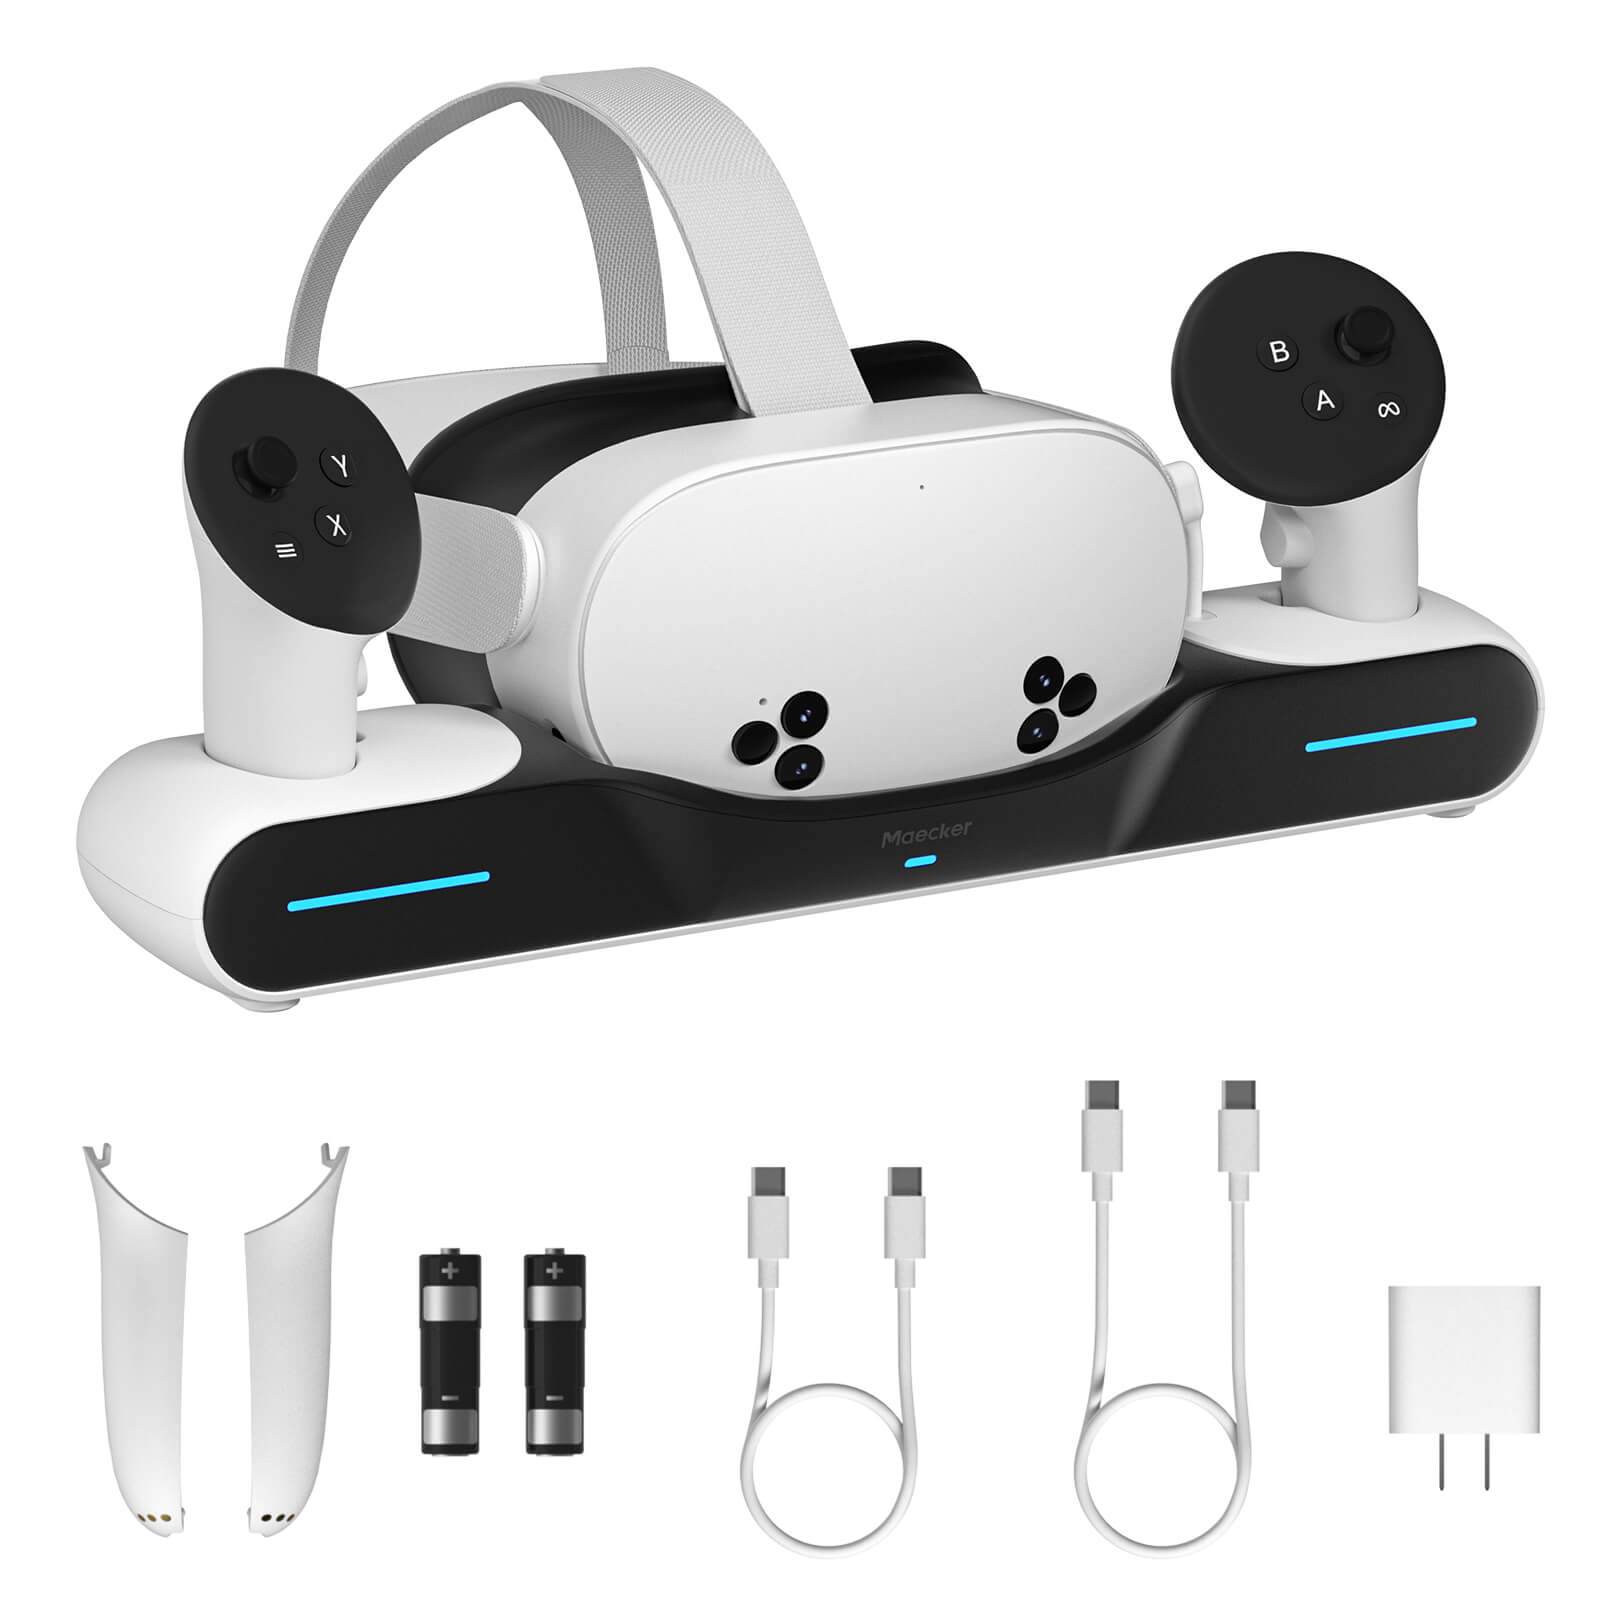
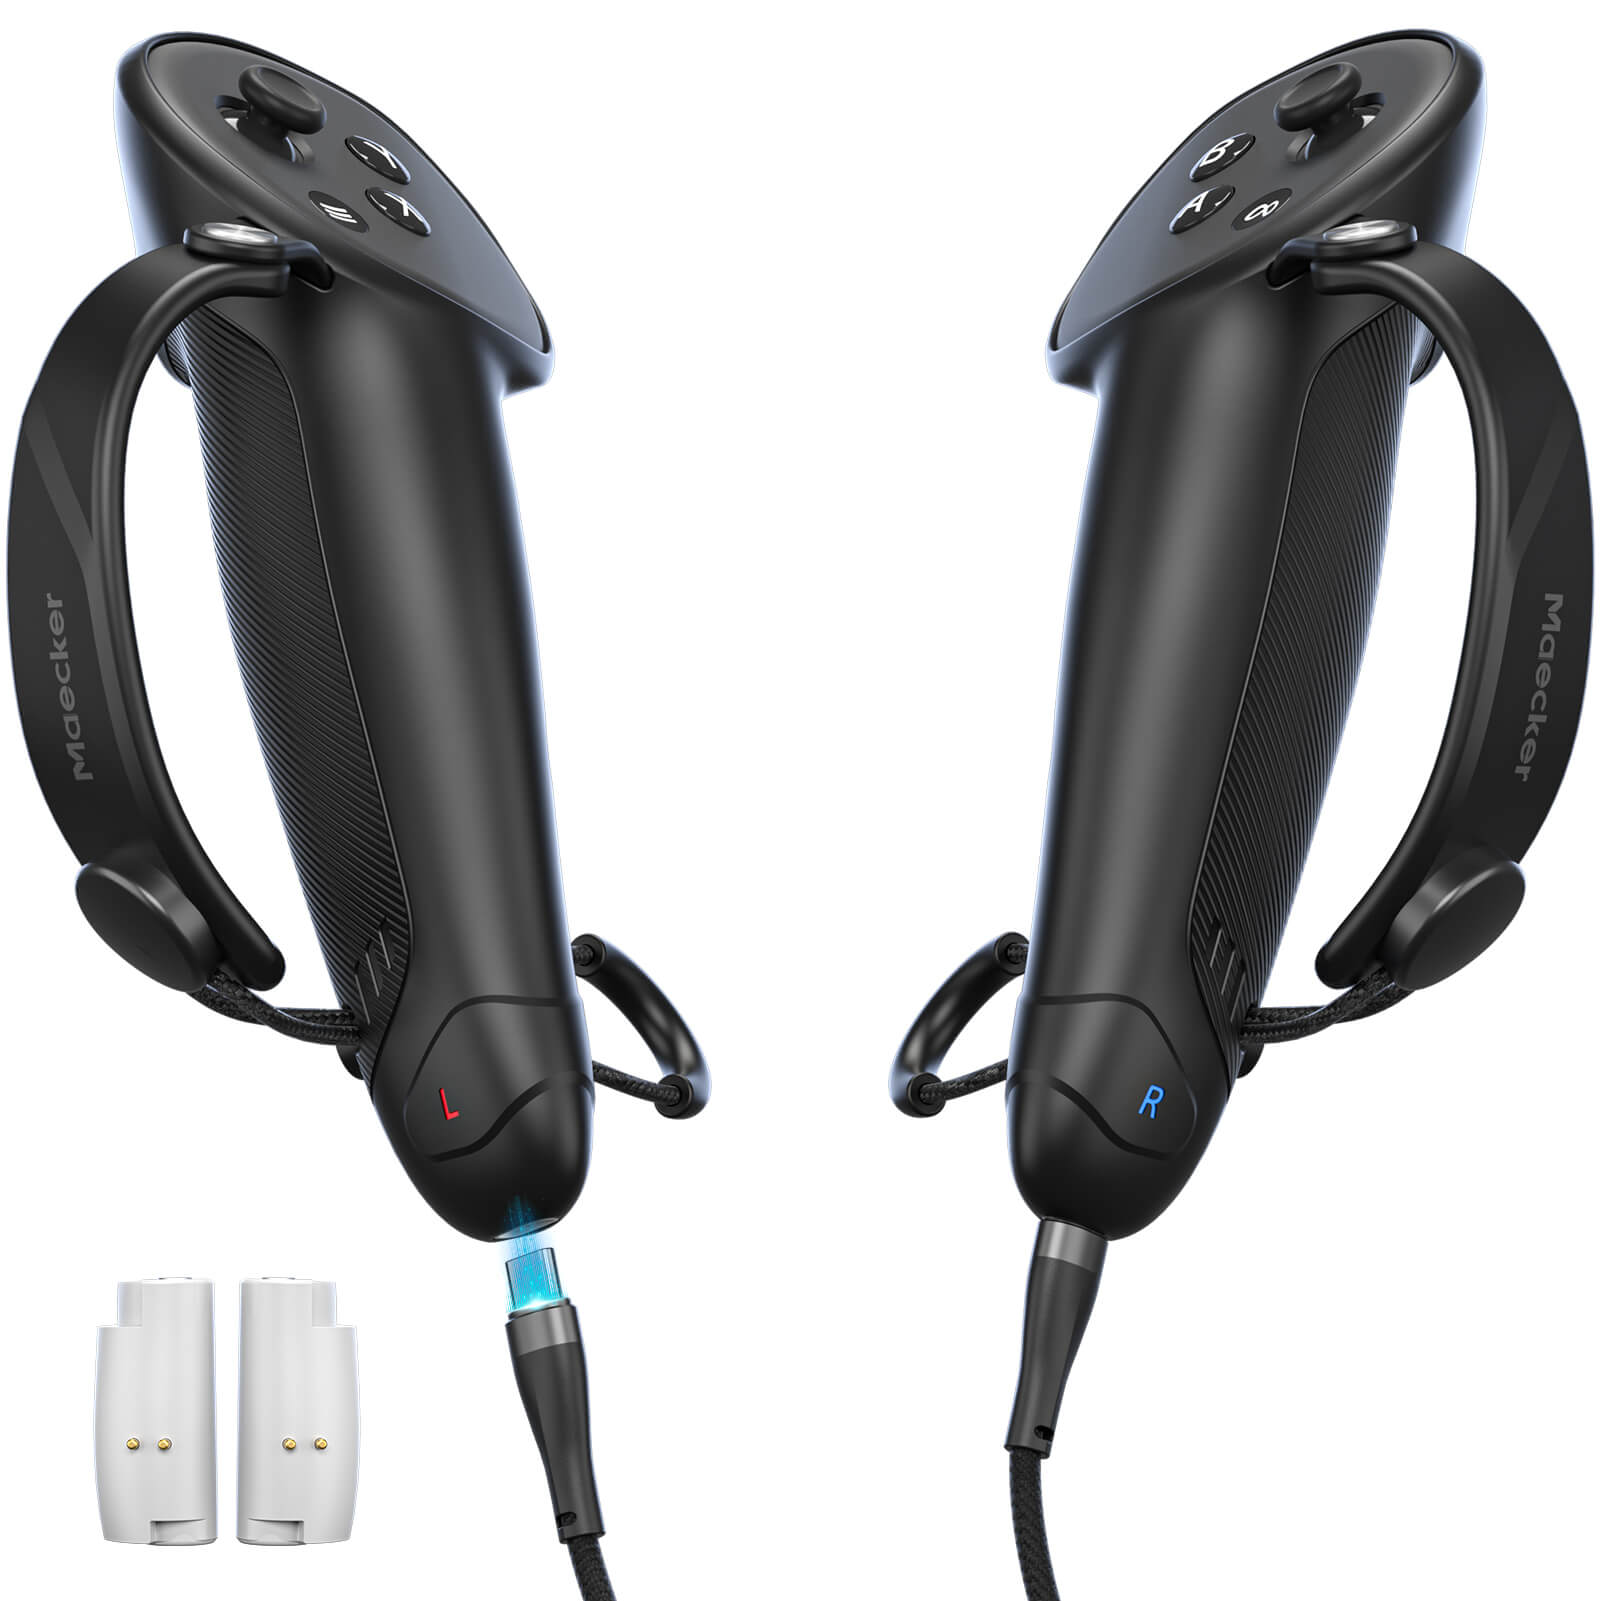
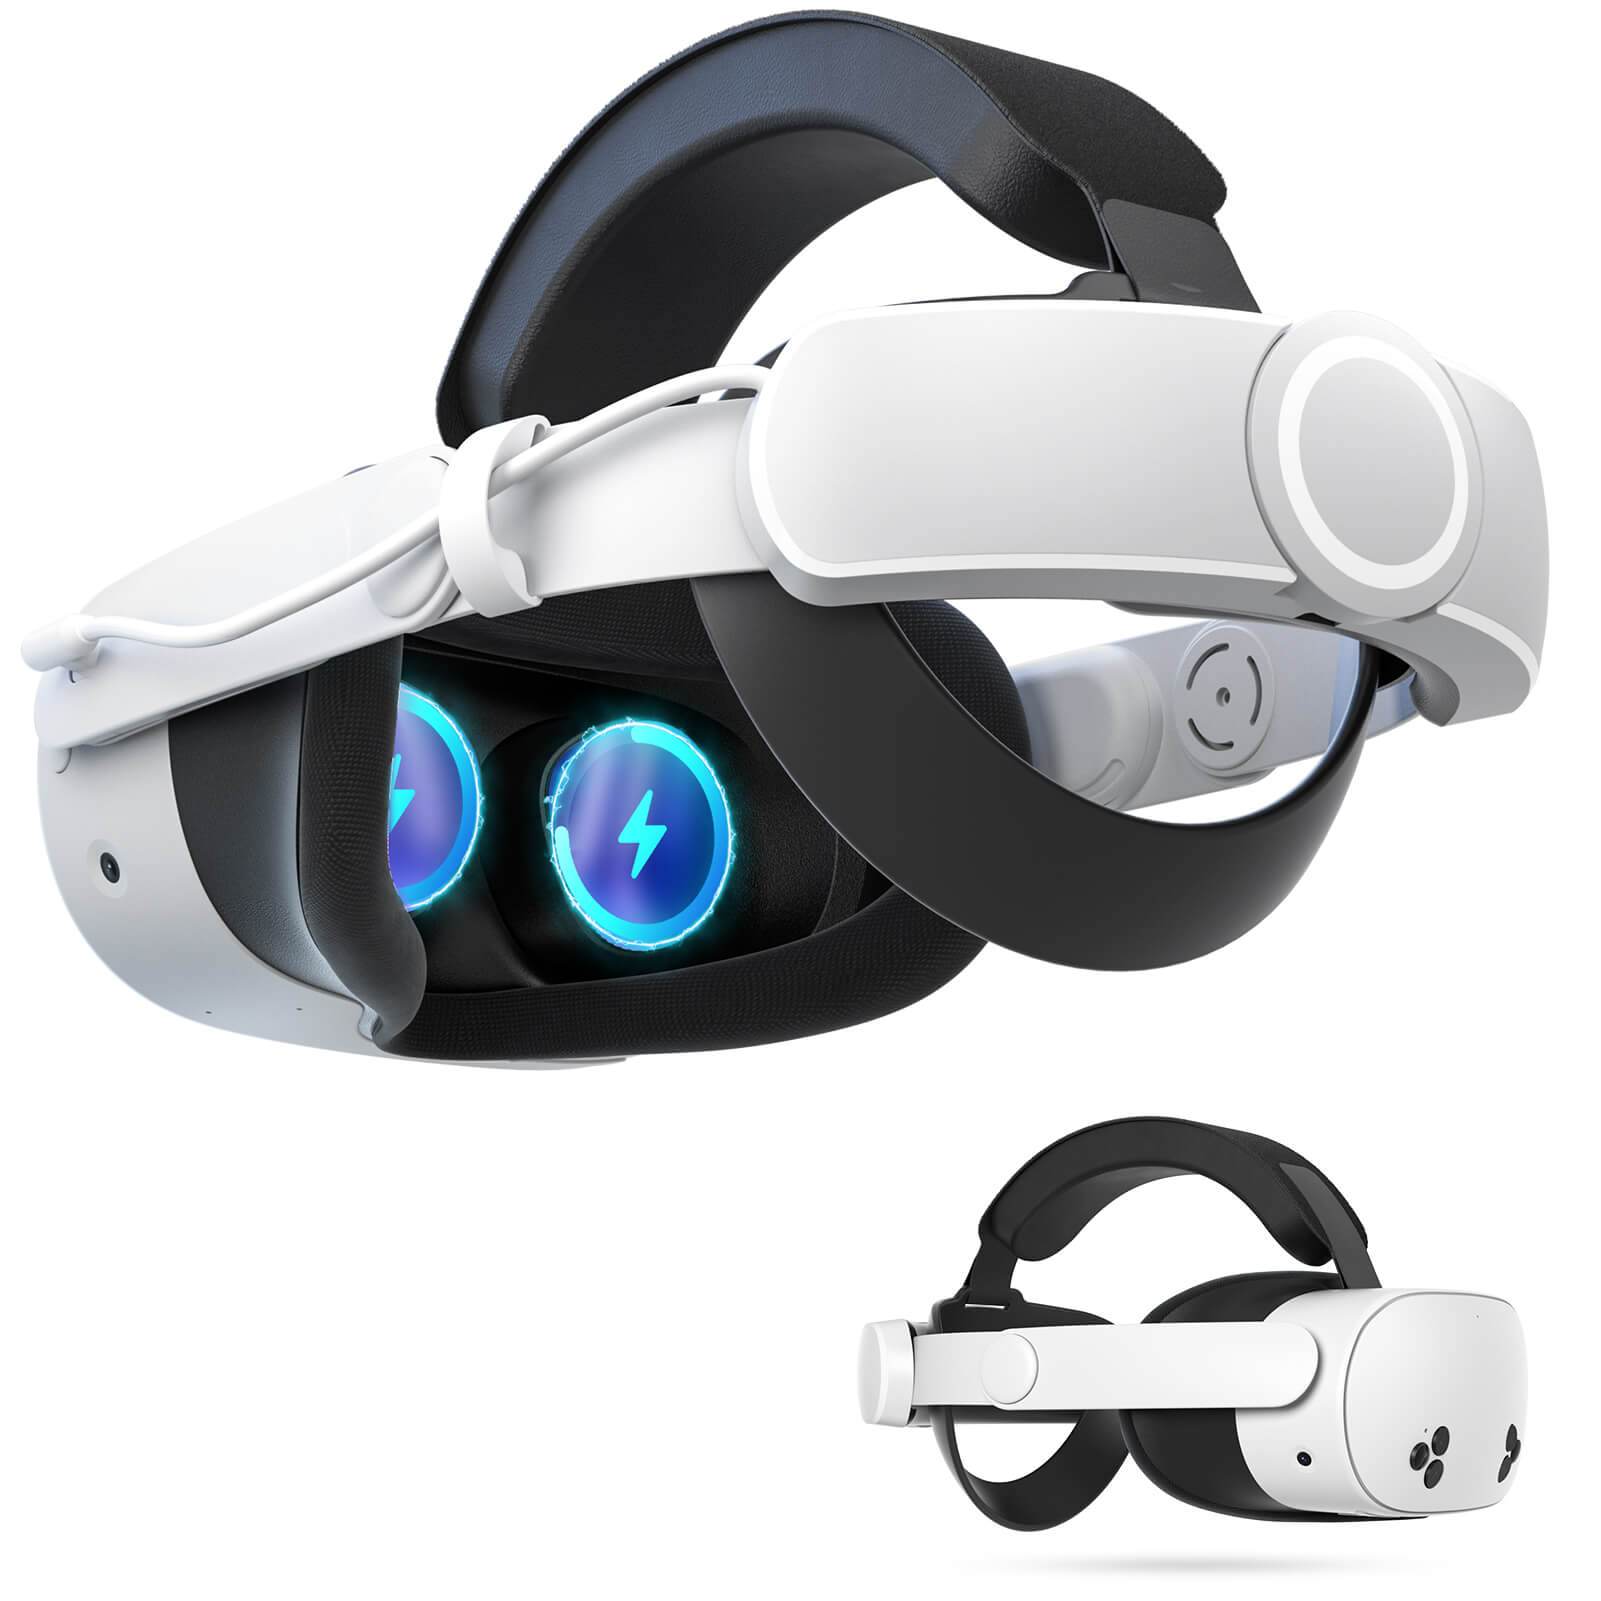
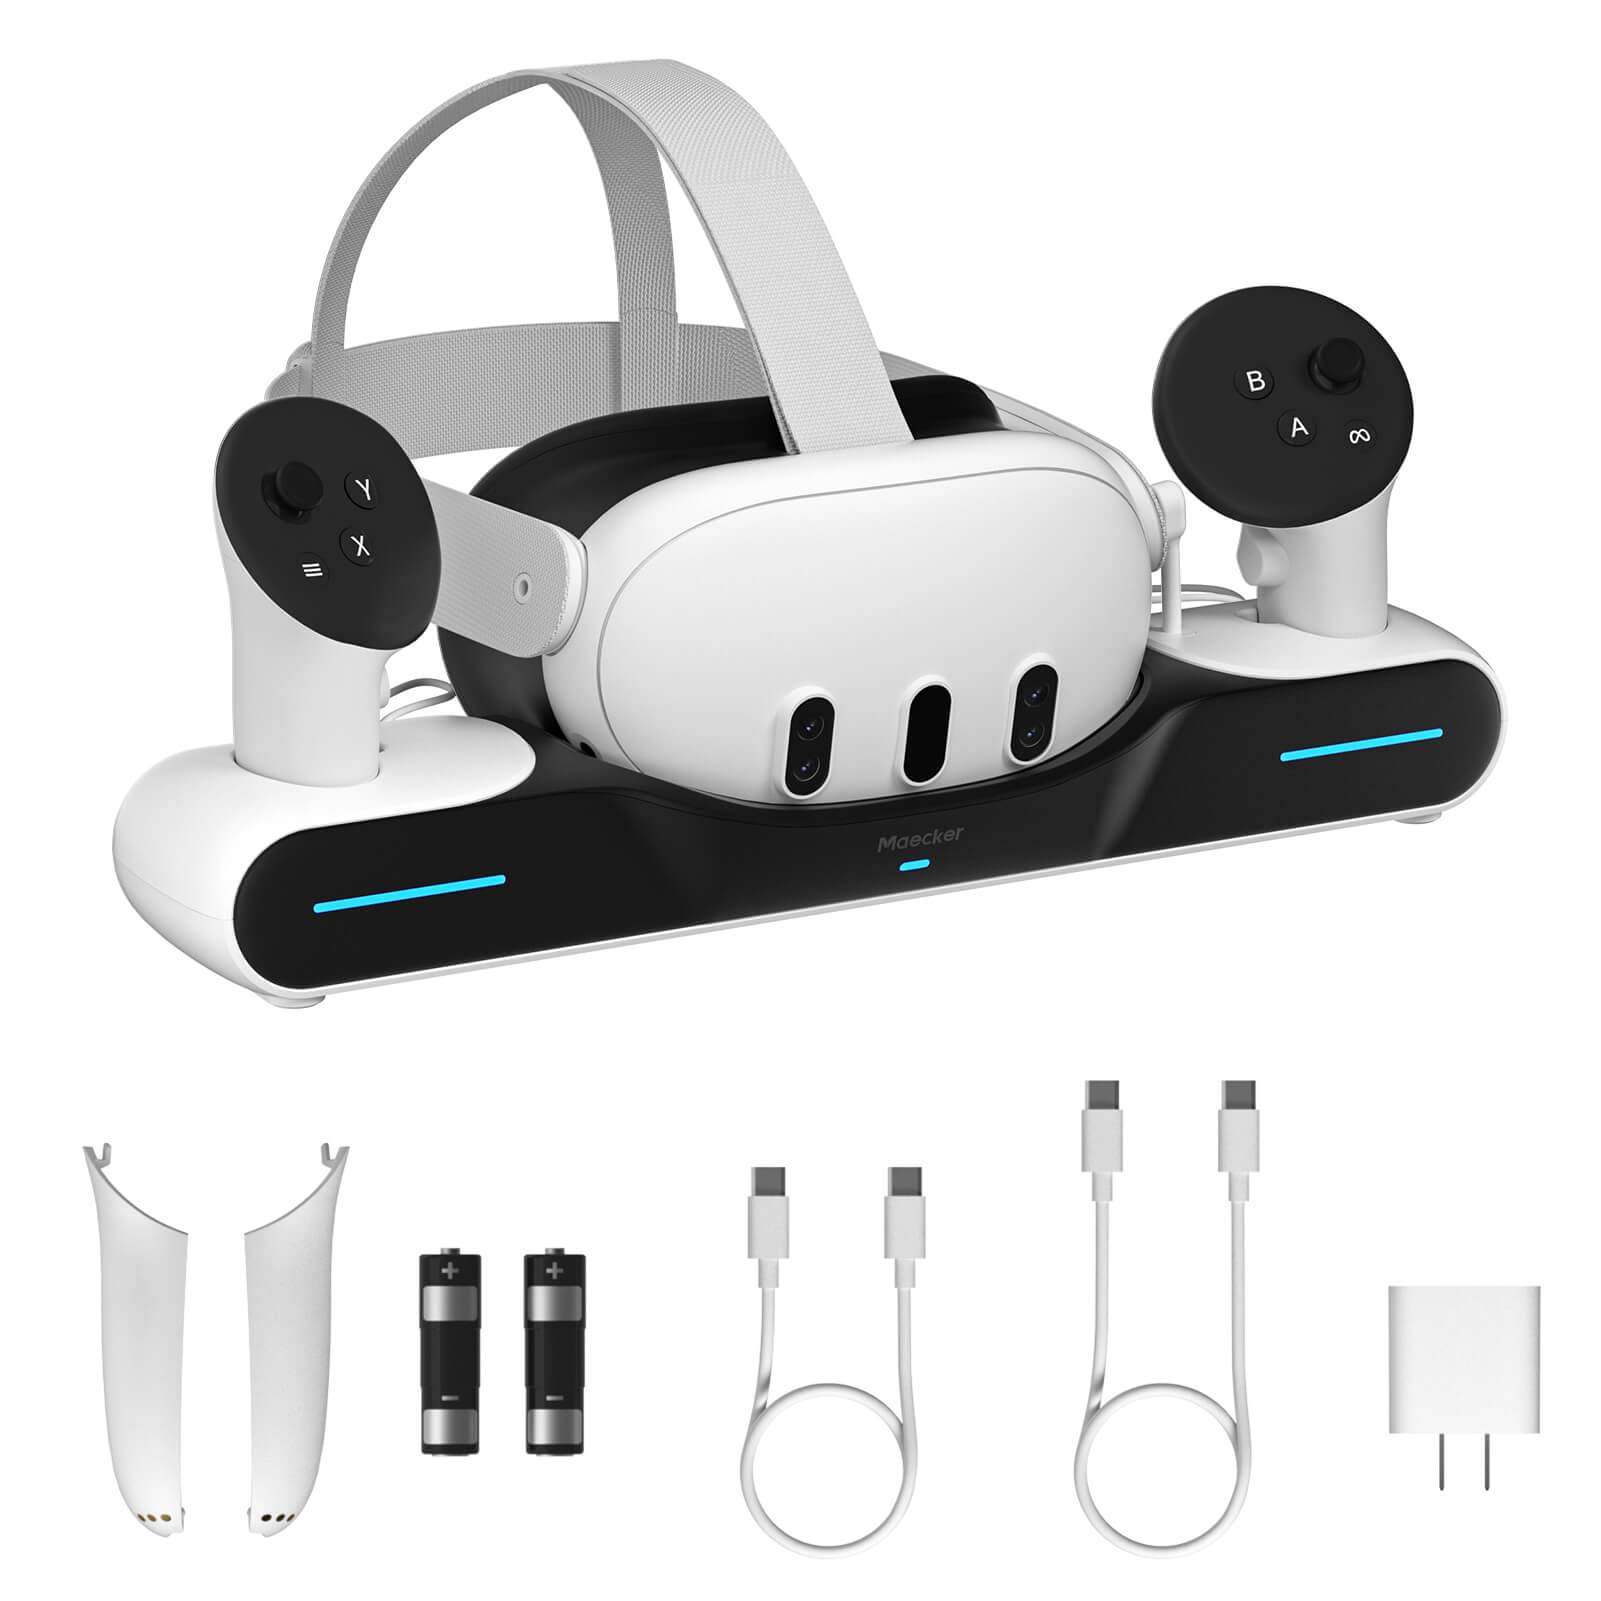
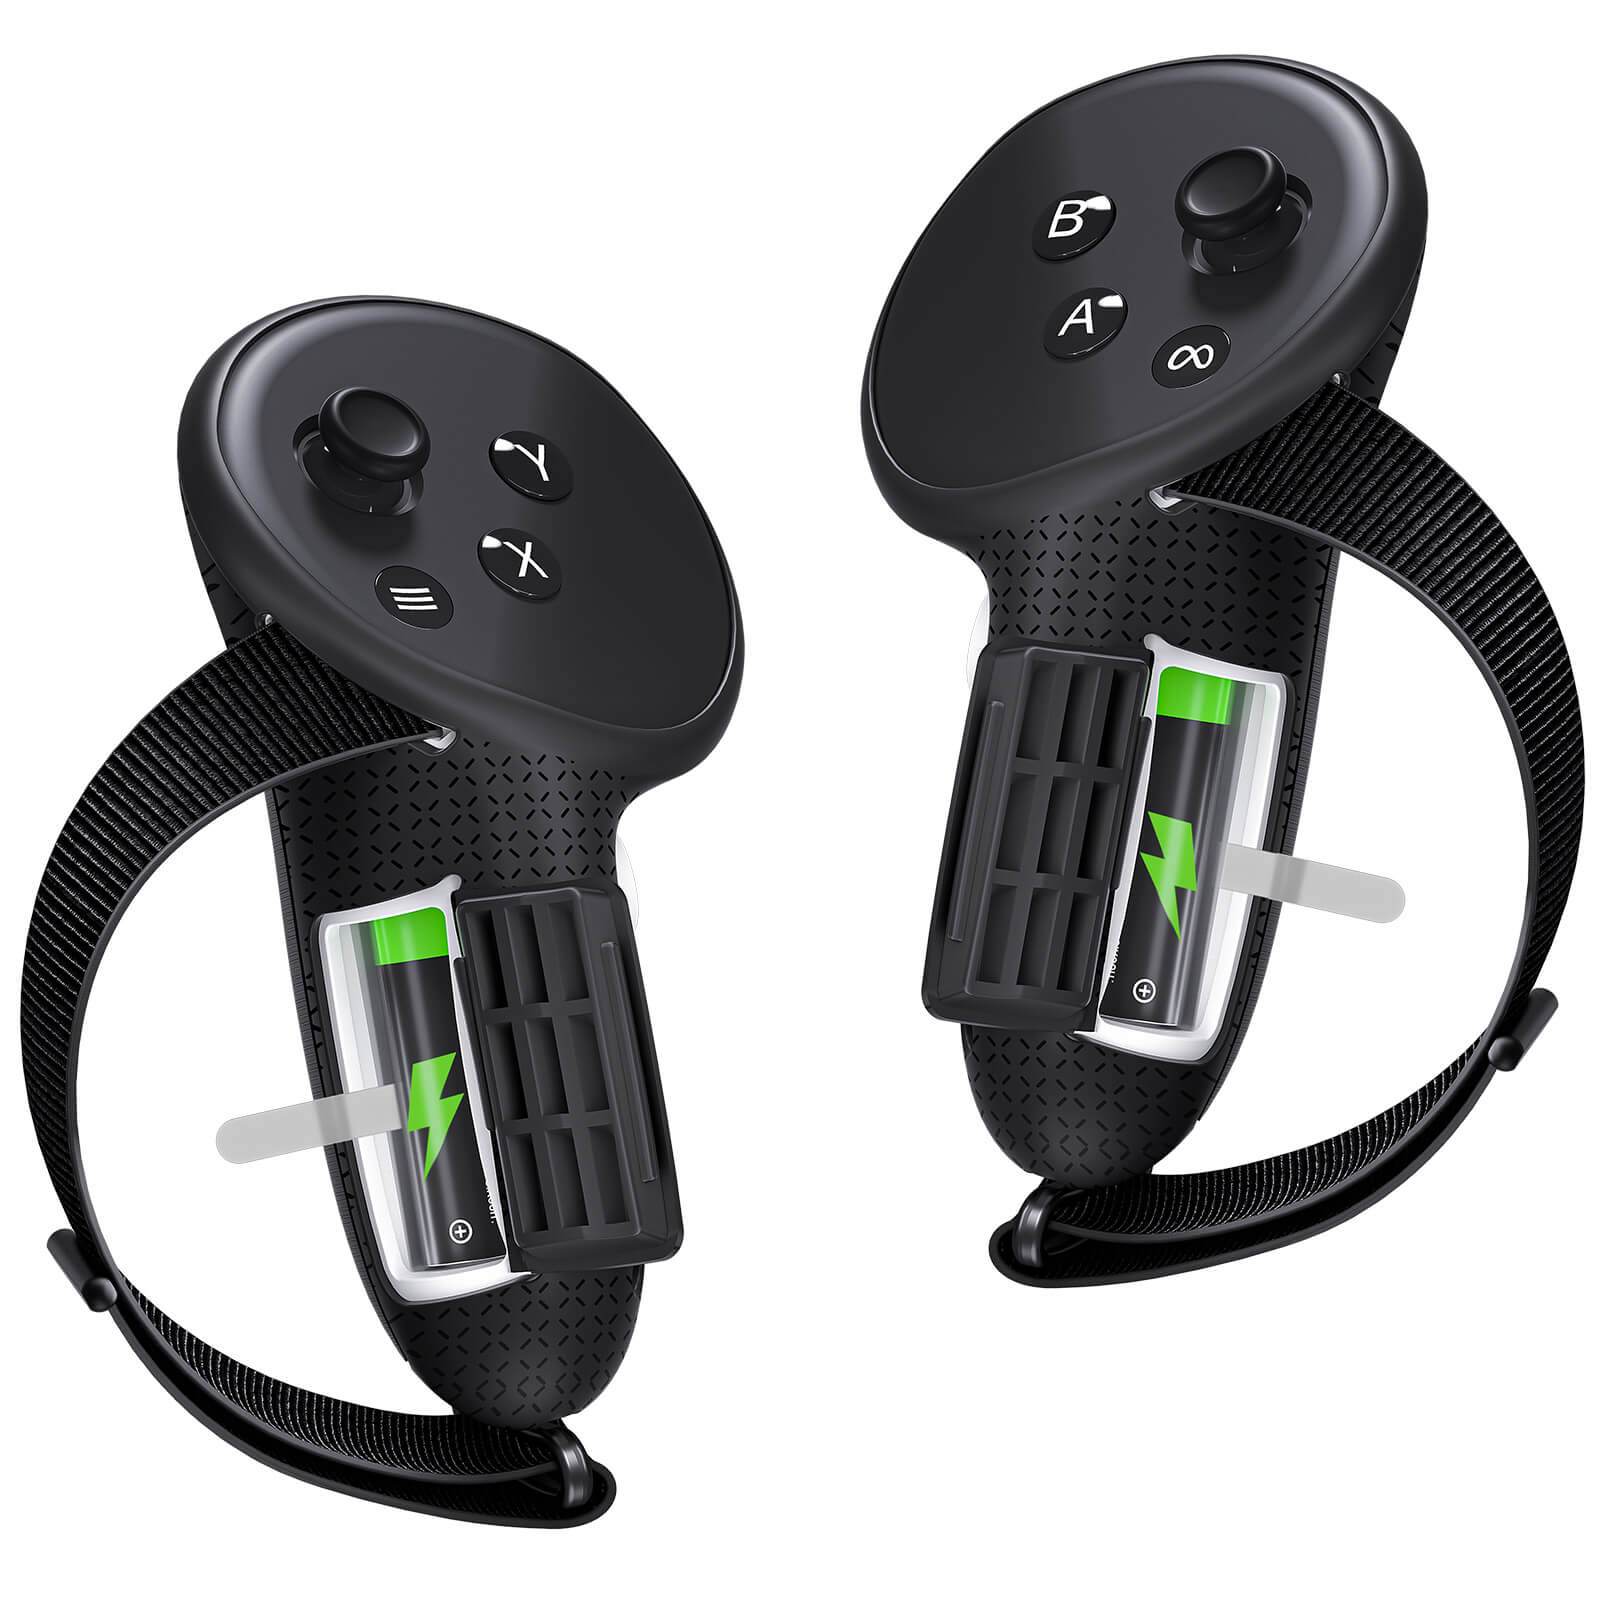
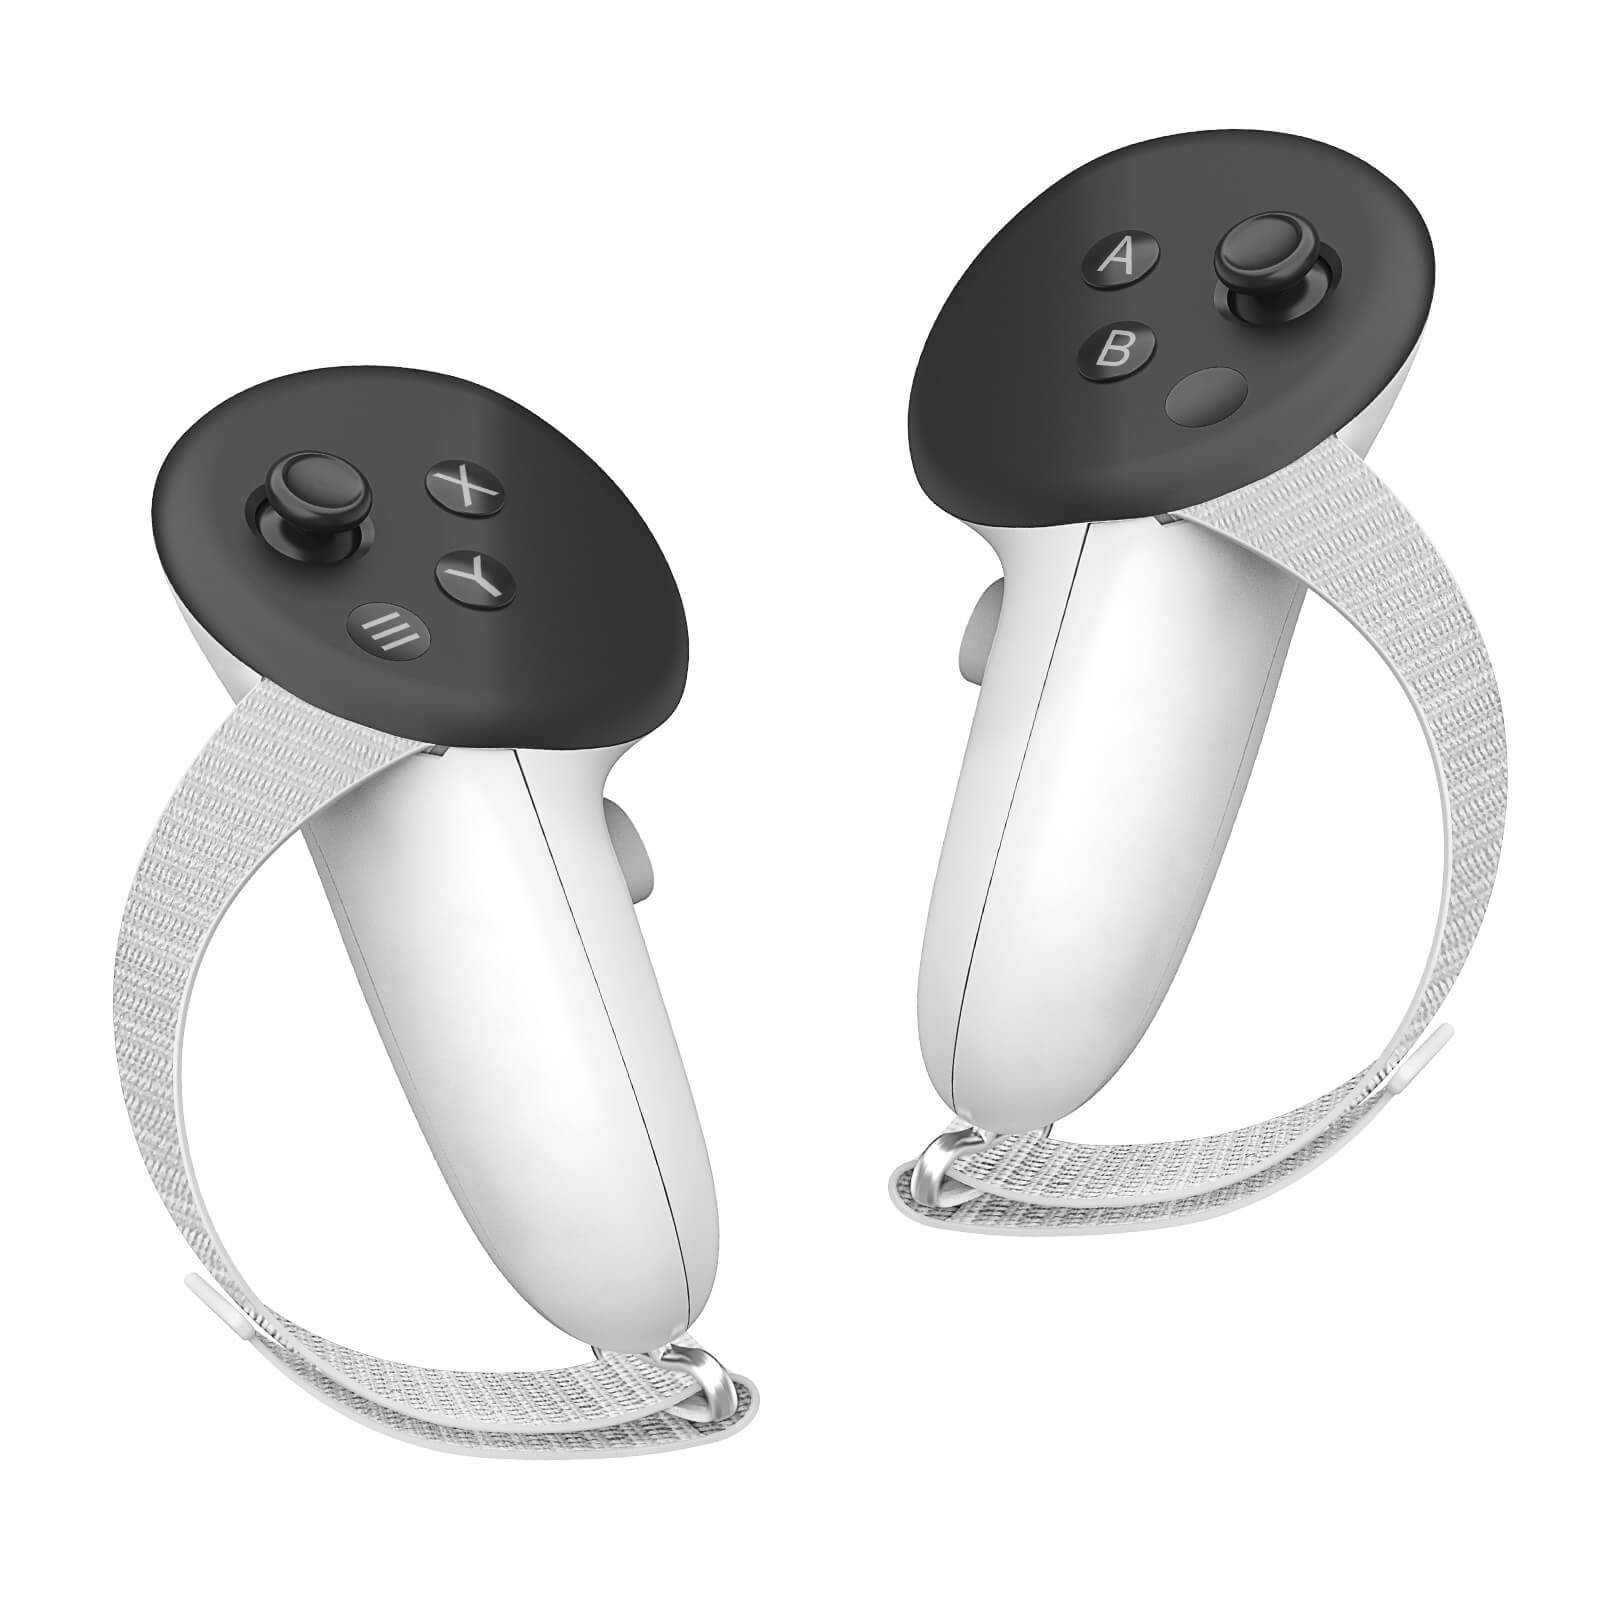
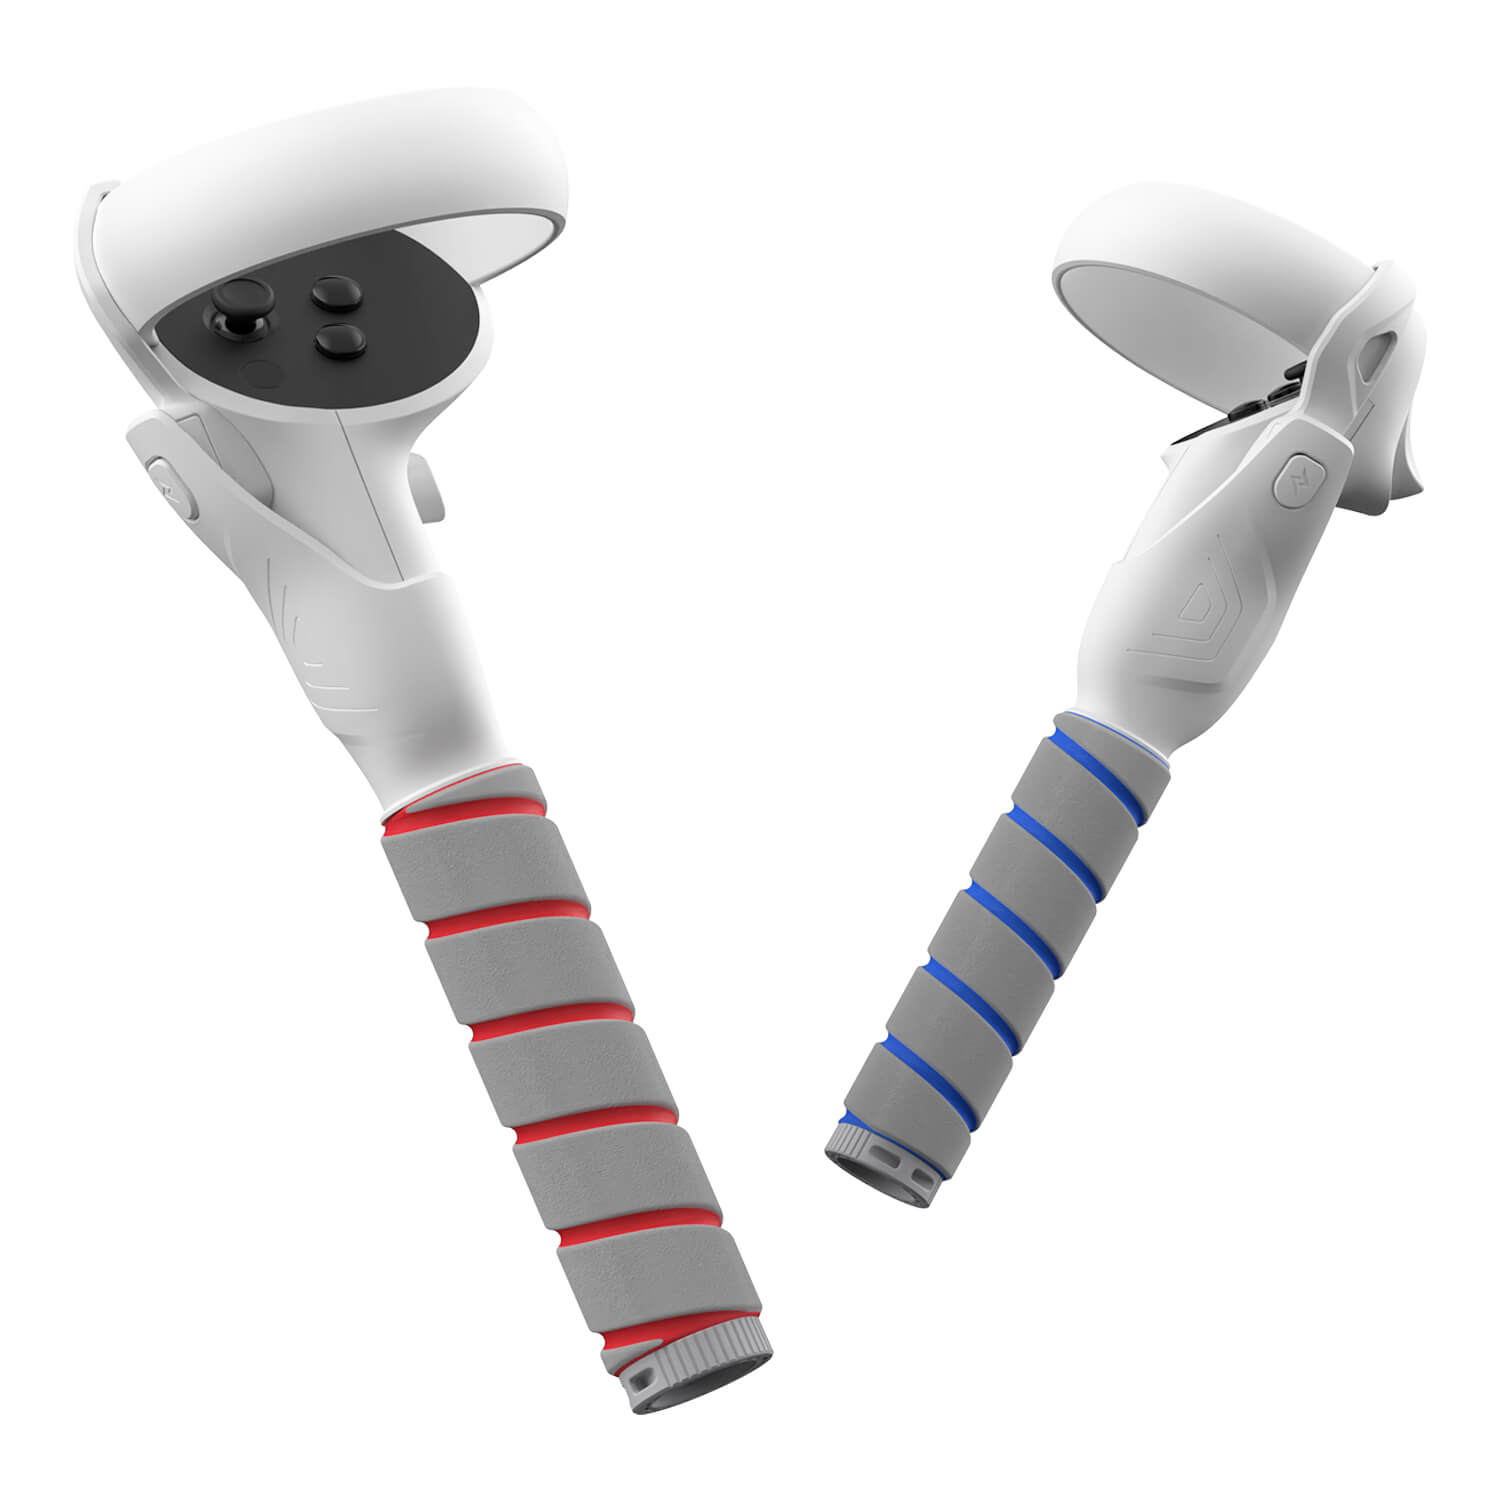
1. Mangos extendidos para MaeckerVR Quest 3/3S 2. Empuñaduras de control de carga directa MaeckerVR Quest 3/3S 3. Correa para la cabeza con batería MaeckerVR Quest 3Conclusión
Configurar el seguimiento corporal completo en Quest 2 y Quest 3 puede mejorar enormemente tu experiencia de realidad virtual, haciendo que las interacciones se sientan más naturales e inmersivas. Virtual Desktop ofrece un punto de acceso sencillo para el seguimiento corporal básico, mientras que los rastreadores externos ofrecen mayor precisión para quienes buscan mayor exactitud.

