The Meta Quest headset offers an immersive VR experience and managing your files within this environment is seamless with the built-in Files app. This guide will walk you through everything you need to know about accessing, sharing, deleting, and transferring files using the Files app on your Meta Quest.
How To Open The Files App
To manage your files on Meta Quest, you need to open the Files app. Here’s how to do it:
- Press the Meta button on your VR headset controllers or the Oculus icon on your right Touch controller.
- From the Universal Menu, select the option to open your apps.
- Find and select the Files app to open it.
How To Transfer Files Between Meta Quest Devices
If you own more than one Meta Quest device, you might need to transfer files between them. Here’s how you can do it:
- Use the included USB 2.0 cable to connect your Meta Quest headset to your computer.
- Put on your headset and select Allow when prompted to give your computer access to the files.
Transfer Files
- On Windows: Your Meta Quest will appear as a drive on your computer, allowing you to click and drag files.
- On Mac:You’ll need to install Android File Transfer to facilitate the transfer process.
- On Chromebook/Chrome OS: Use the Files app to access your Meta Quest headset.
Once the files are on your computer, you can unplug your first device, plug in your second Meta Quest, and drag the files into the appropriate folders on the new device.
How To Share And Delete Files
The Files app is not just for viewing your files. It also lets you share, delete, and organize them efficiently.
Sharing Files
- Use the Files app to find the file you want to share.
- Once you've located the file, select it.
- You can share files on different platforms such as Facebook News Feed, Facebook Groups, or Messenger. Select the appropriate option to share the file.
This feature is handy for quickly sharing screenshots, videos, or any other files you’ve created or stored on your Meta Quest.
Deleting Files
- Use the Files app to locate the file you want to delete.
- Click on the file, then choose the Delete option.
- Select Delete again to confirm. If you have media syncing turned on, you can choose to delete the file from both your headset and your Meta Quest mobile app by selecting Delete and Unsync.
Regularly clearing out old files can help keep your storage space available for new content.
Recognized File Types
The Files app supports a variety of file types, making it versatile for managing different content:
- Video Files: .M4V, .MOV, .MP4, .MPG
- Image Files: .JPG, .PNG
- Text Documents: .TXT
- Word Documents: .DOC, .DOCX
- Presentation Files: .KEY, .PPT, .PPS, .PPTX
These file types cover most of the common formats you might encounter or create while using your Meta Quest headset.
Troubleshooting File Transfer
If your Meta Quest isn’t showing up as a drive on your Windows PC, there are a few steps you can take:
- Make sure you’re using the USB cable that came with your Meta Quest.
- Ensure you’ve selected Allow when prompted in your headset.
- Update your Device Driver.
Recommended Meta Quest Accessories:
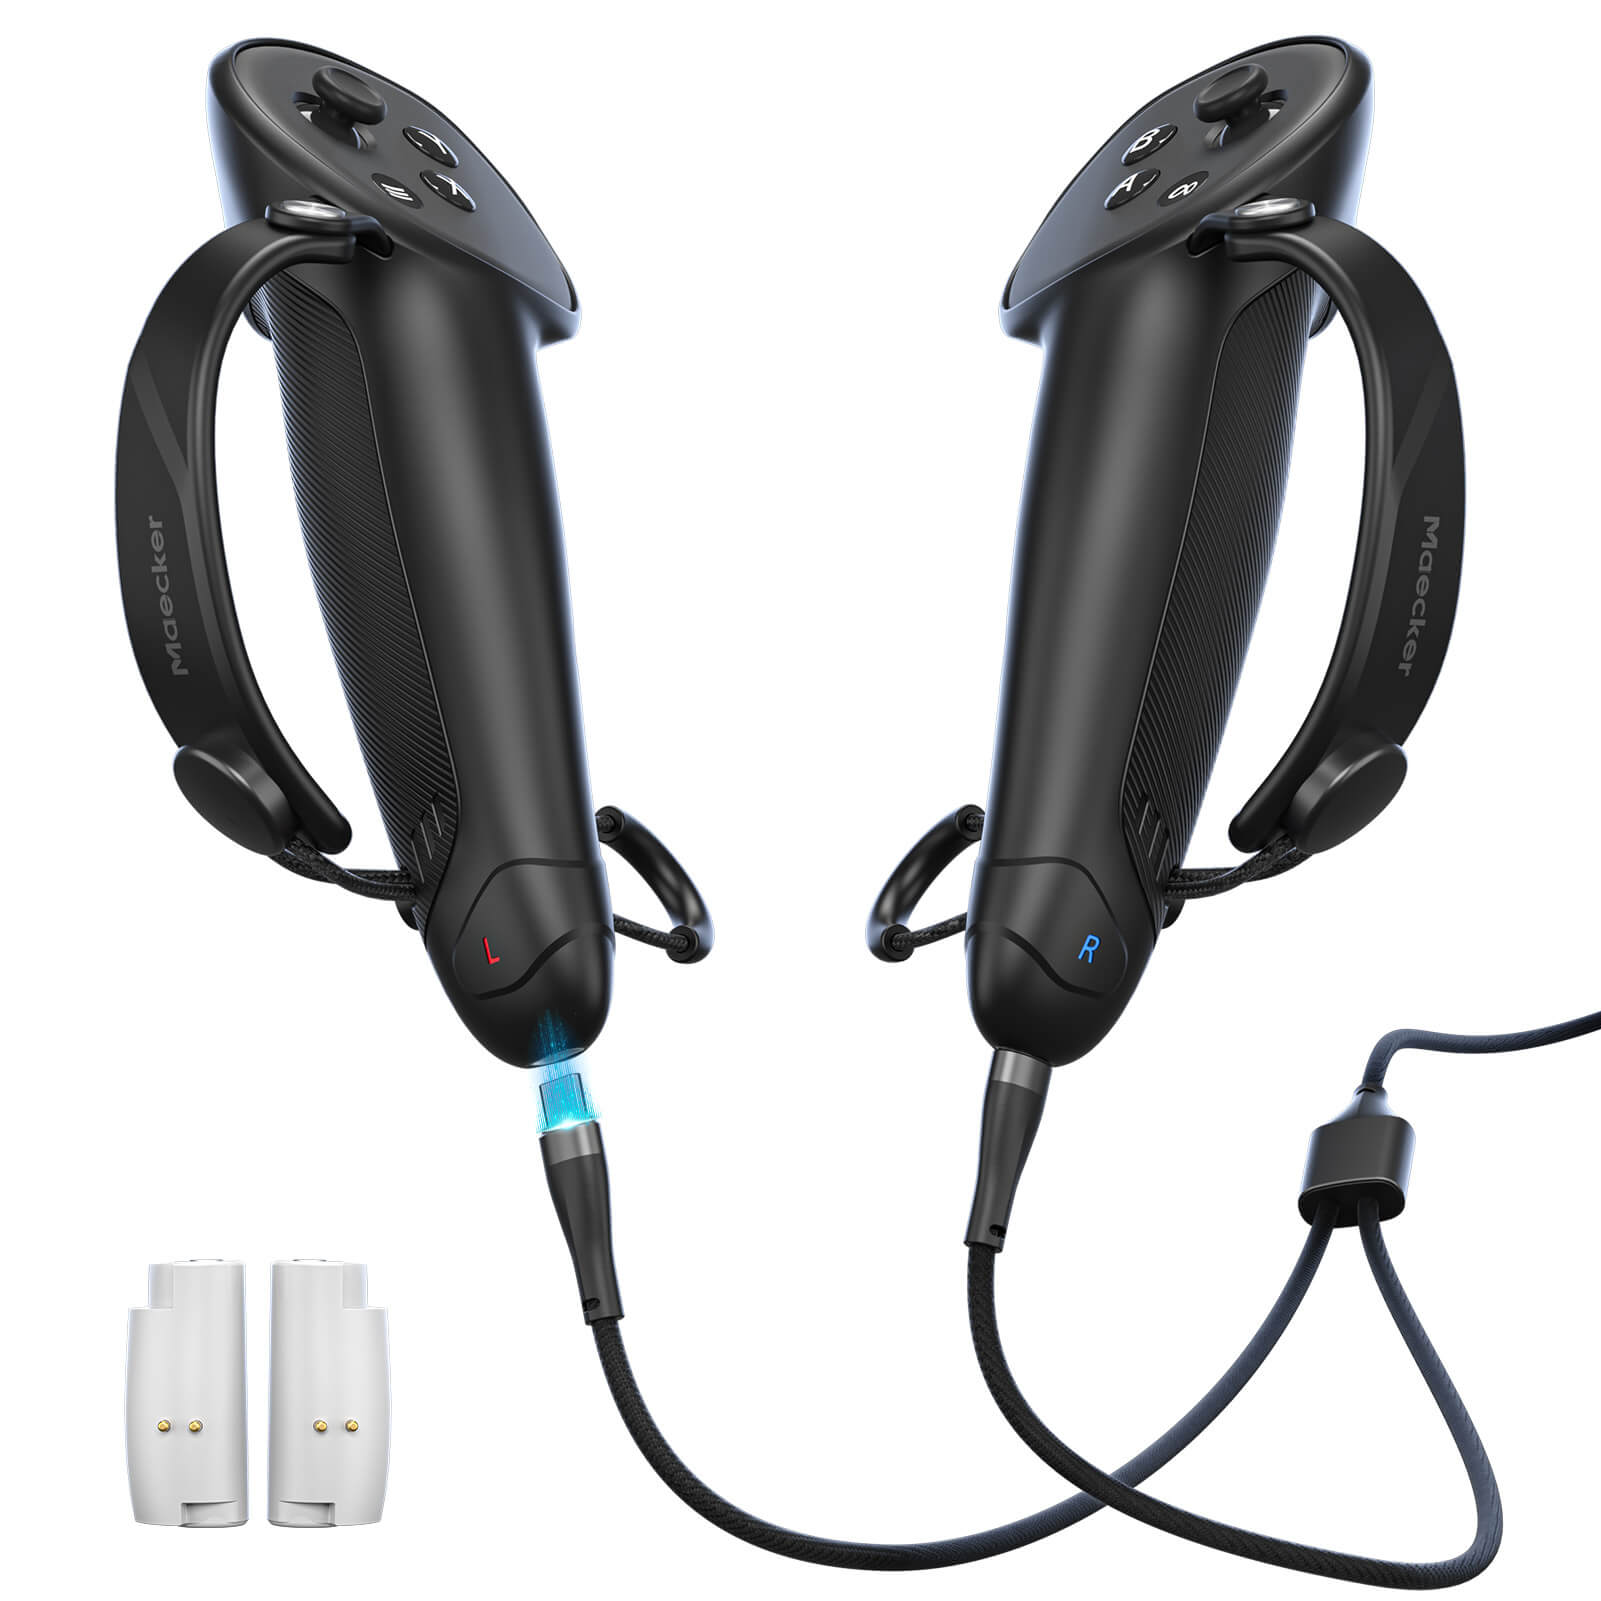
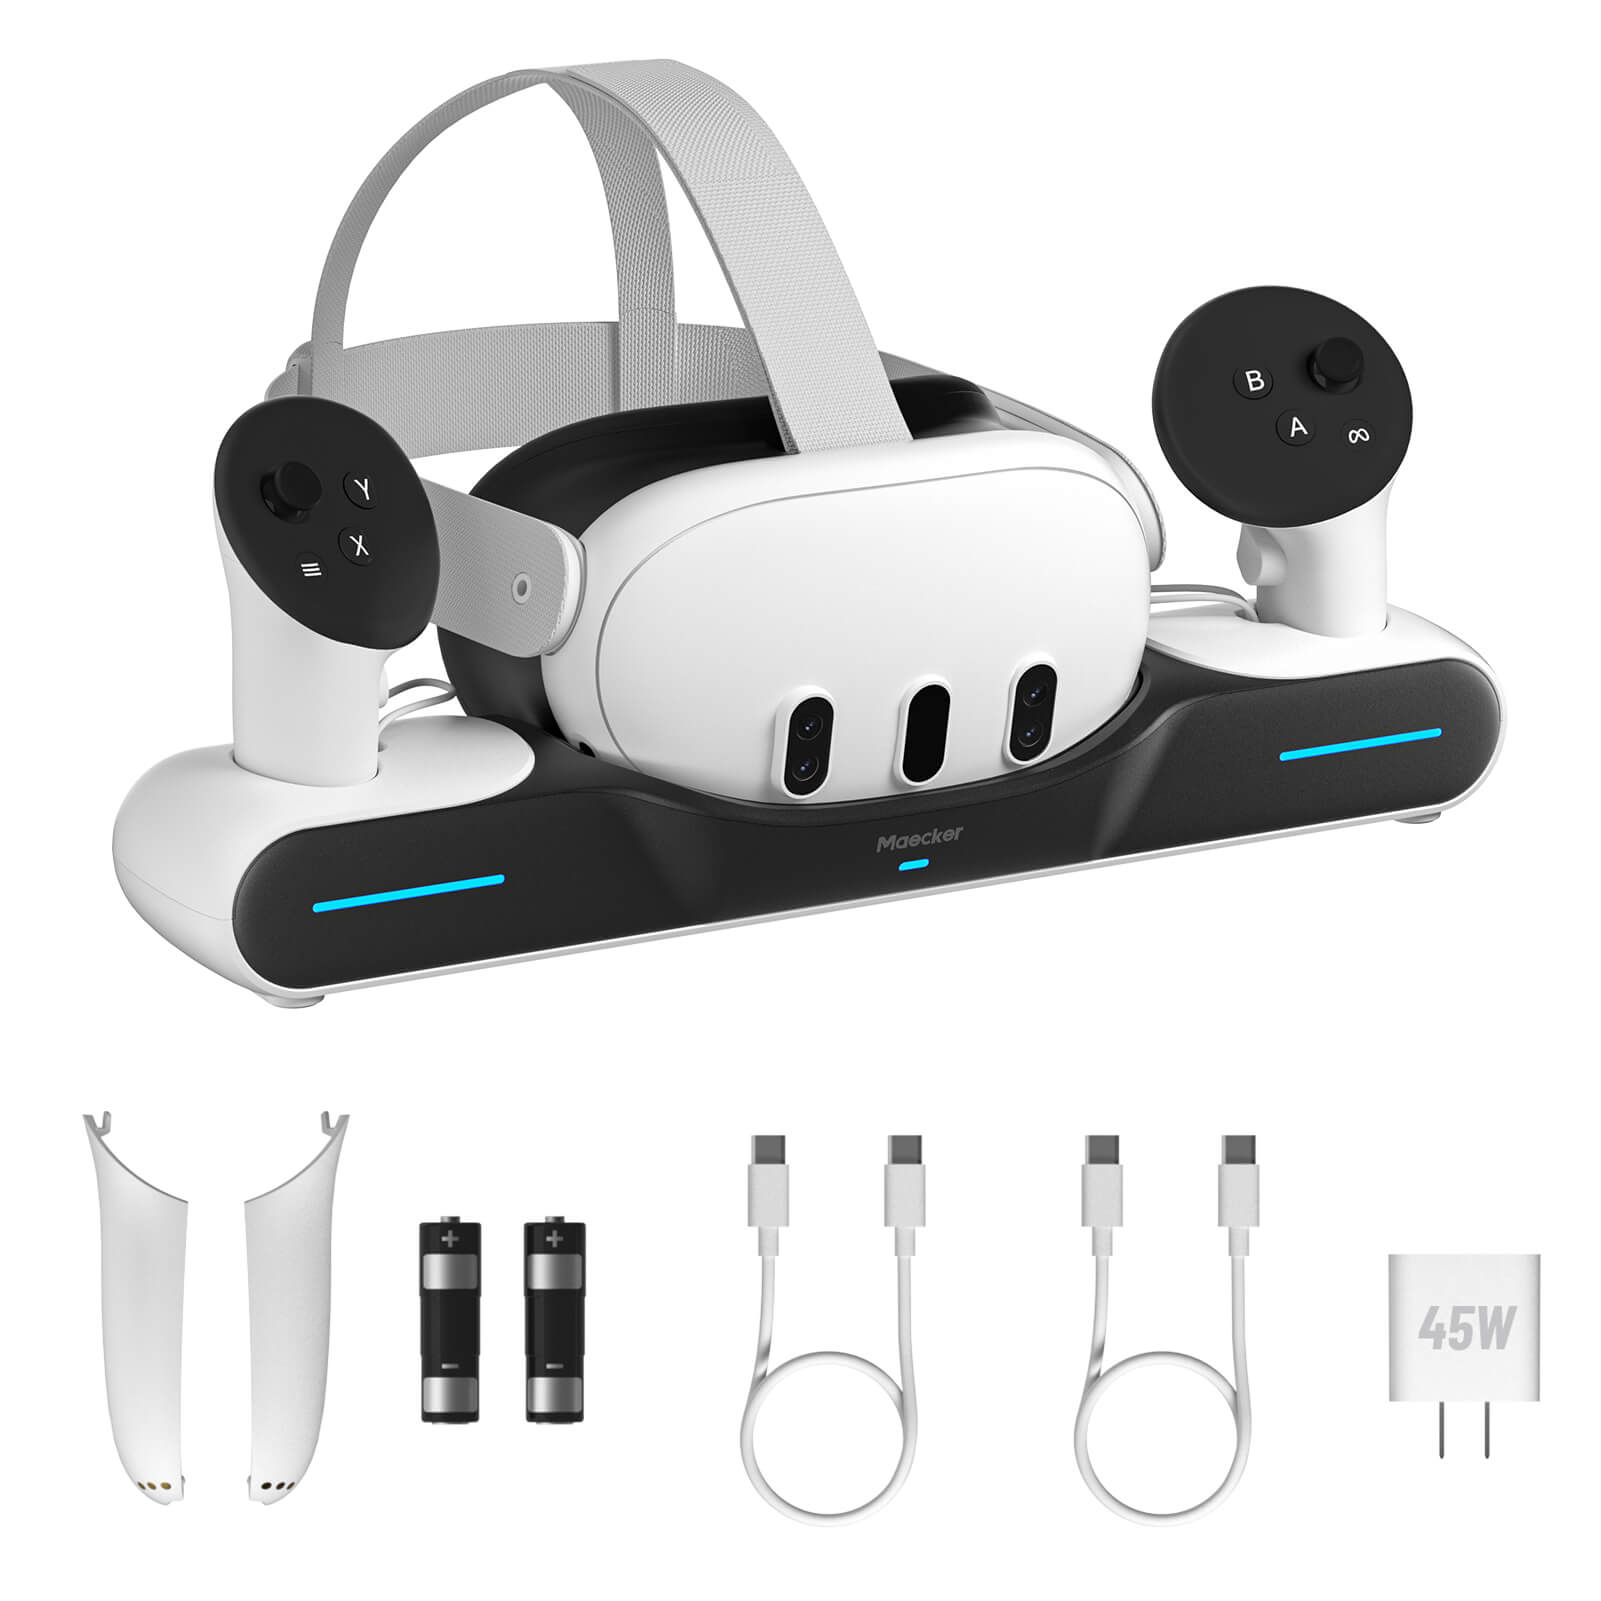
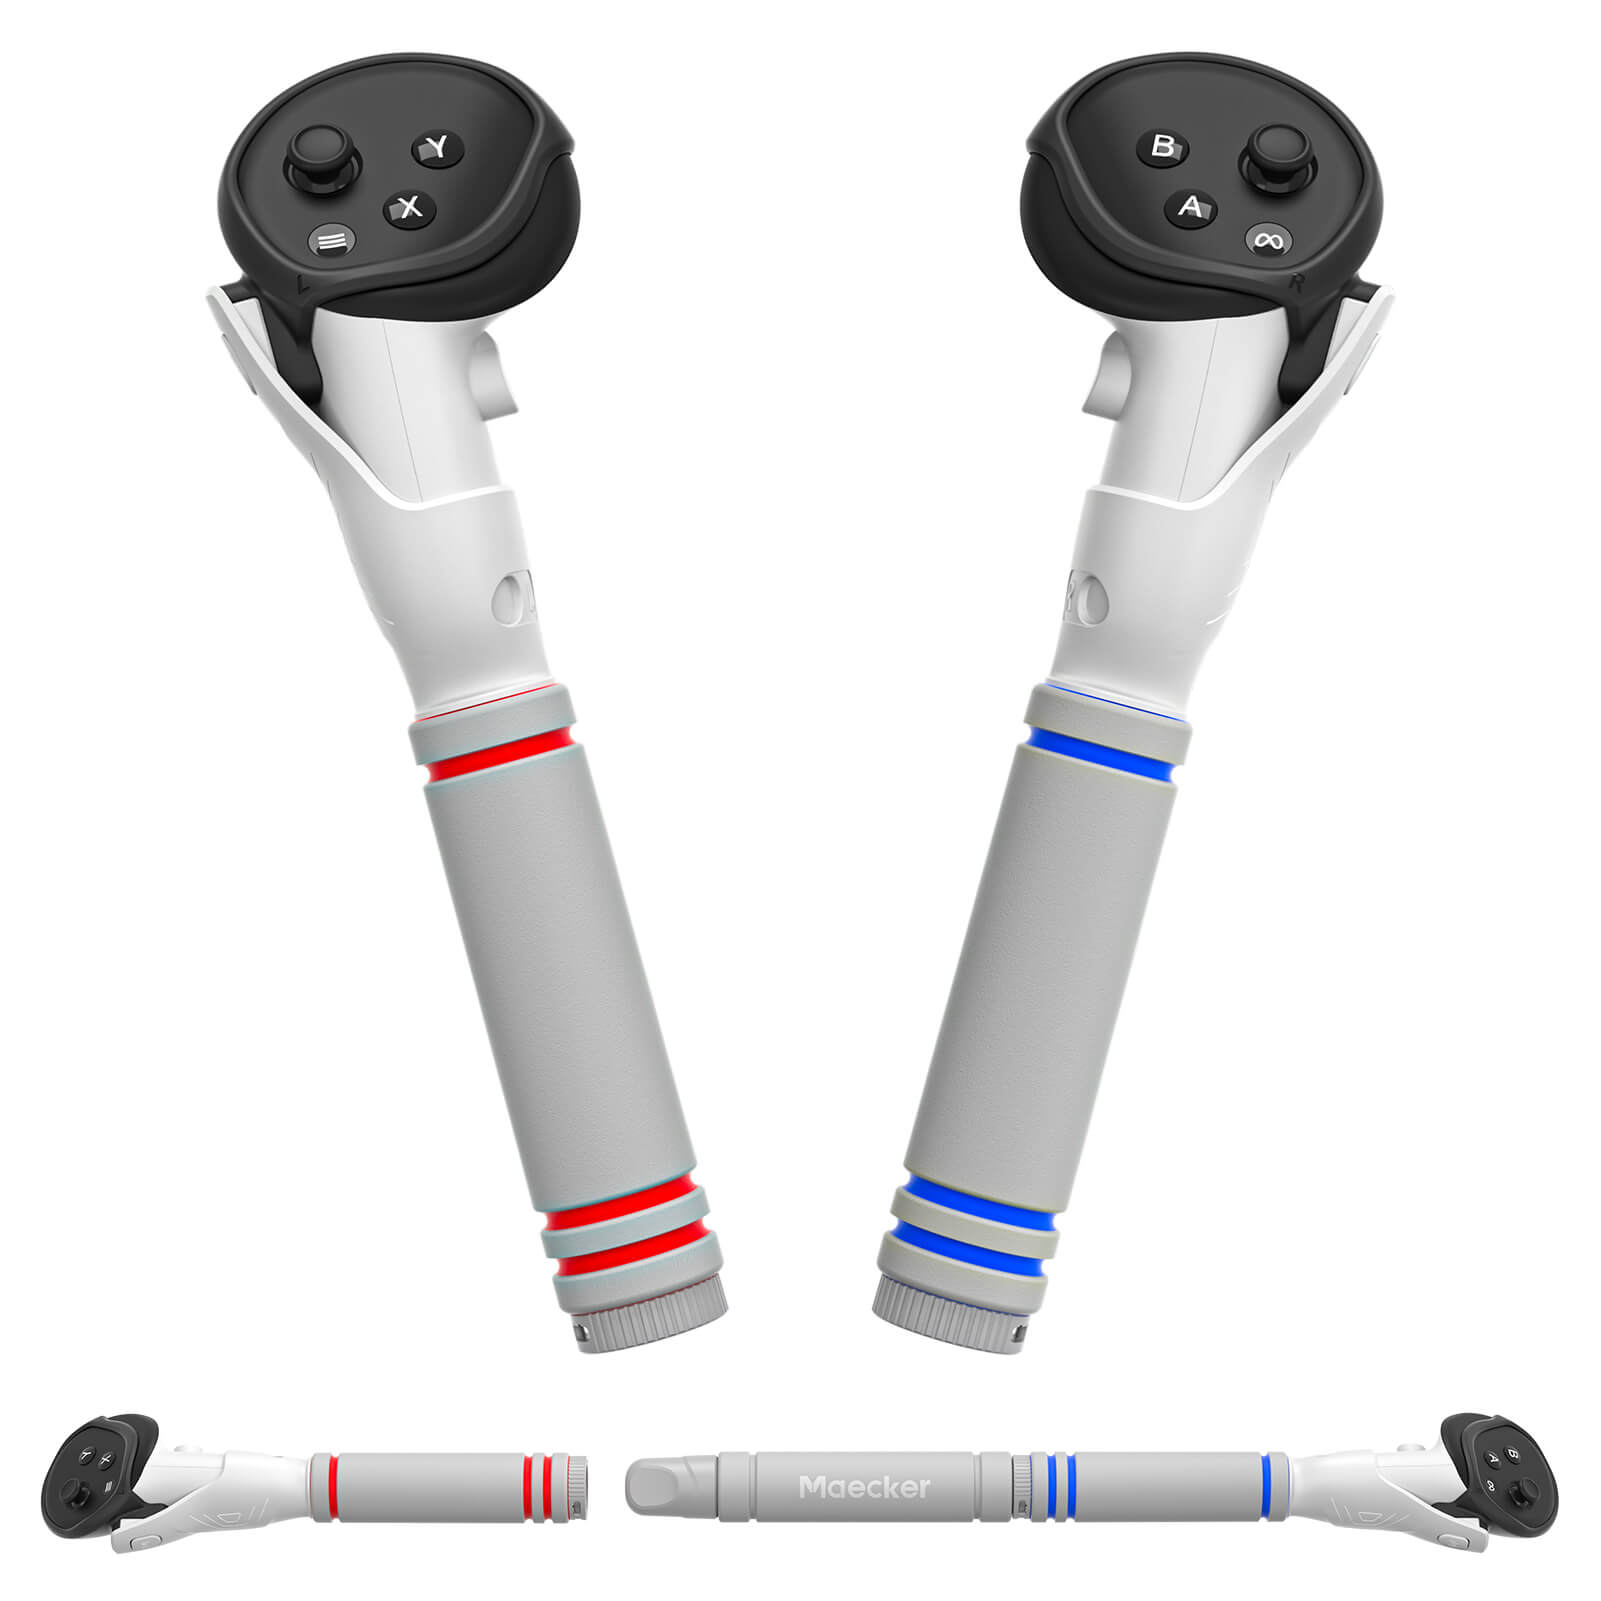
1. MaeckerVR Quest 2/3 Battery Head Strap
Conclusion
Using the Files app on Meta Quest makes managing your files easy and efficient. With clear steps to access, share, delete, and organize your files, the app provides all the tools you need right within your headset. The added capability to transfer files between devices ensures your data is always where you need it.


